Homemade ricotta is one of the easiest fresh cheeses to make in your home kitchen. You just need milk, lemon juice, and a little time! Use it to spread on toast, fill ravioli, or in your favorite dessert!
I’ve been making homemade ricotta since my now teenage kids were babies. Back then making ricotta from scratch was about stretching a dollar and not letting anything go to waste.
If my kids were drinking buckets of milk and then suddenly changed their tastes, turning it into ricotta meant I could use this fresh cheese in other recipes like omelets, and ricotta gnocchi or simply spread it over toast. If life was really busy, I’d just freeze it to use later in homemade pasta recipes like manicotti or ravioli. Yes, you can freeze ricotta! The beauty of this recipe is its flexibility. You can drain it longer for a drier texture, drain it for less time to retain more moisture or whip it to make it smooth and creamy.
Making homemade ricotta is easier than you think, and while this recipe calls for whole milk you can use any dairy combination you have on hand. Now that my kids are older, I usually make ricotta with things I want to use up before we leave town—like buttermilk or half and half combined with regular milk. To make this easy homemade ricotta recipe all you need is a little time, milk, and lemon juice.
Table of Contents
What Exactly Is Ricotta?
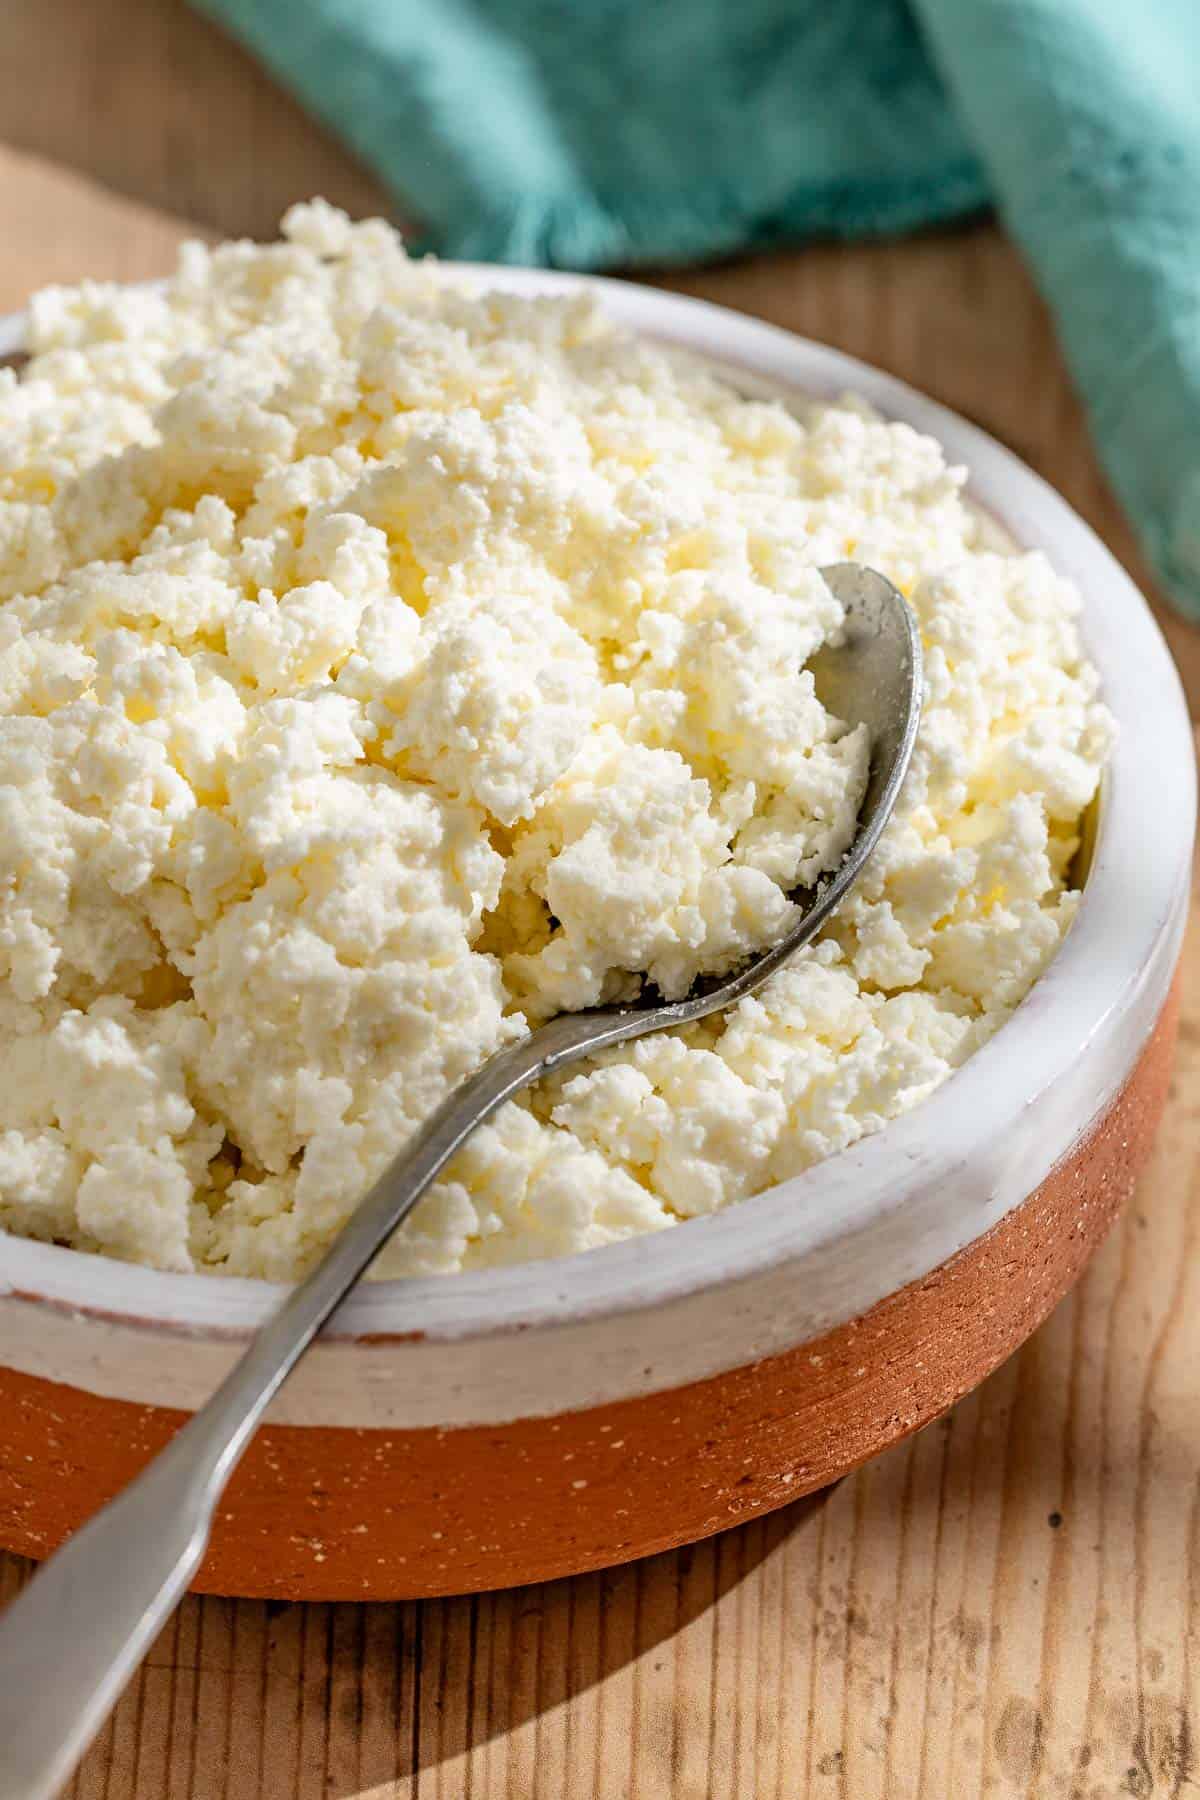
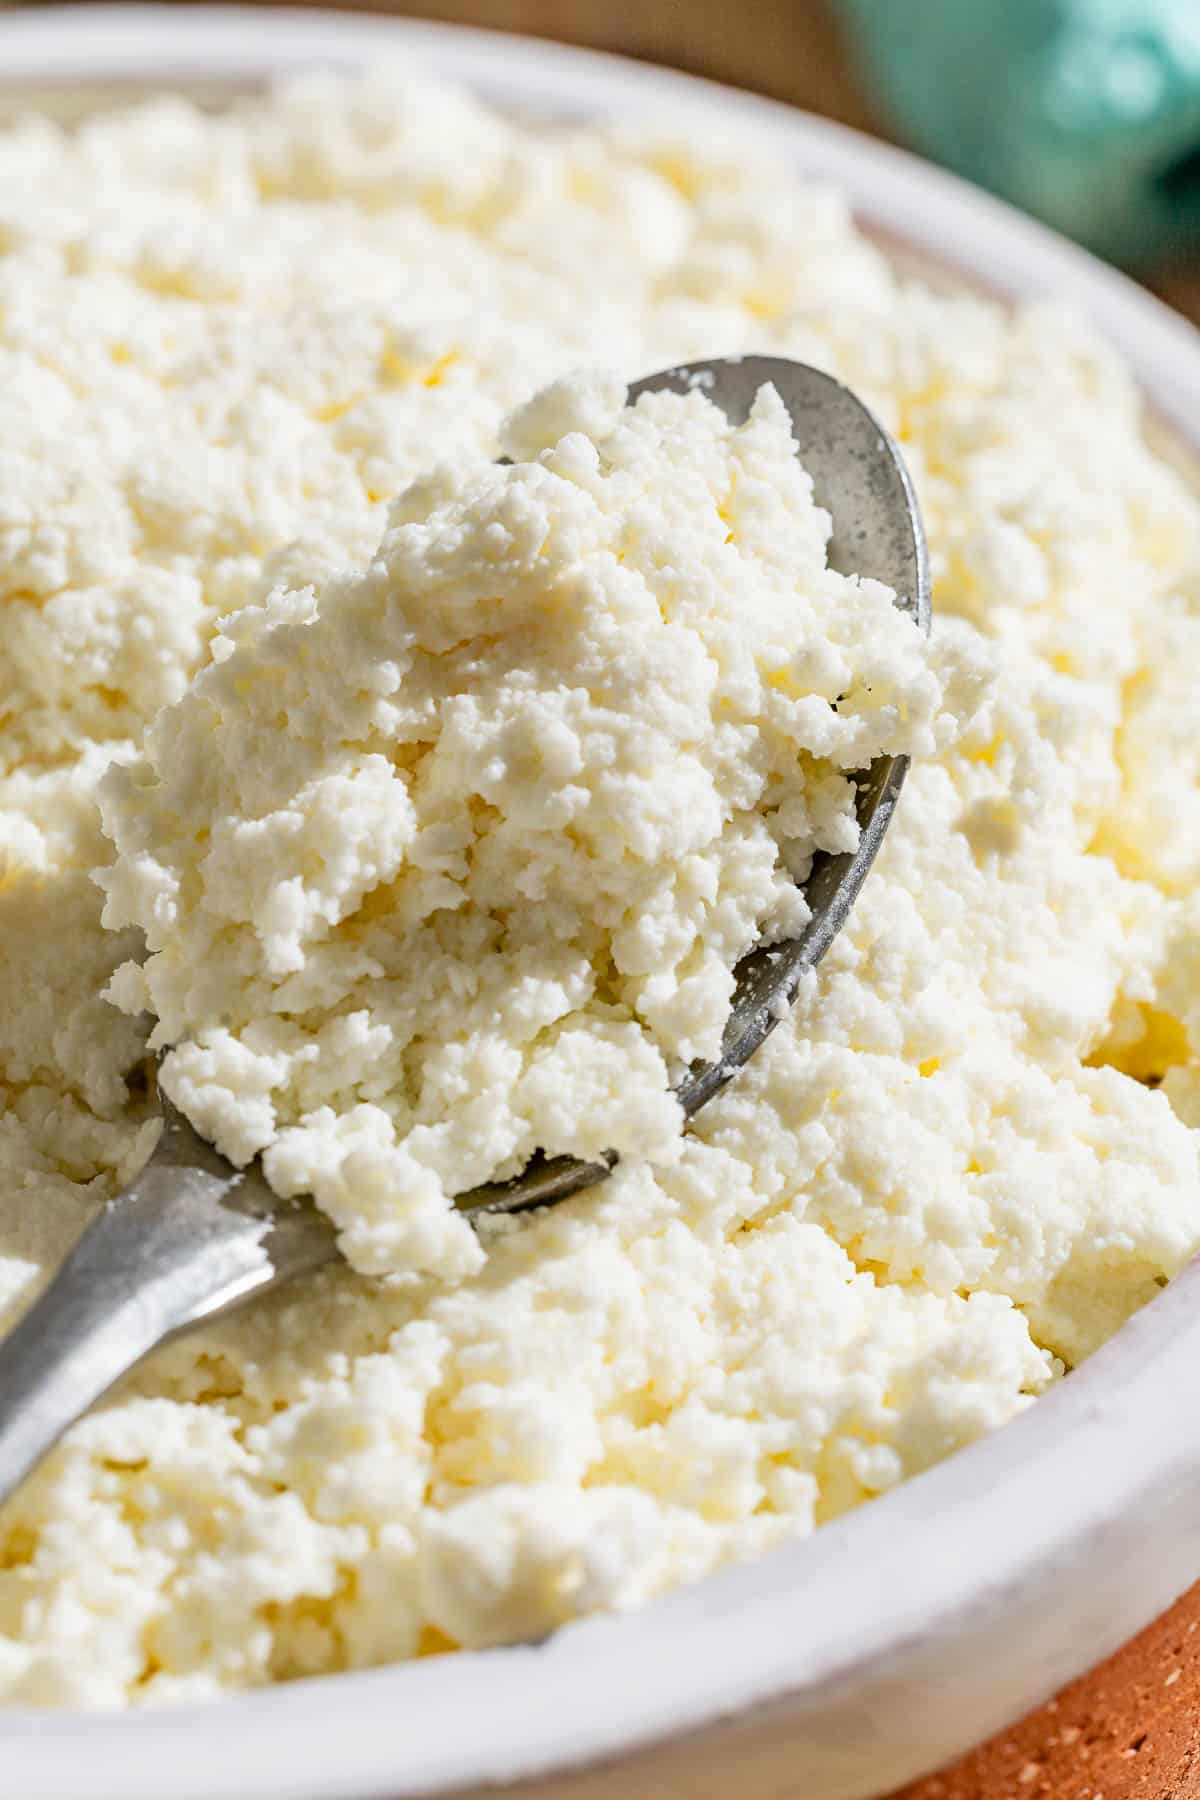
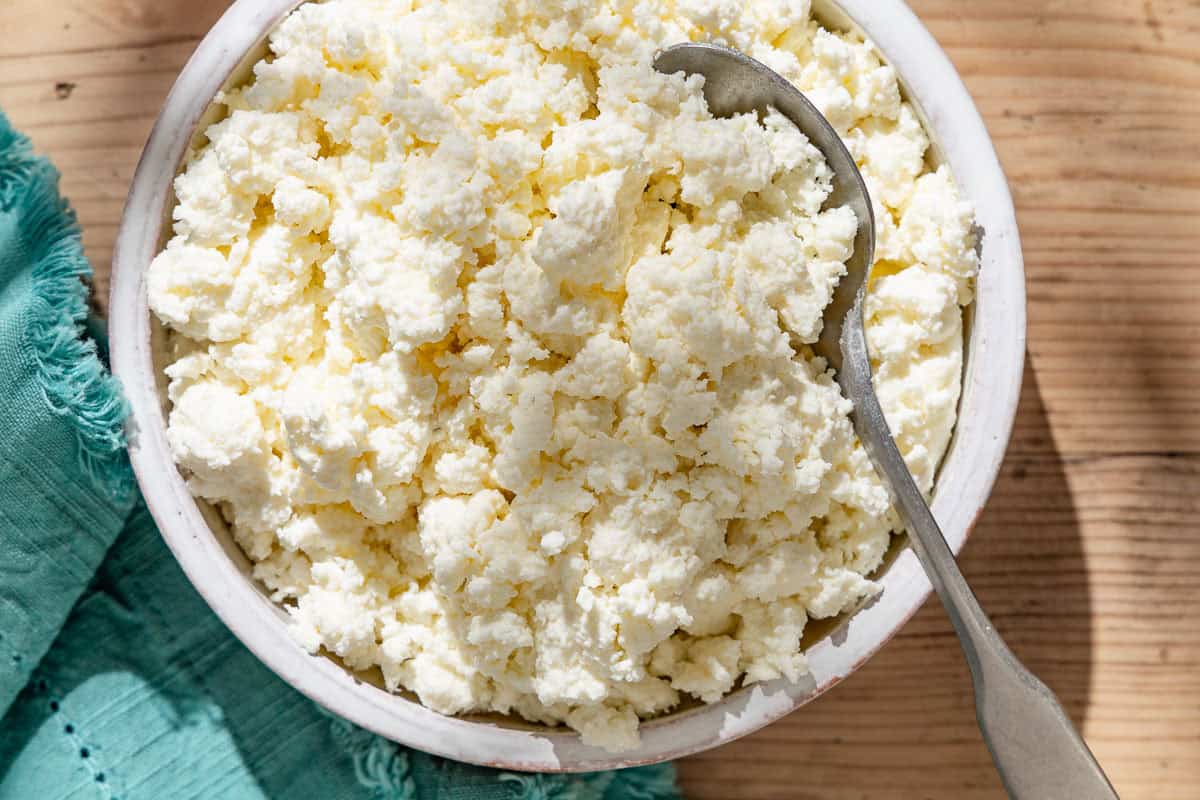
Ricotta is a fresh Italian cheese made by combining dairy with acid and warming it up. The acid causes the curds to separate from the whey, and then you drain the whey off and use the curds in both sweet and savory recipes. Undoctored, homemade ricotta has a crumbly but fluffy texture and a milky, slightly sweet flavor.
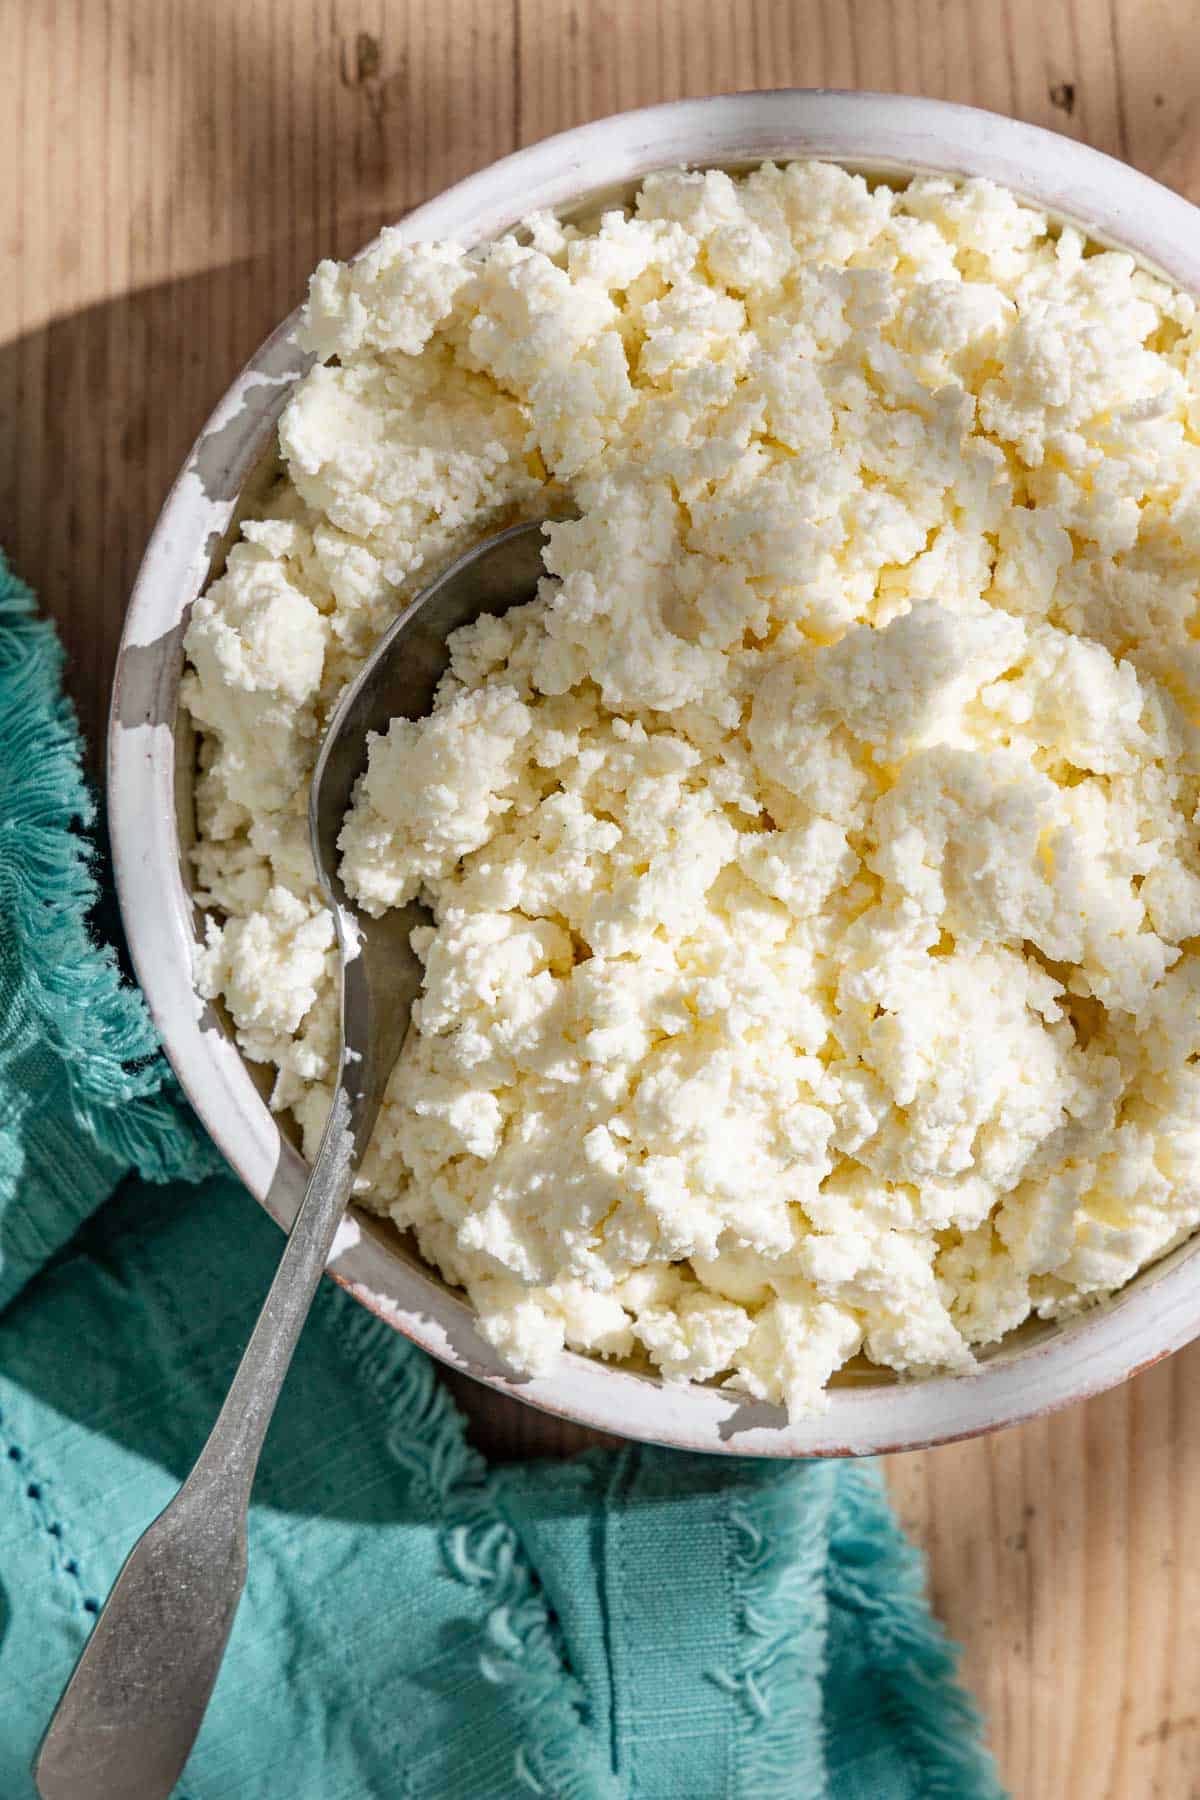
Because it’s a fresh cheese similar to Farmer’s Cheese you can easily adapt it to suit your needs. Add salt and pepper to make it savory, stir in fresh herbs to use in pasta, or add honey for a touch of sweetness. To make it creamy simply, whip it in your food processor or beat it with a hand mixer.
Ingredients Needed to Make Homemade Ricotta
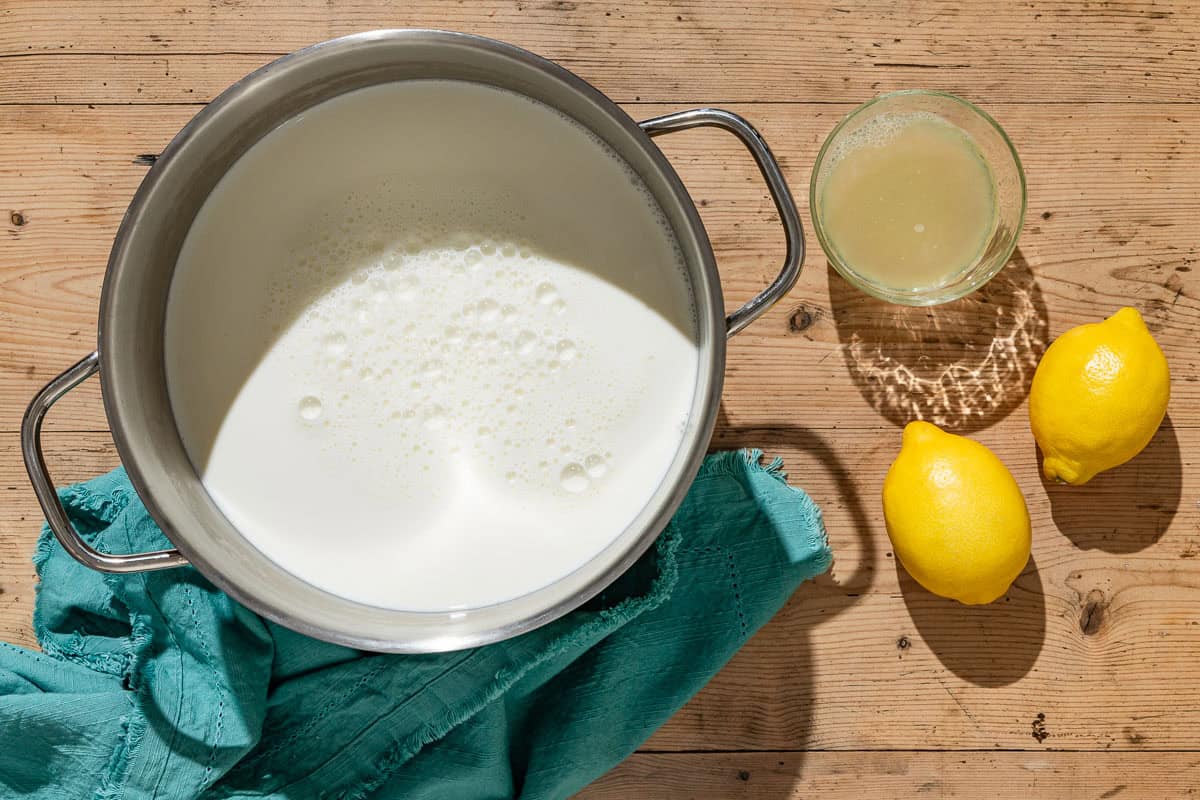
When making ricotta you really only need dairy and an acid like lemon juice or vinegar. In this recipe, I used lemon juice and whole milk. Some people salt their ricotta when the curds are forming, or before, but I don’t. I salt the curds once I know how I want to use the cheese.
If it’s for something like toast, I might leave it unsalted because I want the natural sweetness of the dairy to shine through. If it’s for pasta, I might salt it to balance out other ingredients I’m using in the recipe.
- Milk: I use whole milk in this recipe, but I have made ricotta with 2 percent milk, a combination of buttermilk and regular milk, and half and half — all in various amounts. As long as you have 1/2 gallon of dairy (64 ounces) it will yield about 2 cups of fresh ricotta.
- Lemon Juice: I use lemon juice because I prefer the gentle flavor of citrus, but you can also make it with an equal amount of white vinegar.
How to Make Homemade Ricotta
The two “specialty” equipment items you’ll to make ricotta are an instant-read thermometer and cheesecloth. I use my Thermapen for everything — temping meat, cheese, candy even, but it is a bit of a splurge, so if you’re not ready to make that kind of investment, ThermoPro is a good and affordable option.
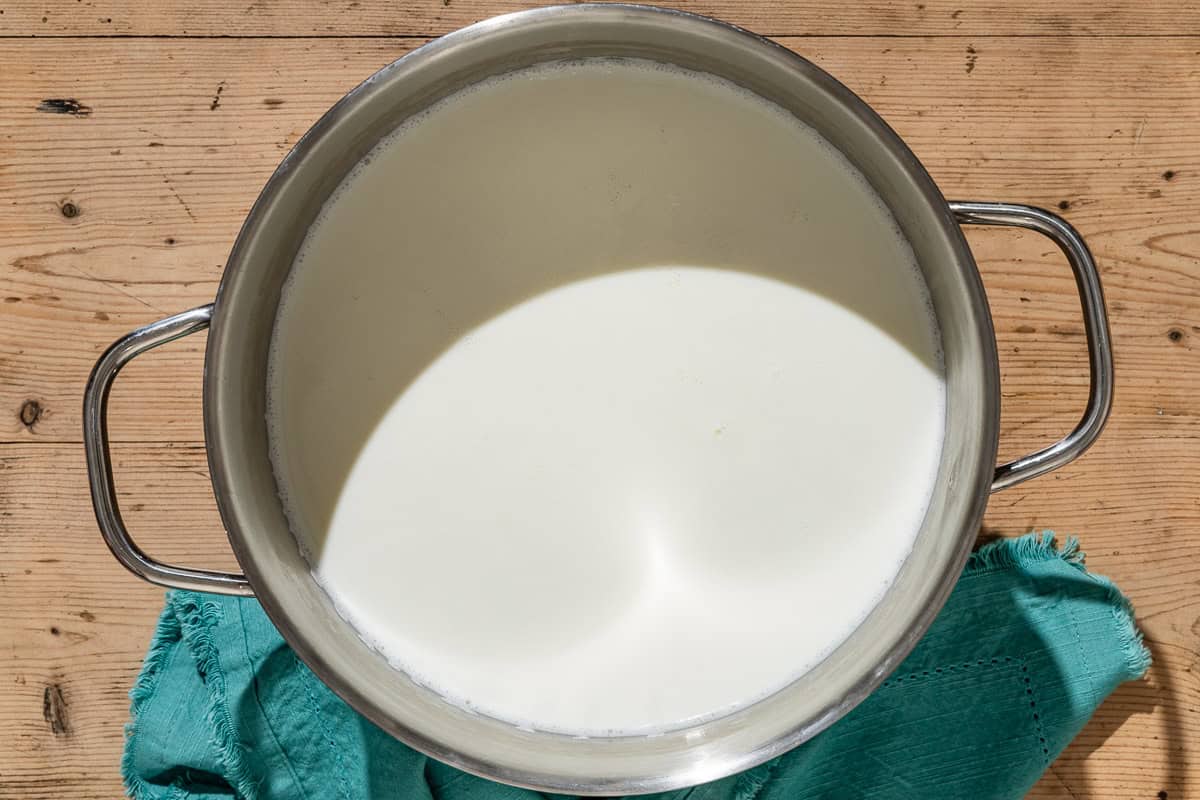
- Heat the milk: Set a Dutch oven or large heavy bottom non-reactive pot over medium heat. Add the 1/2 gallon of milk. Let the milk slowly come up to 185°F. This should take about 20 to 25 minutes. Stir occasionally with a rubber spatula to prevent the milk from scalding on the bottom of the pot. When ready the milk should look a little foamy on top.
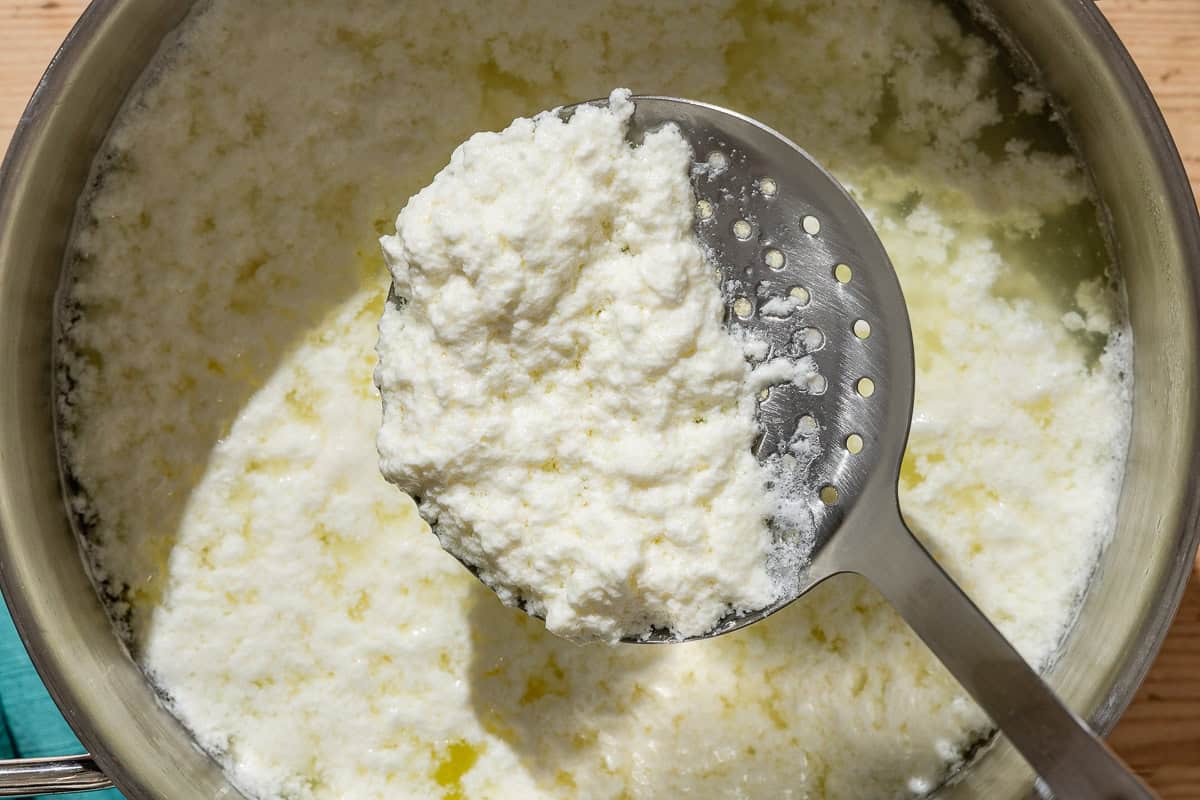
- Add the lemon juice: Stir in the 1/3 cup lemon juice and bring the milk up to 195°F. This should only take about 5 to 10 minutes. Once it reaches 195°F, shut off the burner. Pull a slotted spoon through the milk. It should have separated into curds and whey. The whey is the yellow liquid and the curds should be creamy, white clumps.
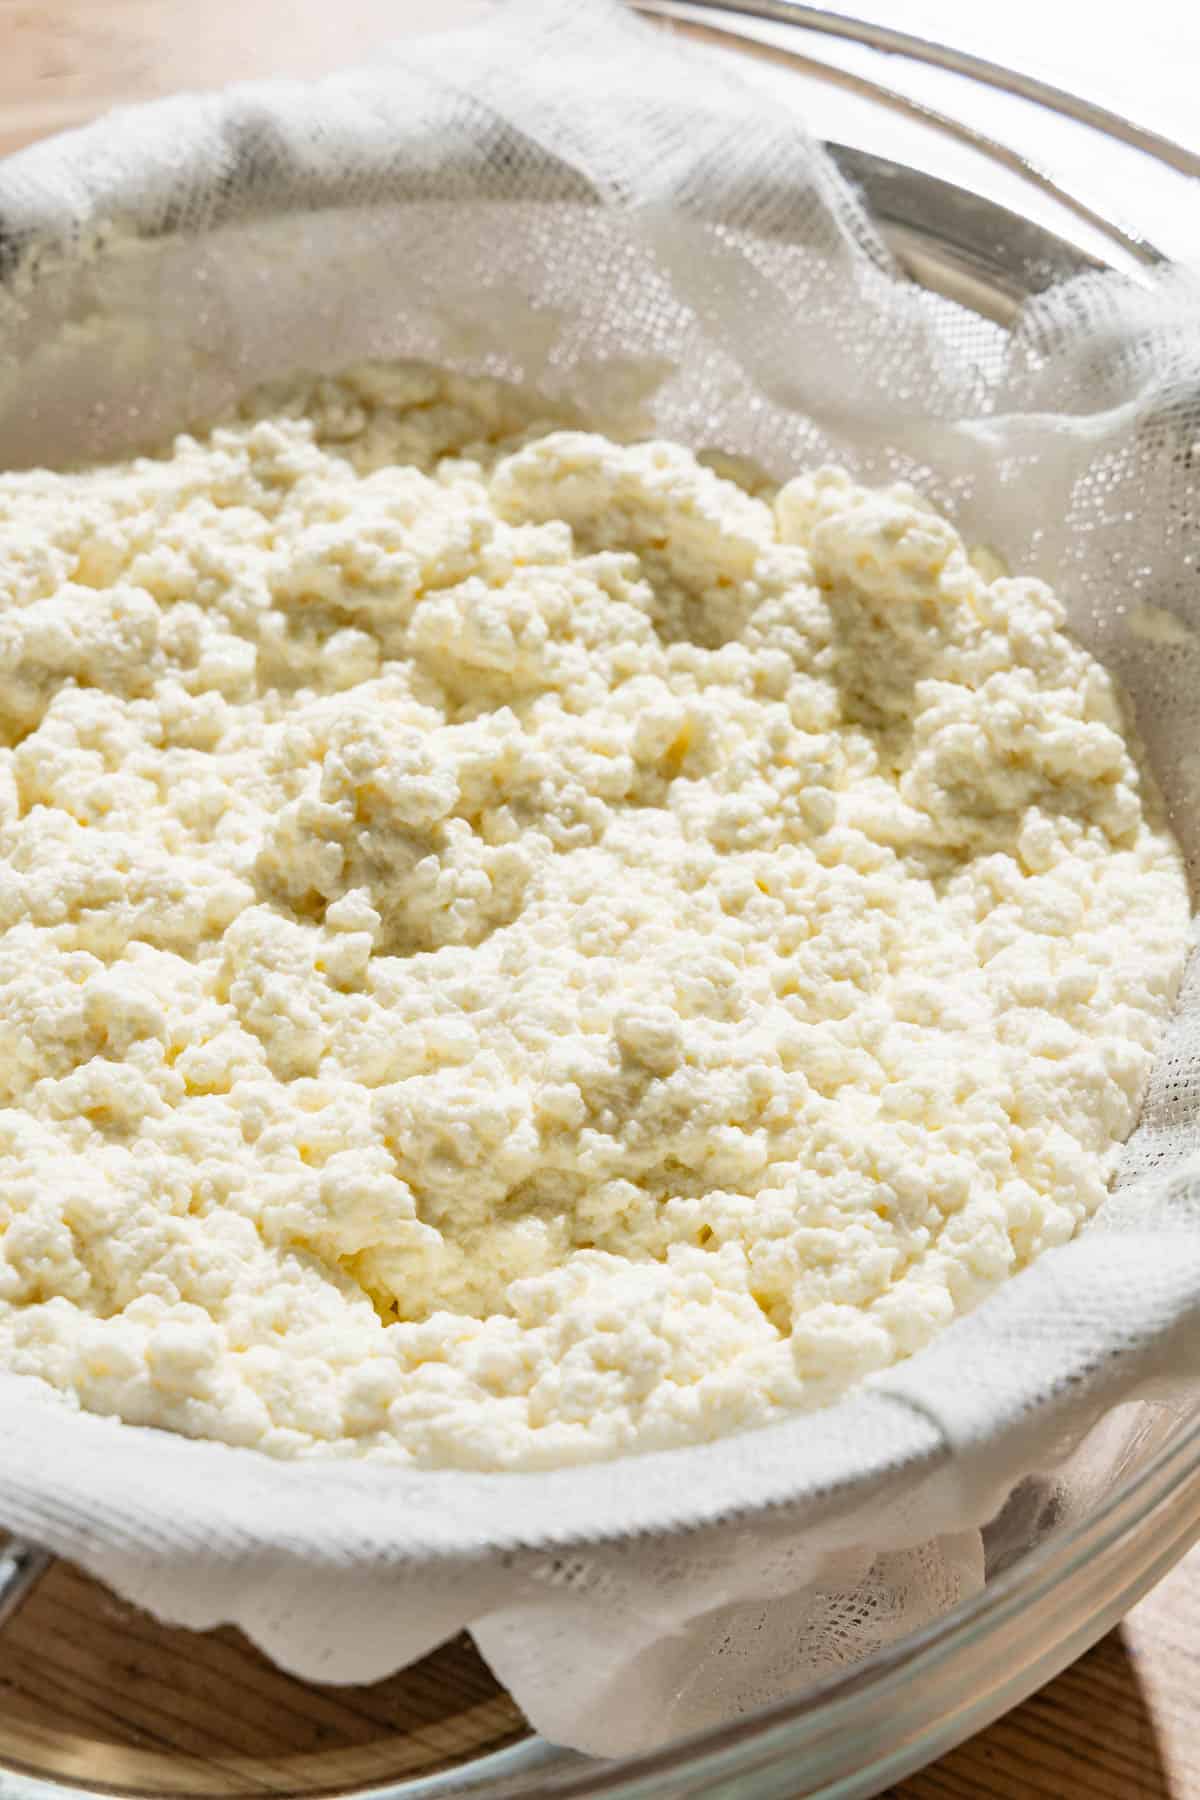
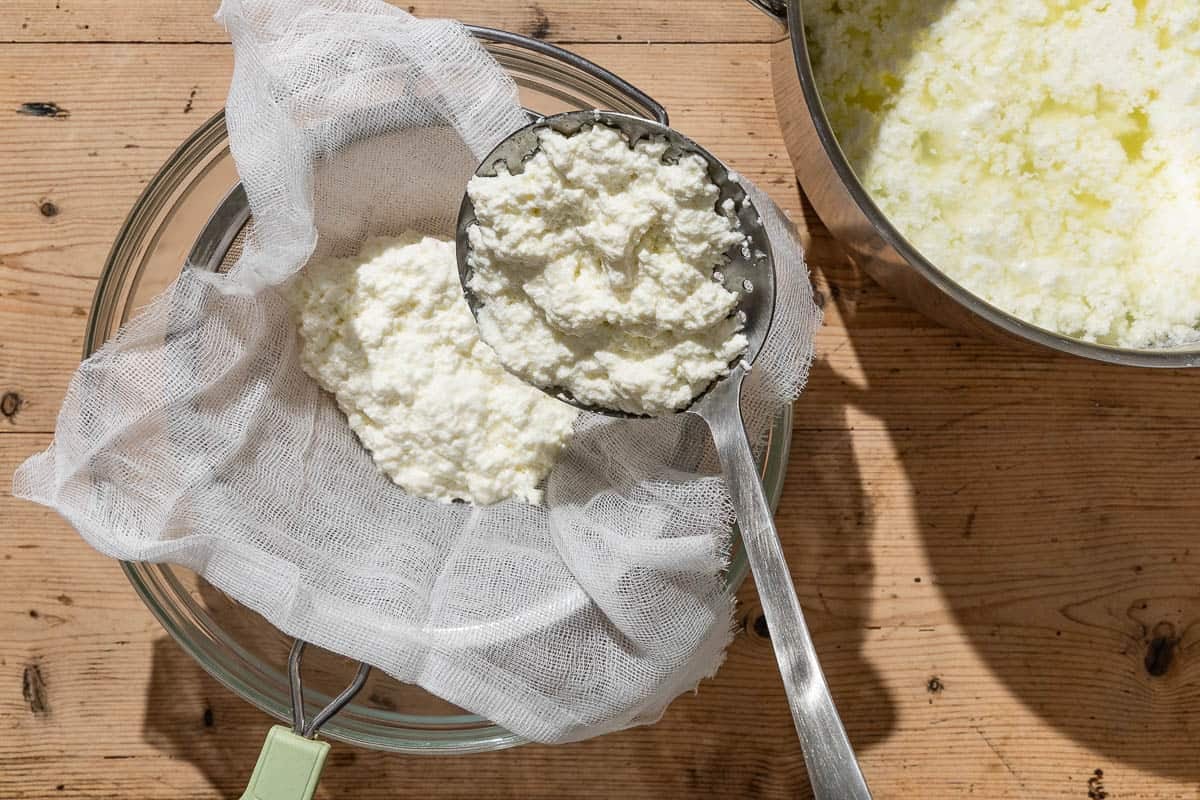
- Spoon and strain: Line a fine mesh strainer with a double layer of cheesecloth. Set it over a bowl large enough to hold the whey. Spoon the curds into the lined strainer. Once the pot is easier to manage, pour all the whey and remaining curds into the strainer. You will likely need to transfer the whey to another bowl or separate container so the ricotta can properly drain over the next couple of hours. You don’t want it sitting in the whey.
- Cover and refrigerate: Once a good portion of the whey has drained away from the curds, fold any overhanging cheesecloth over the top of the ricotta and place it in the refrigerator to continue draining. The longer you let it drain the drier your ricotta will be. My sweet spot is about 4 hours, but I’ve also left it overnight. The ricotta will look crumbly. That’s OK. It’s much drier than what you would find in commercially made grocery store ricotta. Transfer to an airtight container and use within 1 week or freeze for up to 3 months.
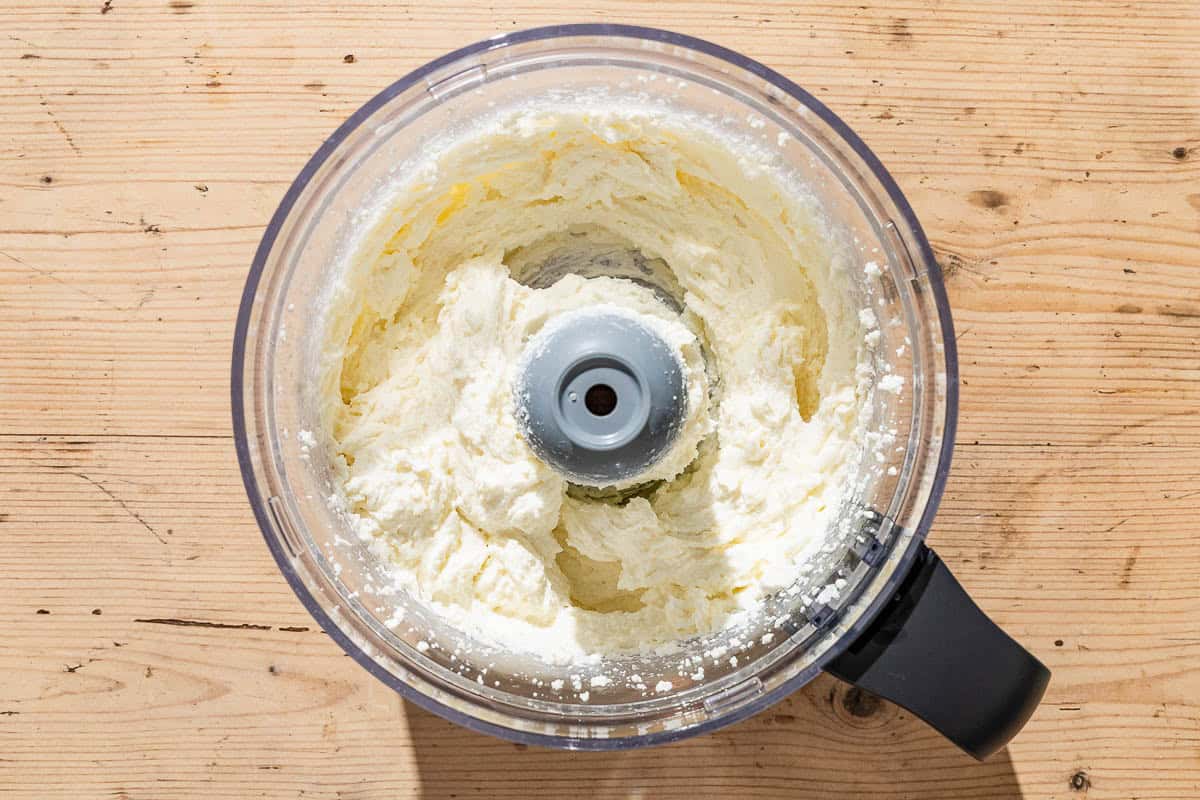
- To make it creamy: If the ricotta feels too crumbly for your taste you can put it in your food processor and whip it up for a couple of minutes. If it still seems crumbly add 1 tablespoon of olive oil.
Ricotta Recipe Variations
The absolute best part of making anything homemade, but especially homemade cheese is how easy it is to play with the ingredients.
I’m an avid gardener so in the summer when my herb garden is bursting with fresh thyme, chives, tarragon, basil, and rosemary, I make a lovely herbal ricotta to fill ravioli. In the spring when berries are abundant I make easy jams and compotes and stir them in for spreads on toast or as fillings for quick pastries.
And sometimes, it’s just as simple as adding salt, and pepper and drizzling it with olive oil to use as a dip for crackers. Here are a few of my favorite variations:
- Herbal: 2 cups ricotta + 2 tablespoons minced chives + 3/4 teaspoon kosher salt + 2 teaspoons olive oil
- Savory: 1 tablespoon olive oil + finely zested parmesan + freshly cracked black pepper + kosher salt
- Sweet: 2 tablespoons fig jam + orange zest + 1 teaspoon honey
- Fruity: 2 tablespoons strawberry jam + 1 tablespoon minced fresh basil
How to Store Ricotta
For the Fridge: Ricotta is a fresh cheese so it doesn’t keep forever in the fridge. It will keep it for up to a week, covered in an airtight container.
To Freeze: If I’m not going to use it right away, I will pack it into an airtight container, cover the top with parchment, secure the lid, and keep it in the freezer for up to 3 months.
To Thaw: Transfer the frozen ricotta from the freezer to the fridge overnight. Then use it as you would fresh. Spread on toast, stuff ravioli, or bake in a cake.
What to Do with Whey
Don’t toss the whey! The yellowish liquid that separates from the curd is called whey and you can use it in other kitchen projects or in your garden. It will keep for up to 2 weeks in your refrigerator or you can freeze it for up to 6 months.
My favorite way to use leftover whey is when baking bread. You can replace the water used in crusty bread recipes with whey. It yields a tender crumb, a golden crust and it helps the bread last longer. You can also use it to replace buttermilk in baking recipes with whey.
Whey is acidic which means it’s great for acid-loving plants like blueberries and hydrangeas. To add whey to your garden dilute it 1 to 1. So if you have 16 ounces of whey add 16 ounces of water before pouring it into your garden. I typically use this method, and add it to my hydrangeas a few times over the summer. It’s another reason why I don’t salt the milk when making ricotta, and wait to add it to the curds later. You don’t want to add salted why to your garden.
Ways to Use this Homemade Ricotta Recipe
Once you’ve mastered the art of making fresh cheese at home, you’ll do it often. It’s affordable and a great way to reduce food waste. Here are a few ways I used homemade ricotta.
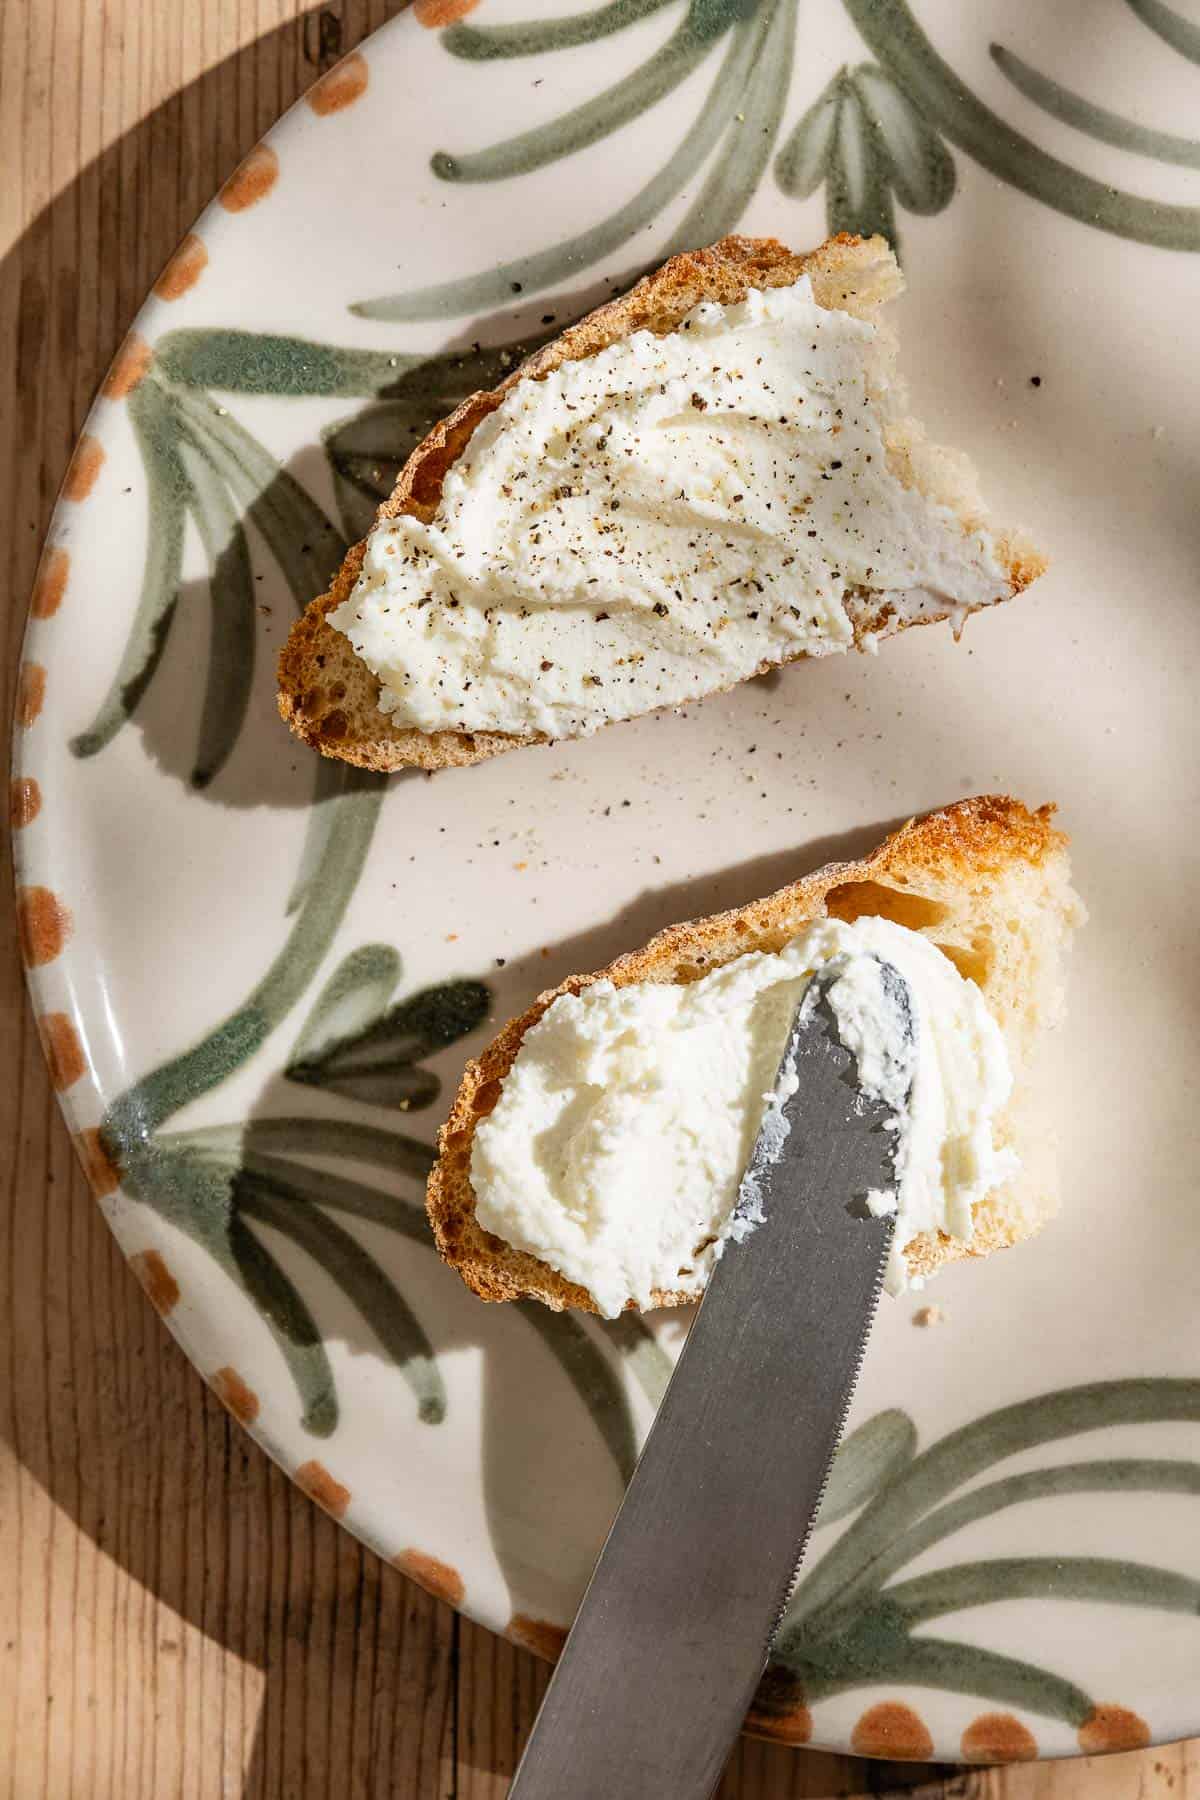
- Spread it on toast and top with your favorite extras, sliced tomatoes, roasted grapes, or fig jam.
- Spread on a bagel, fresh bread, or homemade simit.
- Dip for crudites
- Stuff cannoli or cake
- Use it as a base for recipes like Baked Pears with Honey.
- Add to an omelet
- Make a batch of Homemade Pasta and use ricotta as a filling for homemade ravioli
Use Your Homemade Ricotta in These Recipes!
Browse all Mediterranean recipes.
Visit Our Shop.
Homemade Ricotta (2 ingredients!)
Equipment
Ingredients
- 1/2 gallon (8 cups) whole milk
- 1/3 cup lemon juice 2 lemons
Instructions
- Heat the milk: Set a Dutch oven or large heavy bottom non-reactive pot over medium heat. Add the milk. Let the milk slowly come up to 185°F. This should take about 20 to 25 minutes. Stir occasionally with a rubber spatula to prevent the milk from scalding on the bottom of the pot. When ready the milk should look a little foamy on top.
- Add the lemon juice: Stir in the lemon juice and bring the milk up to 195°F. This should only take about 5 to 10 minutes. Once it reaches 195°F, shut off the burner. Pull a slotted spoon through the milk. It should have separated into curds and whey. The whey is the yellow liquid and the curds should be creamy, white clumps.
- Spoon and strain: Line a fine mesh strainer with a double layer of cheesecloth. Set it over a bowl large enough to hold the whey. Spoon the curds in the lined strainer. Once the pot is easier to manage, pour all of the whey and remaining curds into the strainer. You will likely need to transfer the whey to another bowl or separate container so the ricotta can properly drain over the next couple of hours. You don’t want it sitting in the whey.
- Cover and refrigerate: Once a good portion of the whey has drained away from the curds, fold any overhanging cheesecloth over the top of the ricotta and place it in the refrigerator to continue draining. The longer you let it drain the drier your ricotta will be. My sweet spot is about 4 hours, but I’ve also left it overnight. The ricotta will look crumbly. That’s OK. It’s much drier than what you would find in commercially made grocery store ricotta. Transfer to an airtight container and use within X days.
- To make it creamy: If the ricotta feels too crumbly for your taste you can put it in your food processor and whip it up for a couple of minutes. If it still seems crumbly add 1 tablespoon of olive oil.
Notes
- Visit our shop to browse quality Mediterranean ingredients including olive oils, honey, jams, and spices.
- Whey: You can discard the whey or save it to replace the milk or water in bread recipes. You can also use whey to water acid-loving plants like azaleas and hydrangeas.
- Salt or not to salt: I wait and salt my ricotta when I use it in different recipes. If I know I want to use it as a spread for toast I would put it into my food processor and add ½ teaspoon salt for every 2 cups of ricotta.
Nutrition
Build Your Mediterranean Pantry!
Save when you bundle four of our signature olive oils, perfect for everyday use.



I haven’t tried it yet, but can I use Fairlife whole milk in this recipe? It is ultrafiltered and I’m not sure! Thank you!
Hi, Traci. We’ve never tried this with that specific brand, but I don’t see why not. If you decide to give it a go, please stop back and let us know if it worked!
I’m interested in the saturated fat content of this ricotta. Can you please let me know what quantity is used for the nutritional analysis?
Thank you!
Hello! The nutritional analysis is by tablespoon so it’s 1.1 g per tablespoon.
Can lactose free milk be used? I’d really like to use lactose free ricotta in the Baklava Cheescake. I made it with regular ricotta and it was a hit.
Hi, Annette — I don’t see why it wouldn’t work. I’ve never made it that way, but it would be easy enough to test with a small batch. If you try it please report back and let us know how it turned out.