Learn how to make hummus at home. This smooth, creamy, and easy homemade hummus recipe requires only 6 ingredients and is perfect for pita chips, crunchy vegetables, or to use as a spread for your favorite sandwich.
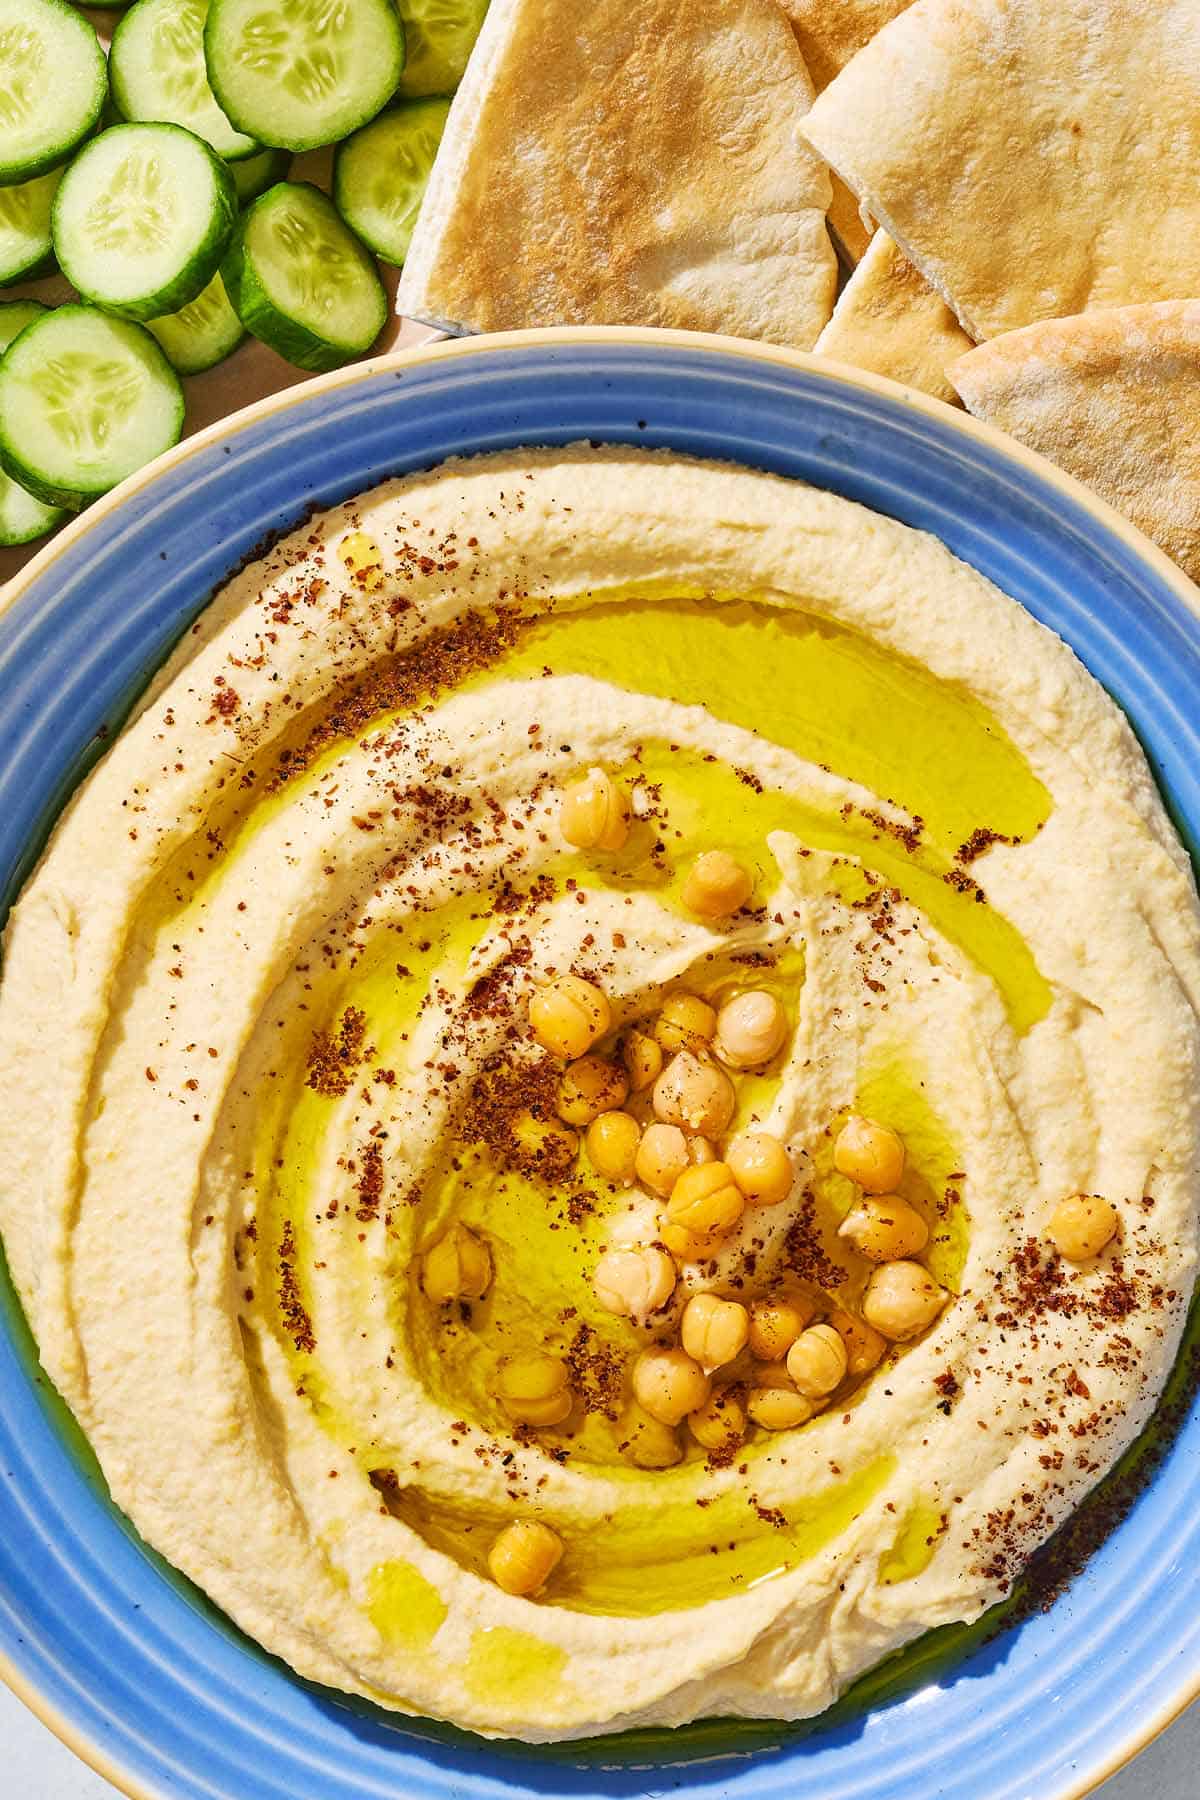
Hummus is a quintessential Middle Eastern dip made by blending chickpeas with tahini, garlic, and lemon. Being raised in Egypt, hummus was a regular part of our meals as a family and it’s super easy to make. Even if you don’t think of yourself as an expert in the kitchen, I promise, you can learn how to make hummus at home and skip the store-bought stuff!
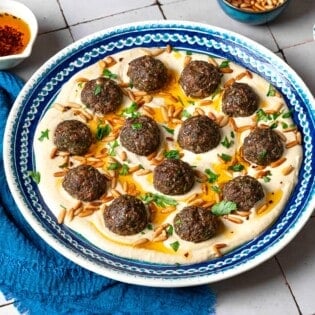
Once you’ve learned how to make hummus let your creativity be your guide! Use hummus as a spread on your favorite sandwiches, use it as a dip for your favorite crunchy vegetables or pita chips, or as a base for a full meal like I do in this layered hummus recipe or my recipe for meatballs and hummus. I’m telling you, hummus goes on almost everything.
Plus, hummus is good for you. Chickpeas are loaded with fiber and plant-based protein while olive oil is rich in antioxidants and heart-healthy fats. Who doesn’t love a healthy, easy-to-make snack?
Table of Contents
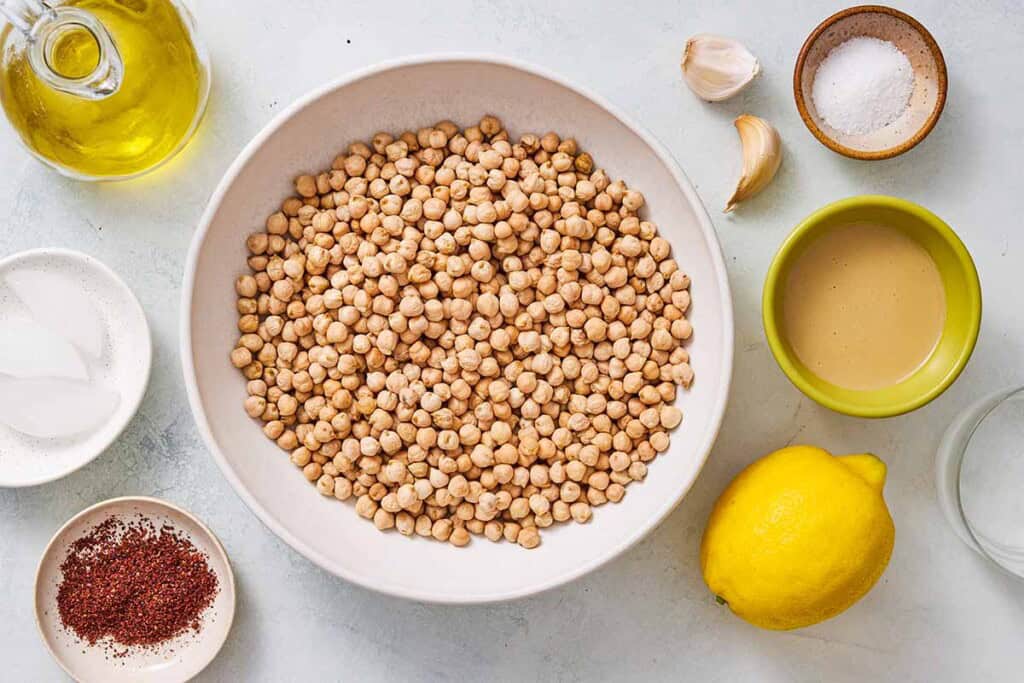
Hummus Ingredients
To make homemade hummus, all you need is chickpeas, garlic, tahini, lemon juice, olive oil, and salt. However, dressing it up with a little sumac takes it over the top. This is entirely optional, but why not have a little fun?
- Chickpeas, also known as garbanzo beans, are the star ingredient in hummus. If you’re wondering how to make hummus from scratch—the best, extra creamy, authentic stuff—you’ll want to cook dried chickpeas from scratch. Soak overnight and then boil in water until cooked through. It isn’t a big extra step and the payoff is worth it.
- Garlic: Start with 1 clove and make sure it is finely minced. To tame its pungency, allow minced garlic to sit in a little bit of lemon juice for a few minutes.
- Tahini is a rich, nutty paste made from toasted sesame seeds. The quality of your tahini will absolutely impact the flavor of the hummus. You can find my go-to tahini paste here.
- Fresh Lemon Juice adds a brightness that lifts the earthy flavor of the chickpeas.
- Kosher Salt: Just a pinch of kosher salt is enough to enhance the flavors of the other ingredients. You can always taste and add more if you’d like.
- Extra Virgin Olive Oil: A generous drizzle of quality extra virgin olive oil is the way to finish and serve this dip the authentic way. This is a key ingredient so the better the olive oil the better the flavor.
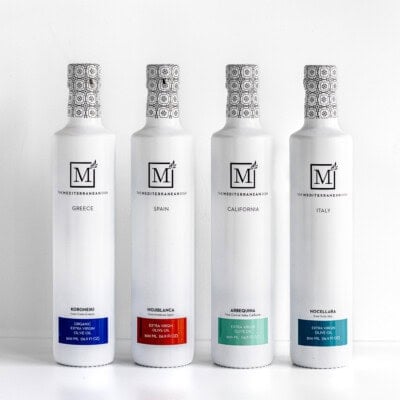
- TRY IT: I have a selection of my favorite olive oils from around the globe available in our shop. Find the one you like the best.
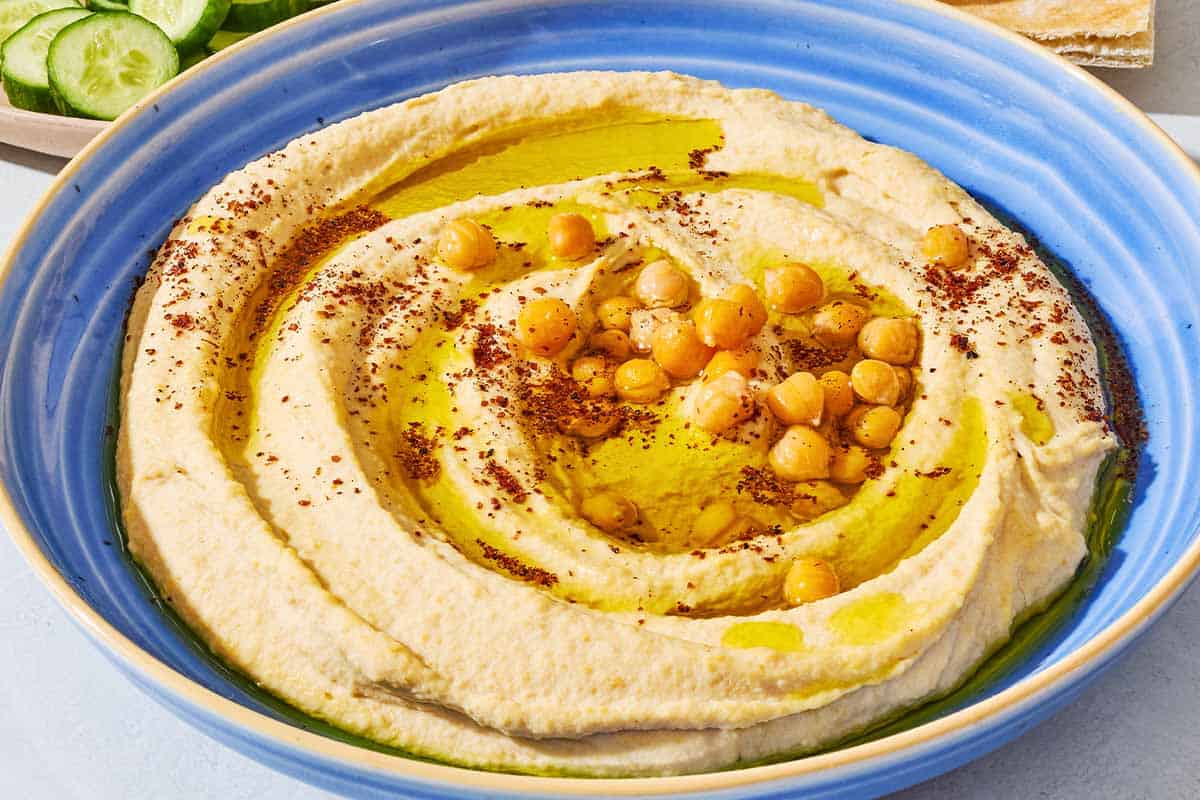
- Garnish: My favorite way to garnish a bowl of hummus is with a few pinches of tangy sumac (sometimes ground cumin is a good addition). If you have some extra cooked chickpeas, plant them right in the middle. For a pop of green, you can add a garnish of fresh parsley.
How to Make Hummus
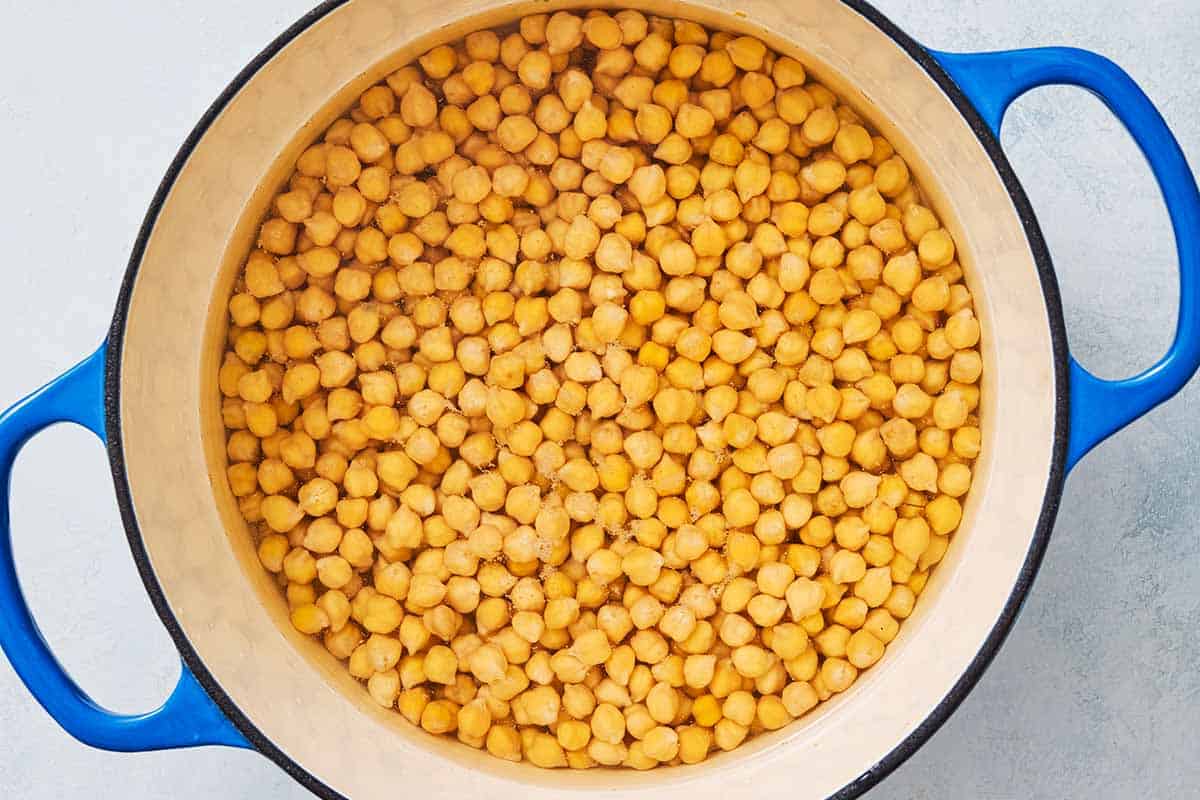
- Soak and Cook Chickpeas. Place 1 cup dried chickpeas in a large bowl and cover with plenty of water (the beans will expand.) Soak overnight. When ready, drain the chickpeas and place them in a medium-sized heavy cooking pot. Cover with water by about 2 inches. Bring to a boil, then reduce heat and simmer for 1 1/2 to 2 hours. You should end up with about 3 cups of cooked chickpeas. If using canned chickpeas, give them a quick 20-minute simmer in plenty of water to help soften them some more.
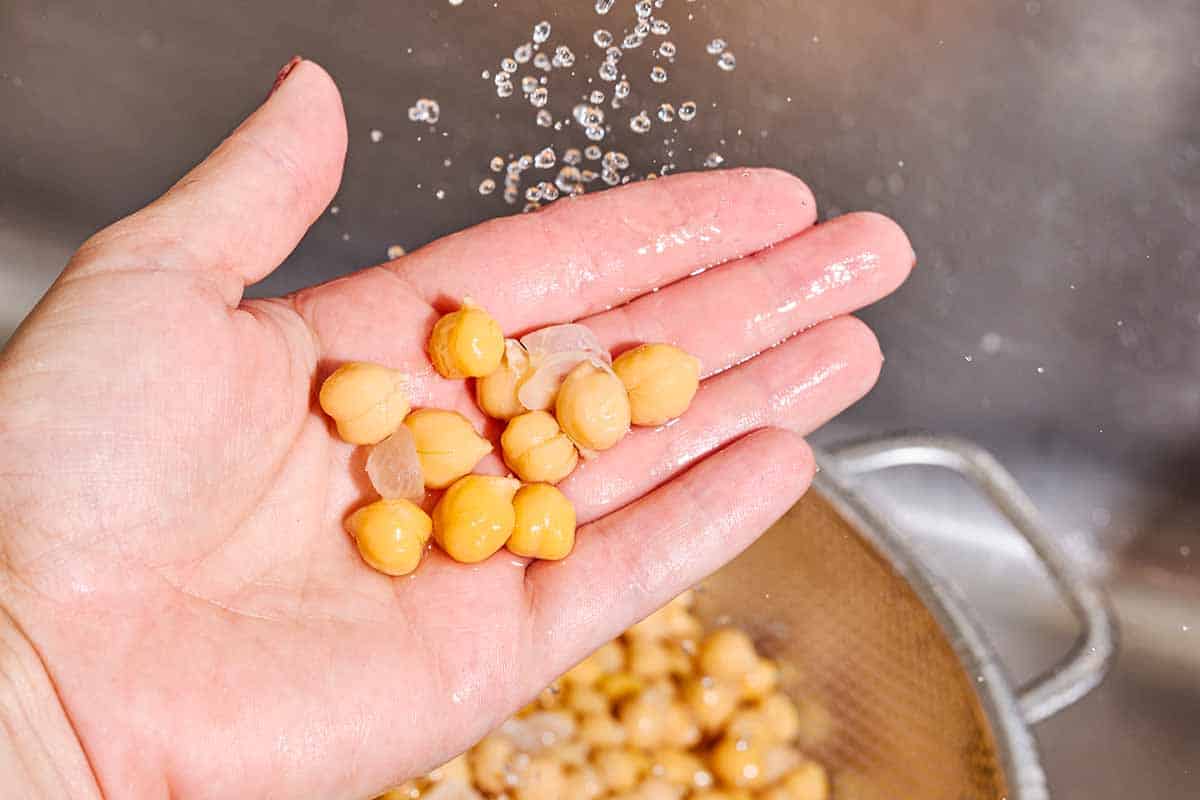
- Peel the chickpeas. Cover the cooked chickpeas in hot water and add 1 1/2 teaspoons baking soda. Leave for a few minutes. Take a handful of chickpeas and rub them under running water to remove the skins. Discard skins. Let the chickpeas cool completely before using. Reserve 1 to 2 tablespoons of chickpeas to garnish the finished hummus later.
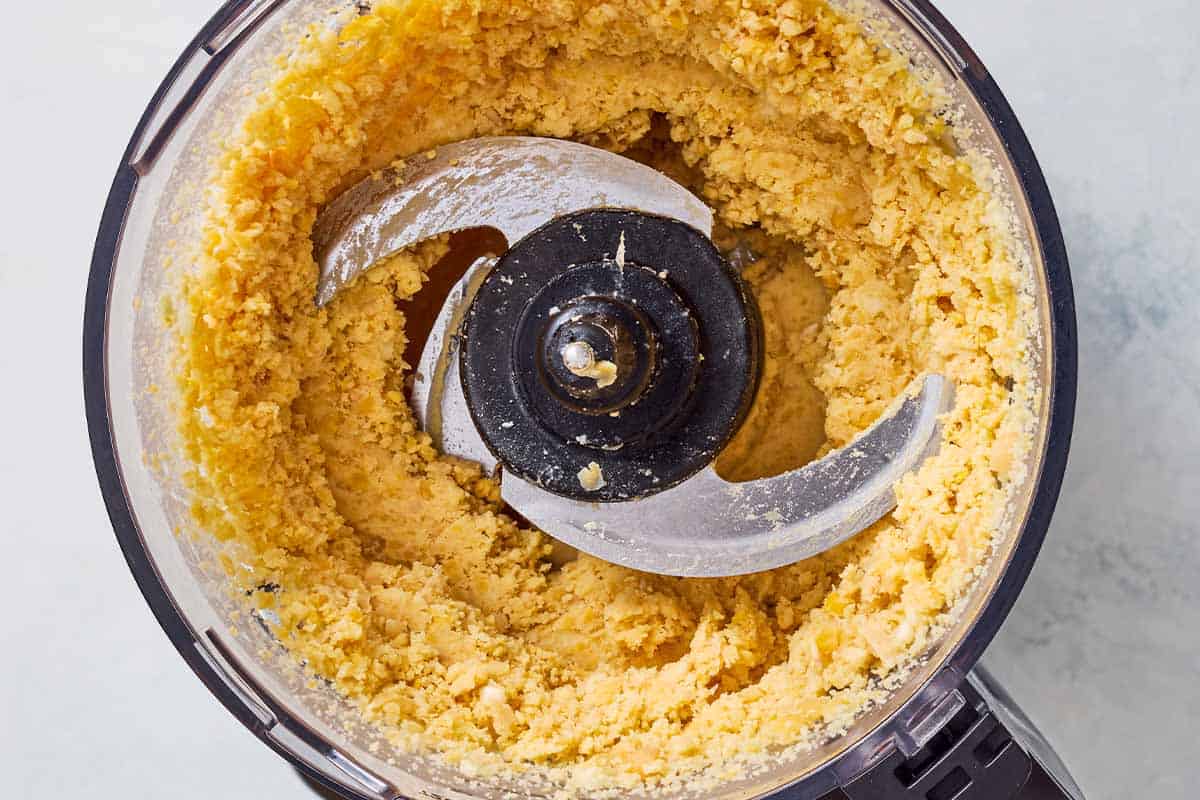
- Puree the chickpeas. Dry the chickpeas well then add them to the bowl of a large food processor fitted with the S-blade. Run the processor until the chickpeas turn into a smooth powder-like paste.
- Finish the hummus. While the food processor is running, add 2 ice cubes, tahini, salt, and lemon juice. Blend for about 4 to 5 minutes. Check, and if the consistency is too thick, run the processor and slowly add a little water. Blend until you reach the desired silky-smooth consistency. At this point, you can cover and refrigerate the hummus for an hour or so before serving.
- Transfer to a serving bowl and garnish. Spread the hummus in a serving bowl and add a generous drizzle of good extra virgin olive oil. Add the reserved chickpeas to the middle, if you’d like. Sprinkle sumac on top. Enjoy with warm pita wedges, your favorite veggies, and some warm pita bread.
Tips for Making Hummus
Smooth, creamy hummus is one part art and one part science. Follow these simple tips and tricks for making velvety hummus at home.
- Cook the chickpeas well (even canned chickpeas can use a quick simmer!) I already mentioned that dry chickpeas make the best hummus. Soak them overnight then simmer for 2 hours. Don’t worry about overcooking them, it just gives you creamier hummus. Even if you’re using canned chickpeas, give them a brief 20-minute simmer so they will be well-cooked and tender. If you’re new to cooking beans from scratch, I have you covered! I have written about how to cook chickpeas in the crockpot, the pressure cooker, and the stovetop. So pick your favorite way.
- Peel the chickpeas. Chickpea skins are edible, but if you want creamy hummus, peel the chickpeas and discard the skins. Of course, sometimes I don’t peel the chickpeas, but that doesn’t change the taste, it only makes the hummus a bit on the rustic side.
- Use quality tahini and enough of it. Tahini paste is a key ingredient in an authentic hummus recipe. It will add that rich consistency and subtle nutty flavor. There are all sorts of tahini options out there. The best tahini comes from Ethiopian sesame seeds. I use organic Soom tahini from 100% roasted and pressed organic Ethiopian White Humera sesame seeds.
- Add ice. I learned this trick from my mother-in-law who is a master of the Levant kitchen. The ice cubes help create a creamy, fluffy texture—kinda like freshly churned ice cream.
- Don’t rush it! Let the food processor run for 4 to 5 minutes. Run the food processor for a few minutes so the hummus mixture will blend well enough to a smooth texture.
- Taste and Test: It’s important to taste your hummus and test it for the right consistency. If you’ve added too much liquid and want to thicken it you can add more tahini or more chickpeas. It will also firm up a little once it has cooled in the fridge. You can also add 1 to 2 tablespoons of Greek yogurt, but that will change the taste as well.
- Tahini replacements: Let me be clear, if you want to make the real deal dip using an authentic hummus recipe, you should not substitute tahini for something else. However, if you want to make a chickpea dip and you are out of tahini, you can use nut butter such as cashew, almond, or brazil nut butter. Each of these nut butters will give you a different flavor profile. With the absence of tahini, I would not call it hummus.
How to Enjoy Hummus
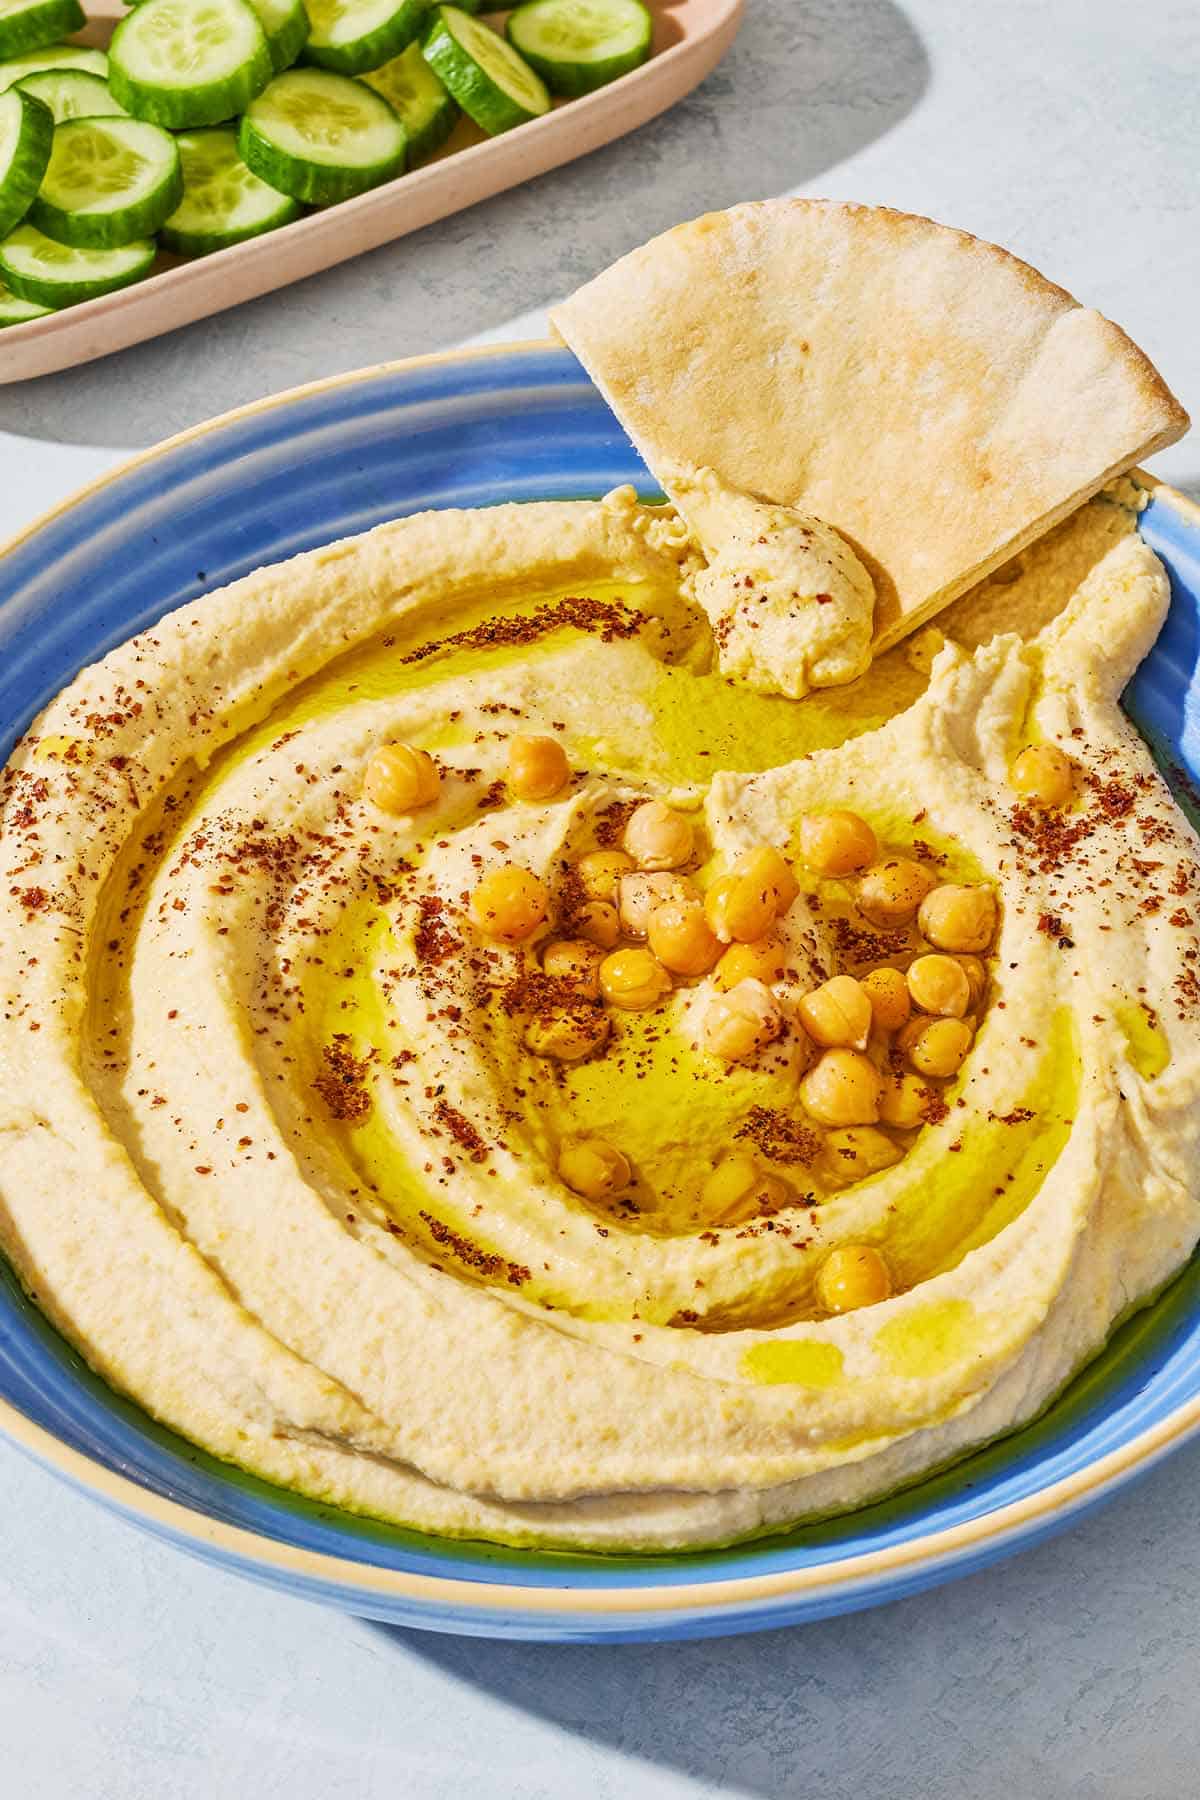
People of the Mediterranean, myself included, eat hummus with pita bread. And if we’re doing a more modern thing, then maybe pita chips. But there are many ways to serve and enjoy this tasty dip:
- As part of mezze alongside other small plates like baba ganoush, tabouli, roasted cauliflower, or pearl couscous salad.
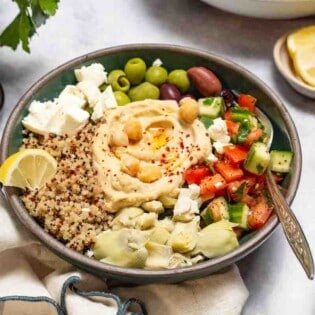
- To make a Mediterranean dinner bowl like these vegetarian Mediterranean bowls with quinoa, and hummus and veggies or these chicken shawarma bowls.
- As a side next to things like kofta kabobs, chicken kabobs or Greek souvlaki, lamb chops, salmon kabobs or even a fun shrimp skillet.
- For breakfast? Sure! Hummus makes the best savory breakfast toasts or these satisfying breakfast bowls.
- Dress it up! Top your hummus with fresh veggies like I did in this Farmer’s Market Hummus, load it with shishito peppers, or pile on seasoned ground beef and vegetables for a layered hummus recipe.
Fun Spins on Traditional Hummus Recipes
I think plain, authentic hummus reigns supreme, but I do love to play around with fun flavors. Here are a few options you might like:
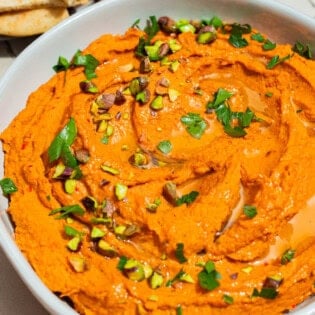
- Roasted Carrot Hummus
- Pumpkin Hummus
- Roasted Red Pepper Hummus
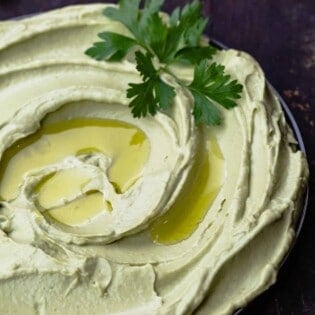
- Avocado Hummus
- Beet Hummus
- Roasted garlic Hummus
More Ways to Use Hummus
Dips and Condiments
Roasted Carrot Hummus with Spicy Harissa
Middle Eastern
Middle Eastern Kofta Meatballs
Appetizer and Mezze
Extra Creamy Avocado Hummus Recipe
Browse all Mediterranean recipes.
Visit Our Shop.
Hummus Recipe (Easy, Authentic, Creamy and Smooth)
Ingredients
- 3 cups cooked chickpeas, peeled (from 1 to 1 1/4 cup dry chickpeas or from quality canned chickpeas.)
- 1 1/2 teaspoons baking soda, (optional) use if peeling chickpeas
- 1 to 2 garlic cloves minced
- 2 ice cubes
- 1/3 cup tahini
- 1/2 tsp kosher salt
- Juice of 1 lemon
- Arbequina extra virgin olive oil, to serve
- Sumac, to serve
Instructions
- Soak the chickpeas: If using canned chickpeas, you can skip to step 4. Place dried chickpeas in a large bowl, cover with water, and soak overnight.
- Cook the chickpeas: The next day, drain the chickpeas cover with 2 inches of water. Bring to boil over high heat, then reduce the heat so the chickpeas are at a simmer. Simmer for 1 1/2 to 2 hours.
- Remove the skins: Add 1 1/2 teaspoons baking soda to the water with the chickpeas. Leave for a few minutes. Turn off the heat. Drain the chickpeas into a colander. While rinsing the chickpeas under running water, take a handful of chickpeas and rub them to remove the skins. Place peeled chickpeas in a bowl.
- Puree the chickpeas: Add cooked (or canned) chickpeas and minced garlic to the bowl of a food processor fitted with the S-blade. Puree until a smooth, powder-like mixture forms.
- Finish the hummus: While the food processor is running, feed 2 ice cubes, tahini, salt, and lemon juice through the tube, and process for about 4 to 5 minutes. Check, and if the consistency is too thick, run the processor and slowly add a little water, 1 tablespoon at a time, until you reach the desired silky smooth consistency.
- Garnish and serve: Spread in a serving bowl and add a generous drizzle of extra virgin olive oil. Top with a few chickpeas, if you like. Sprinkle with sumac. Enjoy with warm pita wedges and your favorite veggies.
Video
Notes
- If using canned chickpeas, make sure they are drained and rinsed. It helps if you also give them a quick 20-minute simmer in a bit of water so they soften well (dry them before use).
- To peel canned chickpeas: Cover chickpeas in hot water and add 1 1/2 teaspoons baking soda. Leave for a few minutes. Take a handful of chickpeas and rub under running water to remove the skins. Place peeled chickpeas in a bowl.
- Visit our shop to browse quality Mediterranean ingredients including olive oils, honey, jams, and spices.
Nutrition
This post originally appeared on The Mediterranean Dish in 2015 and has been recently updated with new information and media for readers’ benefit. Enjoy!
Bundle and Save!
Four of our best-selling signature olive oils, perfect for everyday use.


Do you have to peel canned chickpeas?
Hi, Kelli! Yes! And for more details for using canned chickpeas, please see the notes section at the end of the recipe card. Hope you love the hummus!
Really good. Didn’t know chick peas had skins but glad we took the time to ‘skin’ them. We added red peppers (cuz we like them) and it turned out delicious. Thank you
The best hummus I have ever had outside of Greece. 100 x better than store bought for sure. This is now my go to recipe for hummus from now on. So easy to make and so yummy!!!
Wow! What an amazing review! Thanks so much, Jackie!
Delicious! I used two large cloves of garlic, and I can safely say that I am now impervious to vampires…lol.
I don’t have a food processor, so I used my immersion blender, which worked just fine. I used canned beans and squeezed the skin off by hand (as a Lady of Leisure, I have the time).
Wonderful, easy recipe, and best of all: no yucky added seed oils! Thanks for the recipe!
Thanks, Susan!
I’ve made this several times and it comes out perfect every time. This last time I used dried chickpeas and cooked them as directed and peeled them. The sumac gives it a nice tang.
Thanks so much, Jeanne!
just made your hummus using canned garbanzos and cooked them like you said and just used one big garlic glove from my neighbor’s garden which was plenty and the ice cube . it came out so smooth and creamy ! added a little cumin and sumac . this is the best as i don’t like the store bought so will make on repeat . i scraped every bit out of the food processor with a cucumber.
thanks for all your recipes as they’re so inspiring and wish i could be in one of those book tour places but closest city to me is albuquerque and that is 120 miles away- oh well-will keep up on line Mil Gracias for you and your team’s fine work
Hi Suzy and team, Wednesday we ate your falafel and tonight again as they are so delicious. 10 out of 10. As I had left over chickpeas I wanted to make your hummus. I make 2-3 times a week hummus from chickpeas in tins.
About 10% the skins floated to the top, the rest I had to skin with my fingers which was very time consuming. Any suggestions? If not will go back to tins.
Thanks for guiding me
Hi, Maud! I know it can be a bit of an effort to peel the chickpeas, for sure! Suzy’s tips are shared in the post above including adding a bit of baking soda to hot water and covering the already cooked chickpeas for a while, then peeling them under running cold water by rubbing a few chickpeas between your hands at a time. This has always worked for her. It still takes a bit of time, but it works.
Many thanks for the reply. I did add the baking soda. Will go back to tins in that case. Appreciate your replying
OMG…..this recipe is the best!
Fresh cooked chick peas make all the difference. After years of trying to perfect my humus with canned beans thinking I was doing something wrong. This recipe is a keeper; guess going to a middle eastern pro was the answer.
Aww! Thanks so much, Liz!
I don’t own a food processor, can I use a blender or a Nutribullet instead?
Sure, Mark! That should work!
I absolutely love Mediterranean food. Do not get enough of it. Would love to learn how to cook Mediterranean food. I have to buy it but would love to learn how to prepare it.
we enjoy and love with the Mediteranian cook .
We enjoyed this hummus recipe very much, it’s so creamy! Using sumac is brilliant! A nice change from the cumin.
Hi,
How many grams equals 3 cups of canned chickpeas?
Thanks!
Based on what I cooked from dried chickpeas today, 3 cups of drained, hulled chickpeas weighed 530 grams. It took 240 grams of dried chick peas to achieve this. 240 g of dried chickpeas was about 1 1/3 cups.
how long does it last in the fridge? and if its only a couple of days how would we make a smaller batch ?
Hi, Berry! This one can be stored in the refrigerator for 3-4 days. If you’d like to make a smaller batch, you can simply halve the ingredients.
I have a friend who’s allergic to all things citrus which means she has to avoid all hummus with lemon juice in it. Can you think of a non-citrus substitute that might work?
I would use either apple cider vinegar or white wine vinegar instead.
This turned out wonderfully. When I want chickpeas I pressure cook a big pot of them, using some right away and freezing the rest. I also froze some of the bean broth and used in place of the water. I’m going to try the roasted garlic version another time. Can hummus be frozen? Love this site for so many reliable and tasty dishes.
Hi, Donna! Thanks so much for the great review. We don’t recommend freezing this one, but it can be stored in the refrigerator for 3-4 days.