In this kibbeh recipe, a mixture of bulgur wheat, onions, and ground beef forms a hollow shell for a delicious stuffing. Enveloped in warm and earthy Middle Eastern spices like allspice and ground cinnamon, kibbeh is the epitome of Middle Eastern comfort food. The kibbeh croquettes can be deep fried or baked, and are often served as mezze or side dish. See more on kibbeh and the step-by-step tutorial below!
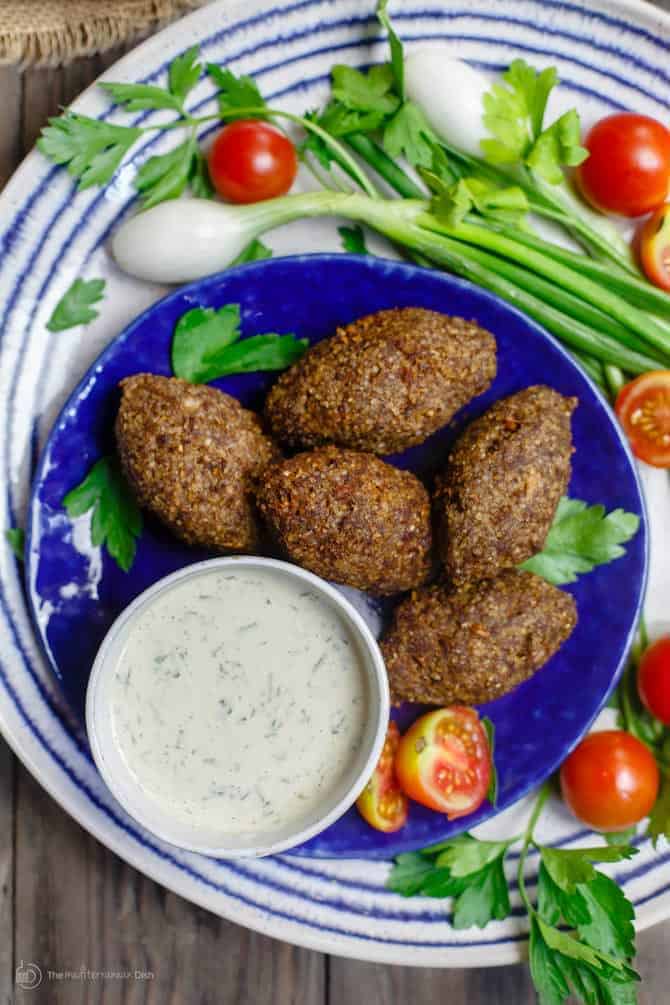
Click here to pin this recipe for later!
Stuffing kibbeh is a recreational activity that Middle Eastern women take as seriously as they do stuffing zucchini or rolling parcels of rice-filled cabbage leaves. It’s kind of a big deal. A rite of passage, if you will. If you grew in that part of the world, it’s assumed that your mother and the ladies of your community would have trained you to make kibbeh by the time you turned 15!
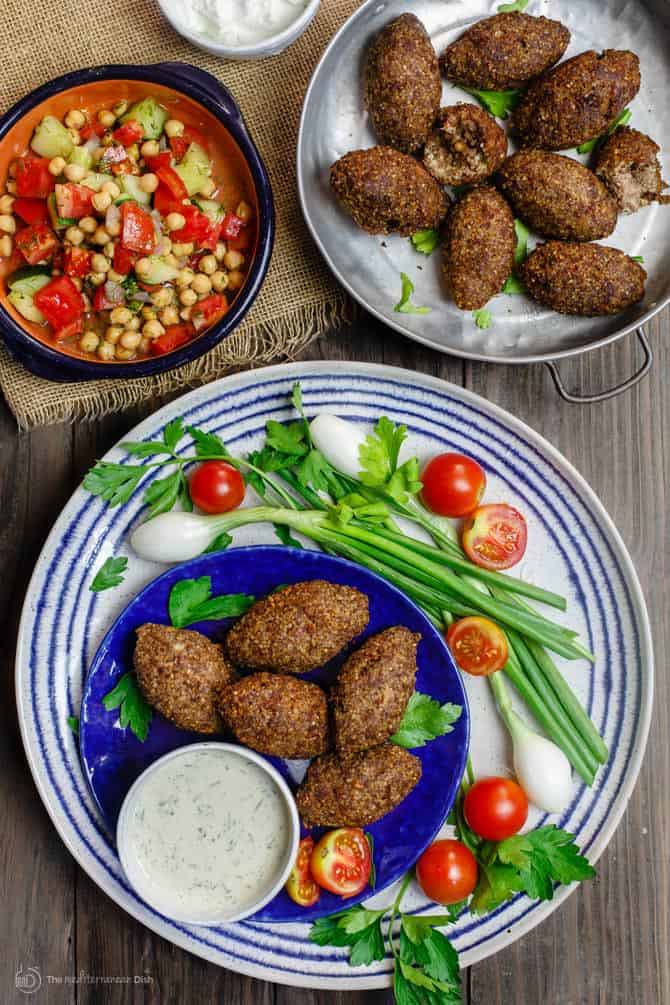
That was not the case for me. My closest encounter with kibbeh took place only a few years ago in my mother in-law’s Michigan kitchen. She made kibbeh in large batches on the regular. Some for the family, and a lot more for their then family-owned restaurant. I watched her form the kibbeh so precisely into small ovals, more like mini-footballs. She made it look so easy!
So What is Kibbeh?
I’ve heard kibbeh described as Middle Eastern meatballs–sort of.
The word kibbeh stems from an Arabic verb meaning, “to form into a ball;” so that description is not entirely wrong. But as you’ll see in today’s kibbeh recipe, they’re more like stuffed croquettes. There is a crispy outer shell made with bulgur wheat, onions, and finely ground beef. The shell is then stuffed with a mixture of spiced beef and toasted pine nuts; sealed and then fried or baked.
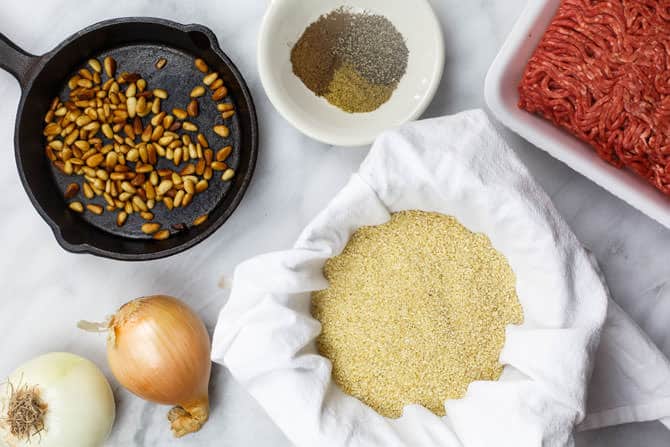
In today’s kibbeh recipe, I have attempted to follow the same football-like shape that my MIL taught me; although kibbeh can be formed into balls or even patties, whatever is easiest for you.
And there are many ways to prepare kibbeh–stuffed and then fried or baked like in today’s Kibbeh recipe. The Lebanese do raw kibbeh, or kibbeh nayya, which is a delicacy that resembles steak tartar. And there is also pan kibbeh, which we will make here in the future.
What to serve with Kibbeh?
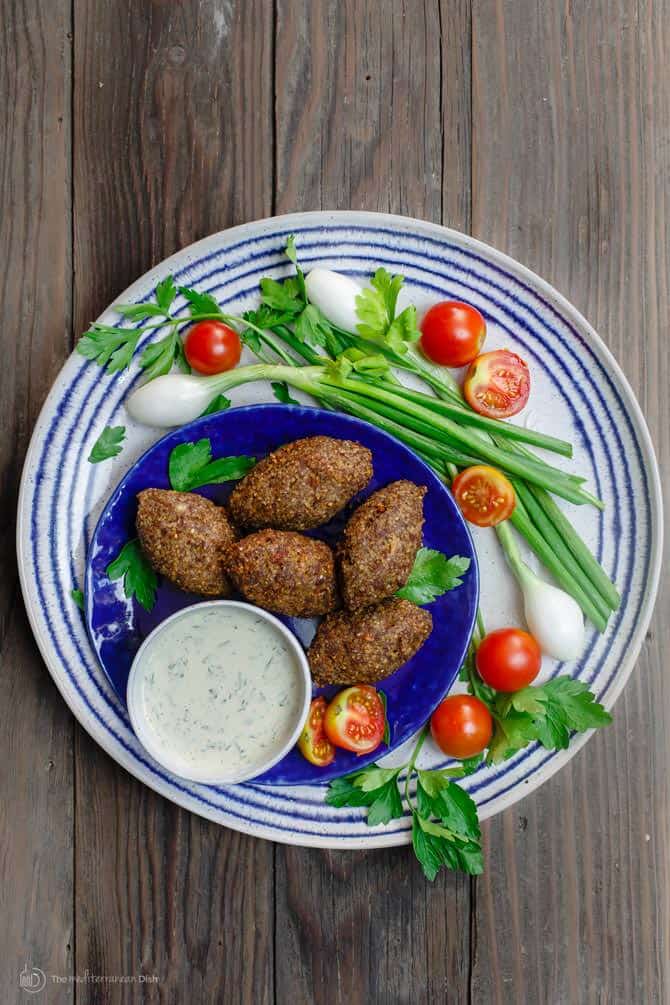
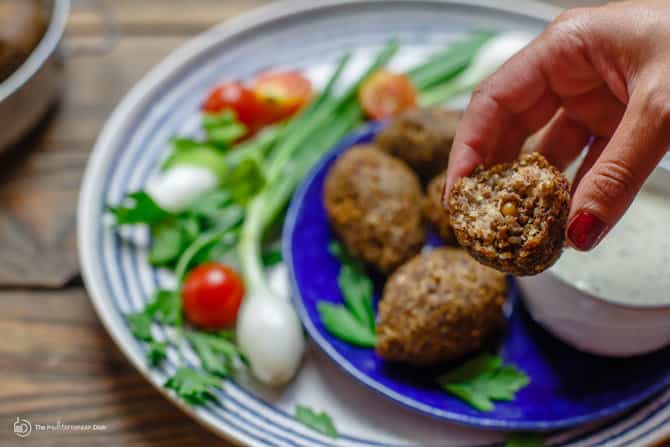
Kibbeh is best served warm with tahini sauce, tzatziki or plain yogurt. Here I served it with this Mediterranean chickpea salad; you can also serve it with tabouli, fattoush salad, or even Greek salad.
Step-by-step tutorial for how to make kibbeh
(scroll down for the print-friendly recipe)
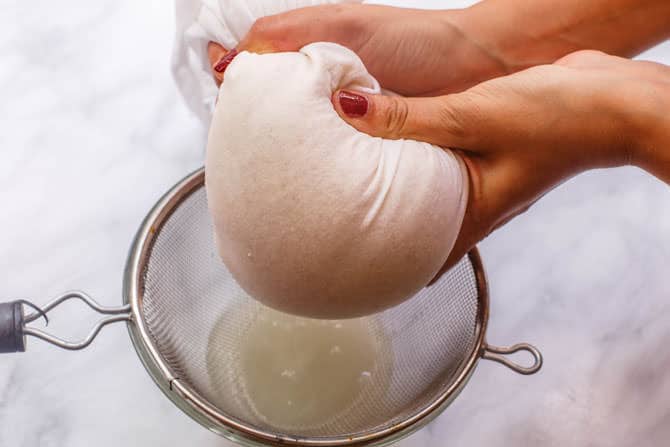
Cover a fine mesh strainer with a light cloth (a cheesecloth, if you have one). Add the bulgur wheat in, then place the strainer into a bowl filled with water. Let the fine bulgur wheat soak in the water for 15 minutes, then pull the cloth, holding the bulgur, and squeeze all the water out. You may do this a couple of times until you are sure the bulgur is rid of water. Set aside for now. (Once soaked, fine bulgur wheat is ready to eat. Coarse bulgur requires a little more time, as I outline in my bulgur cooking guide.)
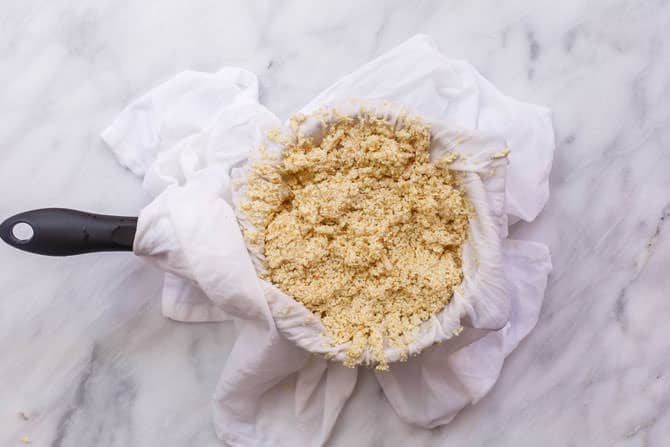
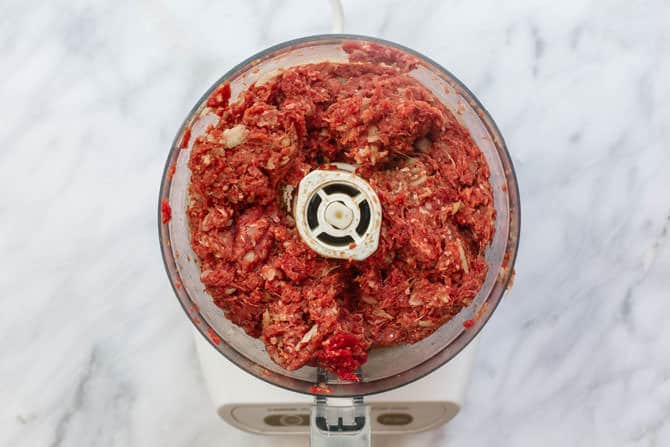
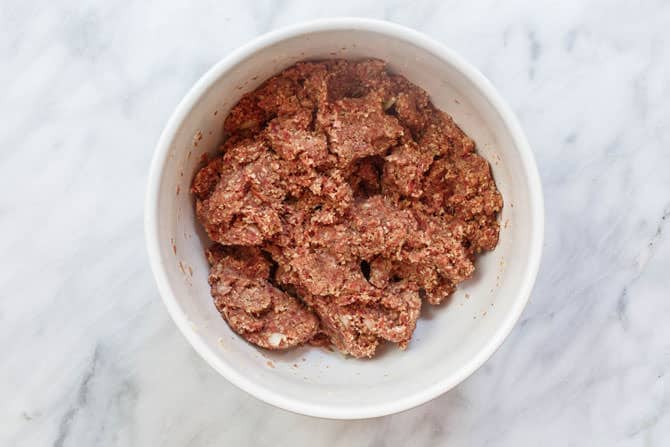
Now make the kibbeh (the actual dough that you will later use to form the kibbeh shells). Put the onion, ground beef, spices and pinch of salt into the bowl of a large food processor. Process until the meat is very finely ground almost into a paste.
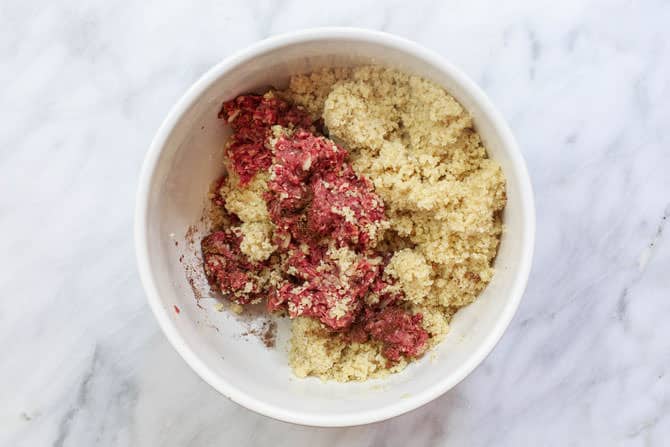
Transfer the meat mixture into a large bowl and add the bulgur wheat. Use damp hands to combine the bulgur with the meat mixture to make a dough. Cover and refrigerate until later.
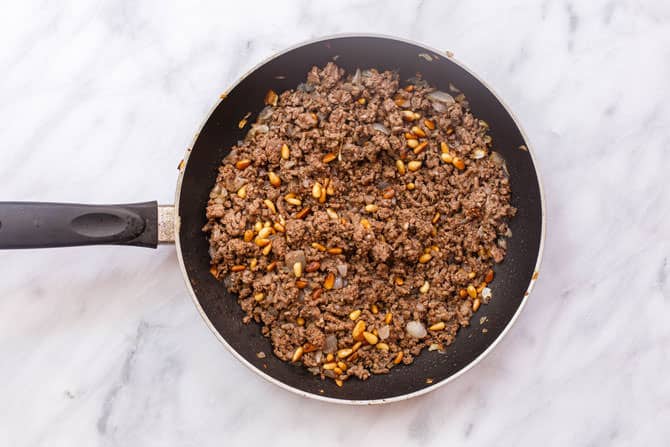
Now make the filling. Heat about 1 tbsp olive oil in a skillet or frying pan. Saute the onion until just golden, then add the ground beef. Cook over medium heat, stirring occasionally until the meat is fully browned. Add the toasted pine nuts, the spices, and the salt and pepper. Stir to combine. Remove from the heat and set aside to cool.
Remove the kibbeh dough from the fridge. To stuff the kibbeh, you need to have damp hands. Place a small bowl of water next to you. Prepare a baking sheet and line it with parchment paper.
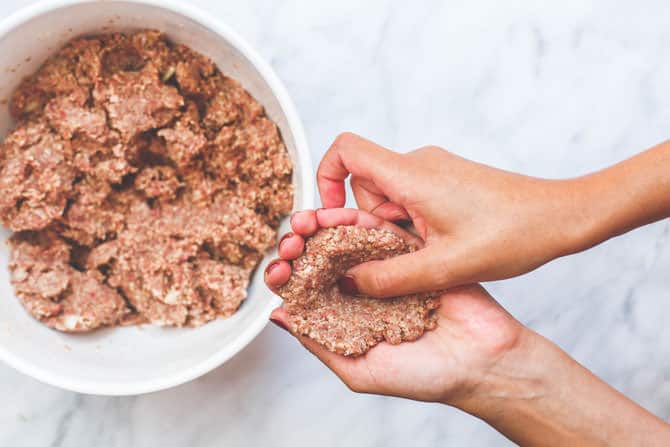
With both the bowl of kibbeh dough and the filling near, you can begin stuffing the kibbeh. Dampen your hands with some water, take a handful of the kibbeh dough (about 2 tbsp or so) and form into somewhat of an oval-shaped disc in the palm of one hand. Use your finger to make a well in the middle of the disc, and gradually hallow the disc out to make a larger well or hole for the filling.
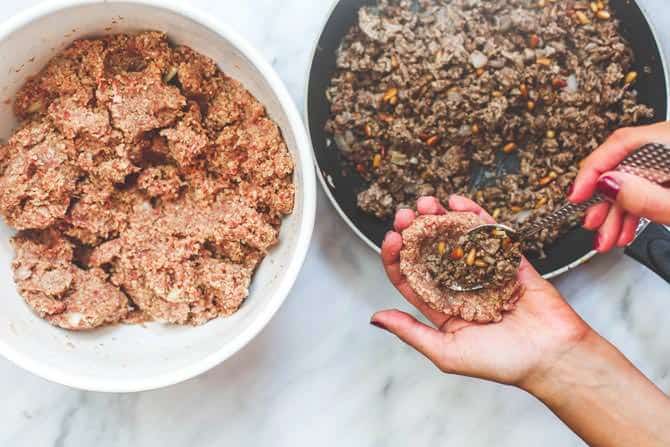
Using a spoon, add about 1 tablespoon of the filling. Seal the dough on top and, using both hands, carefully shape it into an oval (football-type shape).
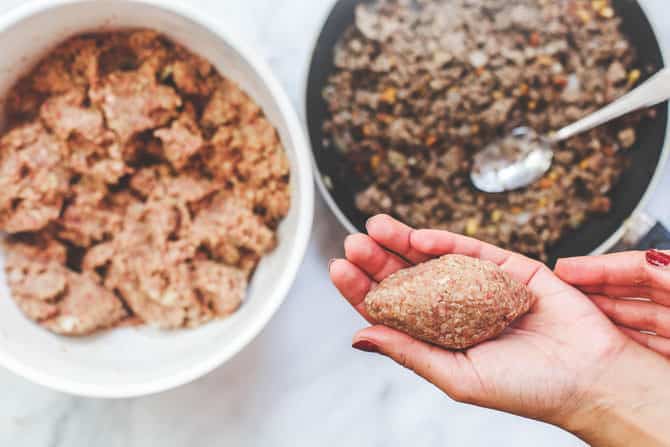
Place the stuffed kibbeh on the baking sheet lined with parchment paper. Repeat the stuffing steps until you run out of ingredients, be sure to have damp hands throughout.
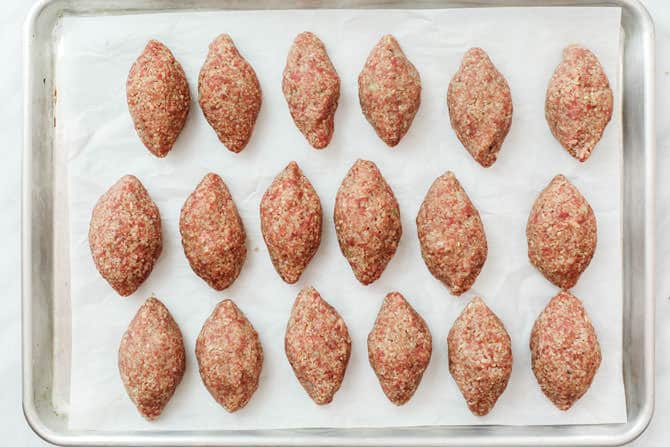
Chill the stuffed kibbeh for 1 hour, this is a very important step!
[And if you do not plan to cook the entire batch of kibbeh croquettes, this would be the time to freeze. See the freezing instructions in the recipe notes section below]
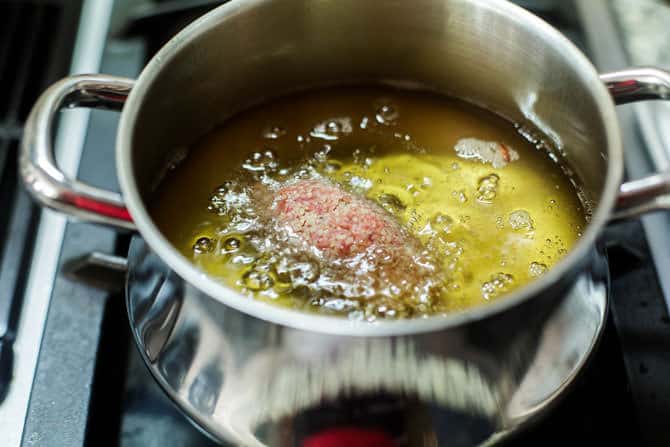
To fry, heat the oil in a deep frying pan to 350 degrees F (you’ll want the oil hot enough that you can see some gentle bubbling, but not too hot where it will burn the kibbeh shells). Deep-fry the kibbeh in the hot oil, in batches being carefully not to crowd them, until the kibbeh shells are brown (about 5 minutes or so).
[I show only one kibbeh here to help you see, but you can certainly fry a few at a time, just make sure they fit nicely in the frying pan]
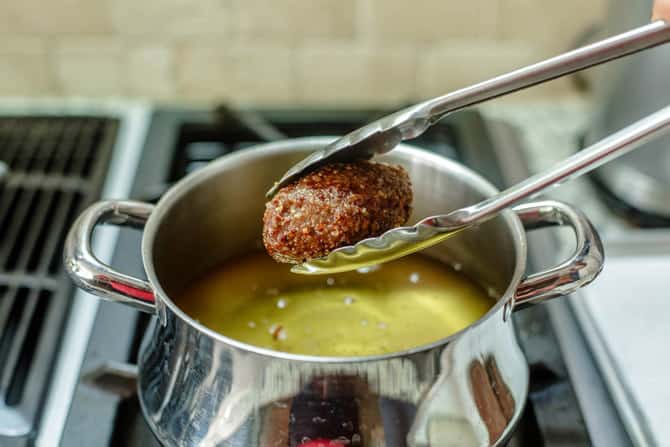
With a slotted spoon or tongs, carefully remove the kibbeh and place them on a pan lined with paper towel to drain. Repeat until you have fried all the stuffed kibbeh.
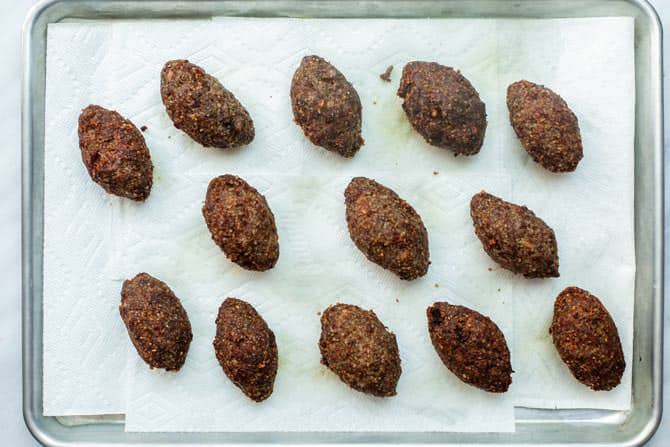
[Alternately, you can bake the kibbeh. Preheat the oven to 400 degrees F. Spray the stuffed kibbeh with olive oil, and arrange them in a single layer, spaced out, on a large baking sheet. Bake until deep golden brown, likely about 30 minutes or so, but this will vary].
Serve hot or at room temperature with tahini sauce, tzatziki sauce or plain Greek yogurt. Enjoy!
Kibbeh Recipe (How to Make Kibbeh)
- Total Time: 2 hours 15 minutes
- Yield: 24-30 pieces 1x
Description
In this kibbeh recipe, a mixture of bulgur wheat, onions, and ground beef forms a hollow shell for a delicious stuffing. Enveloped in warm and earthy Middle Eastern spices like allspice and ground cinnamon, kibbeh is the epitome of Middle Eastern comfort food. The kibbeh croquettes can be deep fried or baked, and are often served as mezze or side dish. See more on kibbeh and the step-by-step tutorial below!
Ingredients
For the Kibbeh (the actual dough that forms the kibbeh shells)
- 2 1/2 cups fine bulgur wheat
- Water
- 1 large onion, quartered
- 1 1/2 lb lean ground beef (or lamb)
- 2 tsp ground allspice
- 1 tsp ground coriander
- 1/2 tsp ground cinnamon
- 1 tsp black pepper
- Pinch salt
- Oil for frying
For the Meat Filling
- Olive oil
- 1 medium yellow onion, finely chopped or grated
- 1 lb ground lamb or beef (I used beef here), cold
- 1/3 cup toasted pine nuts
- 1 tsp ground allspice
- 1/2 tsp ground cinnamon
- Pinch salt and pepper
Instructions
- Cover a fine mesh strainer with a light cloth (a cheesecloth, if you have one). Add the bulgur wheat in, then place the strainer into a bowl filled with water. Let the fine bulgur wheat soak in the water for 15 minutes, then pull the cloth, holding the bulgur, and squeeze all the water out. You may do this a couple of times until you are sure the bulgur is rid of water. Set aside for now.
- Now make the kibbeh (the actual dough that you will later use to form the kibbeh shells). Put the onion, ground beef, spices and pinch of salt into the bowl of a large food processor. Process until the meat is very finely ground almost into a paste. Transfer the meat mixture into a large bowl and add the bulgur wheat. Use damp hands to combine the bulgur with the meat mixture to make a dough. Cover and refrigerate until later.
- Now make the filling. Heat about 1 tbsp olive oil in a skillet or frying pan. Saute the onion until just golden, then add the ground beef. Cook over medium heat, stirring occasionally until the meat is fully browned. Add the toasted pine nuts, the spices, and the salt and pepper. Stir to combine. Remove from the heat and set aside to cool.
- Remove the kibbeh dough from the fridge.
- To stuff the kibbeh, you need to have damp hands. Place a small bowl of water next to you. Prepare a baking sheet and line it with parchment paper.
- With both the bowl of kibbeh dough and the filling near, you can begin stuffing the kibbeh. Dampen your hands with some water, take a handful of the kibbeh dough (about 2 tbsp or so) and form into somewhat of an oval-shaped disc in the palm of one hand. Use your finger to make a well in the middle of the disc, and gradually hallow the disc out to make a larger well or hole for the filling. Using a spoon, add about 1 tablespoon of the filling. Seal the dough on top and, using both hands, carefully shape it into an oval (football-type shape). Place the stuffed kibbeh on the baking sheet lined with parchment paper. Repeat the stuffing steps until you run out, be sure to have damp hands throughout.
- Chill the stuffed kibbeh for 1 hour.
- Heat the oil in a deep frying pan to 350 degrees F (you’ll want the oil hot enough that you can see some gentle bubbling, but not too hot where it will burn the kibbeh shells). Deep-fry the kibbeh in the hot oil, in batches being carefully not to crowd them, until the kibbeh shells are brown (about 5 minutes or so). With a slotted spoon or tongs, carefully remove the kibbeh and place them on a pan lined with paper towel to drain. Repeat until you have fried all the stuffed kibbeh.
- Serve hot or at room temprature with tahini sauce, tzatziki sauce or plain Greek yogurt. Enjoy!
Notes
- It is important that the kibbeh dough remains cool as you work with it. So if you think it will take you longer to finish the stuffing process (steps 5&6), place the bowl of kibbeh dough in a larger bowl filled with ice.
- If you prefer to bake the kibbeh croquettes–Preheat the oven to 400 degrees F. Spray the stuffed kibbeh with olive oil, and arrange them in a single layer, spaced out, on a large baking sheet. Bake until deep golden brown (likely about 30 minutes or so, but this will vary).
- To freeze the kibbeh– You can easily freeze the kibbeh after stuffing. Instead of simply chilling for an hour (step #7), you can arrange the kibbeh on a baking sheet and freeze for an hour or two. Take the baking sheet out of the freezer, once the kibbeh have hardened, and transfer the kibbeh to a freezer-safe container or even large zip lock bags. Freeze until you are ready to use. You can cook these from frozen, do not thaw.
- Visit our store to browse our spices, olive oils and bundles!
- Prep Time: 1 hour 45 mins
- Cook Time: 30 mins
- Category: Sides
- Method: Baked
- Cuisine: Middle Eastern
This is almost my grandmother’s recipe (we’re Armenian), but she added parsley to both the shell and mixture and instead of frying, she boiled broth and cooked the kufta in it for about 15 minutes or more, until they rose to the top of the pot. Or baked them as you suggested as an alternative. Can’t wait to make these again after many years!
p.s. we also loved her chi kufta [raw, like steak tartar] although i wouldn’t try that today — same ingredients as the shell, rolled into balls.
Thanks for sharing, Gwen! It’s wonderful that you’re revisiting this cherished recipe after many years :). Hope you enjoy the culinary journey down memory lane!
Thanks for posting this great recipe! Could you also post a recipe for baked pan kibbeh? Thank you!
Hello! We don’t have a recipe for baked kibbeh at the moment, but we appreciate the inspiration! We’ll have to add it to our idea list!
A friend from the Dominican Republic taught me this recipe and I always had trouble with them falling apart, I did not refriderate them, so I will do that. She also added a few raisins to the filling which made them especially tasty.
Love all the recipes!
love it.
I had such high hopes for this recipe, it was the first that popped up in my Google search, but it wasn’t anything like I remember the kibbeh that I’d eaten being. There’s not NEARLY enough salt for either the stuffing of the cover and, while they smelled heavenly while baking, they didn’t really taste like anything :(. I think the spices might be right, but it needs a looooooot more of everything 🙁
Hi Suzy! I’m Vicente from Argentina 🇦🇷 and I love your recipes.
Last night I made your kibbeh recipe and completed the mezze with pita bread, hummus, and yogurt dip. My family loves it! Thank you so much!
What a feast! So glad everyone enjoyed it!
I love Kibbeh and I can’t wait to make this dish!!!
Hope you enjoy it, Nicole!
My Lebanese parents prepared kibbee regularly but with lamb only. Leg of lamb had a better taste than lamb shoulder but costs more. I now make my kibbee with a 50/50 blend of leg of lamb and ground chuck. Never hamburger because of the fat content. I also only use corn oil like Mazzola to fry kibbee patties. I’ve tried different variations of kibbee recipes but everyone agrees this recipe is delicious. I appreciate your efforts to bring attention to Lebanese dishes.
I’ve tried many of your recipes and am a huge fan! This looks great too, but is there a way to make gluten free? Could you sub quinoa for the bulgur?
Hi, Deb. While I have not tried it personally, another reader has subbed the bulgar with quinoa and said it worked well. If you give it a go, please stop back and share your thoughts.
With a number of family members with gluten allergies, I used quinoa rather than bulgur. Cook it first, then squeeze out the excess water. Then cool it before adding the meat for the dough. From this point the cooking is identical to the bulgur shell. Both are delicious and the taste is much the same as both of these ingredients take on the taste of the aromatic spices used.
Thank you so much for sharing, Susan!
I tried this recipe last friday and it was great! I used ground beef and replaced pine nuts with walnuts.
I prepared a ‘mezze’ with kibbe, hummus, pita bread and a fresh salad… and also french fries for my kids.
I absolutely love this website, and I can’t wait to try more recipes!
Greetings from Argentina!
Thank you, Vincete! That sounds like wonderful mezze! Love the french fries! LOL!
Hi Suzy,
I love your recipes but I feel more confident when you have a video for the recipes.
Can you make a video on “How to make Kibbeh?”
It would be greatly appreciated.
Thank you and your recipes are awesome.
Aileen M.
Thanks for the feedback, Aileen. I’ll make a note!
Wow! I finally made these last night and they looked great and tasted even better! I served them with my own recipe for chickpea salad and your delicious recipe for tahini sauce. I’m Italian and this was my first time making these, although I’ve tasted them before. My husband has very fond memories of kibbeh, as his next-door neighbor growing up was Syrian, and would send a tray of them over often when she made some. This recipe brought him right back to those happy memories!
Thanks so much for sharing this!
That is so nice to hear, Phyllis! Thank you for sharing!
What are the best sauces to serve with this? Tzatziki? Tahini? both?
I found this Yogurt Dip Seasoning in the Lebanese aisle of my International grocery store, the brand is Sadaf, is this something you’d use if fresh herbs weren’t available? It’s mint, basil, tarragon, onion, garlic, black pepper, & rose bud flower.
Thank You! I LOVE your blog, I’m working my way through all the recipes. Middle Eastern (specifically Lebanese) has become my favorite, I LIVE for the warm spices, fresh herbs, and cooling yogurt sauces.
Chloe
Hi, Chloe! Tzatziki and Tahini sauces are both great choices to serve with Kibbeh. Plain Greek yogurt would also work in a pinch. I can’t really advise on the Yogurt Dip Seasoning. I’ve never heard of that one… but it sounds very interesting! I’m so glad you’re enjoying the recipes your finding on the blog! 🙂
Love the pan you use for frying
where did you get it from
Hi, Meenu! I’ve had that one for quite awhile… I can’t remember exactly where it’s from… I’m sorry.
Your recipe looks great and I look forward to trying it. I was wondering if you had adapted it for the air fryer. We just purchased one and am learning how it works. Any tips you can share would be appreciated.
I’m sorry, Audrey… I don’t have an air fryer, so I don’t have any tips to offer.
An air fryer is just a small convection oven, so set it to around 375 and cook as directed, I’d check and move around after 15 minutes. (I just made these in a convection oven a and that’s what I did)
Thanks for the help here, Lauren!