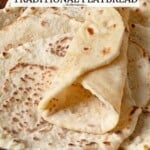
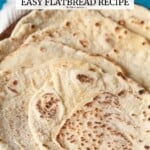
Lavash is a soft, paper-thin flatbread. Much like pita, this ancient flatbread is a beloved staple of Armenian and Middle Eastern cuisine that is easy to make at home with pantry ingredients you likely have on hand. This lavash recipe will teach you how to make lavash any night of the week using a skillet!
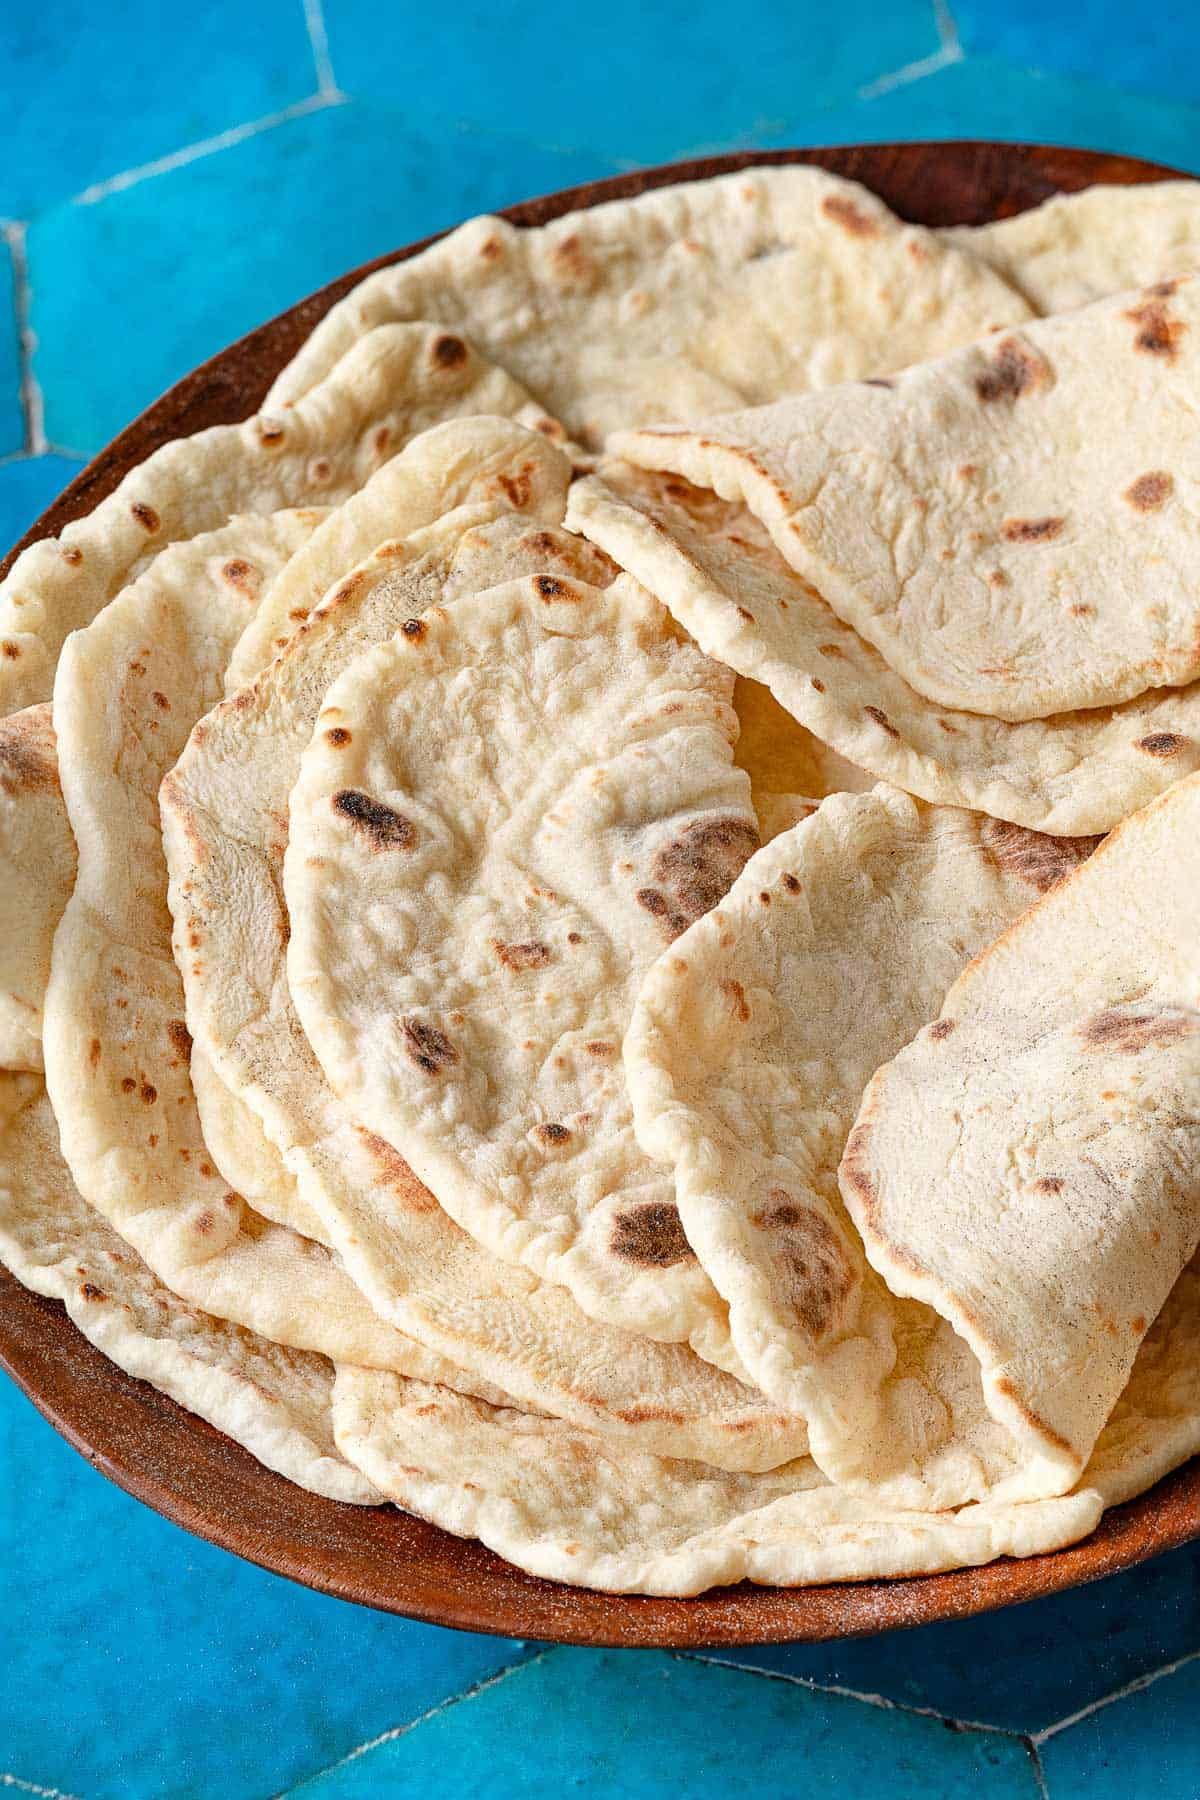
Lavash is a delicate flatbread made from a handful of humble pantry staples. But it’s so much more than that! The soft, pliable Armenian bread is an essential part of the table across parts of the Middle East, Central Asia, and Caucasus region, particularly in Armenia, Azerbaijan, Iran and Turkey.
There, lavash is used not only for wraps but as a utensil, a vehicle for scooping dips like hummus or baba ganoush just as you would with pita. It even acts as an edible plate, soaking in kebab’s juices for a flavorful final bite.
Though store-bought lavash is convenient and easy to find, it tends to be rather brittle and dry. There’s just nothing like the tenderness, comfort and warmth of fresh lavash bread. And luckily it is easy to make using a skillet!
Use this lavash recipe to make a wrap like tantuni or shawarma, or any time when you would typically use a tortilla. I also love to serve lavash alongside soups and stews, dips, meat, and more. This versatile bread may be tasty from the store but it’s absolutely exceptional when you make it yourself—well worth the extra effort!
Table of Contents
What is Lavash? History and Traditions
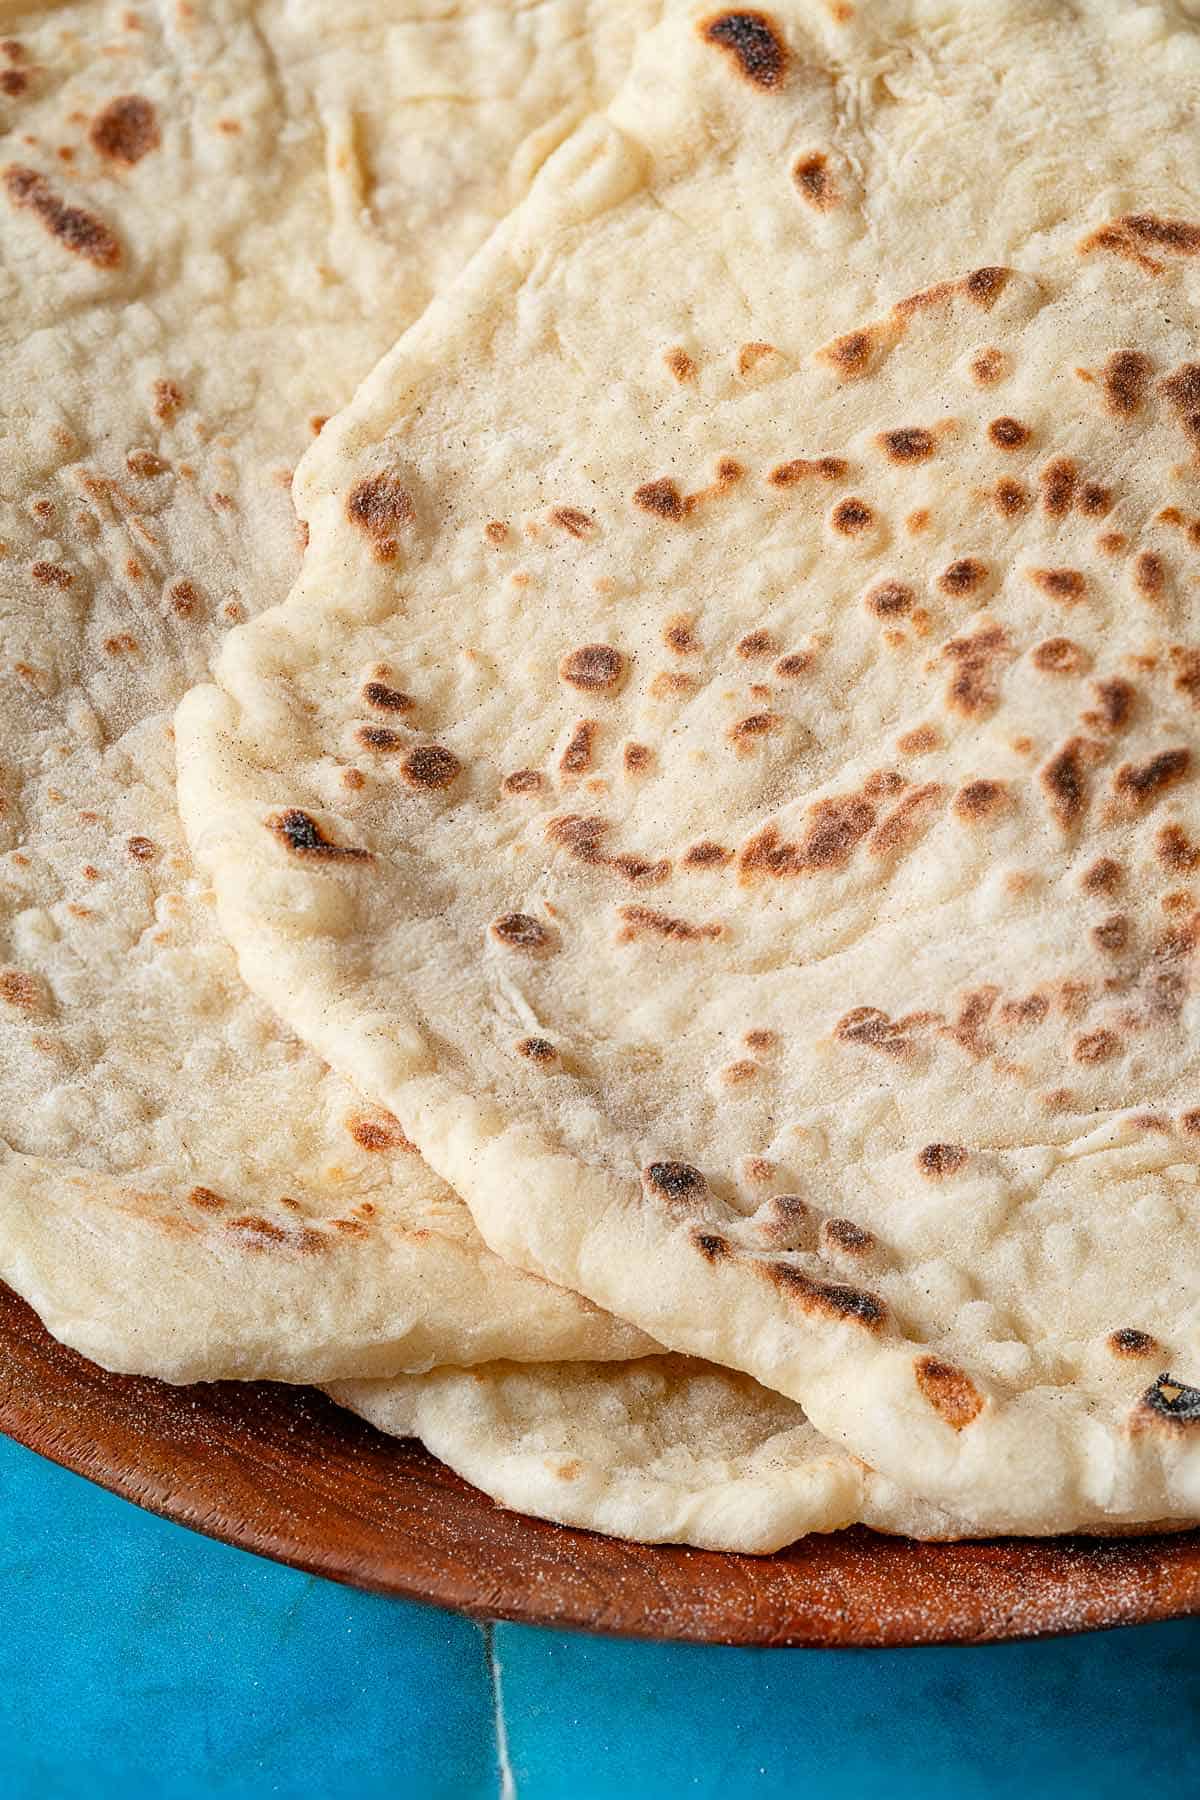
Lavash is an ancient wafer-thin, pliable flatbread made of simple pantry staples including flour, salt, water (or milk), and yeast, although some recipes do skip the yeast and rely on old dough to make an unleavened lavash. In this recipe I do use milk for a more tender bread and a little honey for a hint of sweetness.
The making of this flatbread can be traced back thousands of years. Many countries and cultures have been making Lavash (different variations of it) including, Armenia, Iran, and Kazakhstan, among others, making this bread a distinctly Middle Eastern bread. But the origin is most often attributed to Armenia, where women continue with the traditional method of making lavash.
They first roll large rectangular pieces using a large, thin dowel until the dough is longer than their arm. Then they gracefully drape the thin dough over a tool that looks like a puffy pillow with a handle on the back. In an impressively smooth next step, they swiftly slap the bread on the hot wall of an underground stone oven called a “tonir.”
The lavash sticks to the wall, cooking within seconds. A large metal hook is used to fetch the freshly made bread and they continue with the process, piling the thin flatbreads sky-high as they go.
This beloved bread is made throughout the Middle East and is treasured by many. My hope is that by sharing this recipe it can become a treasured part of your life too.
Lavash Ingredients
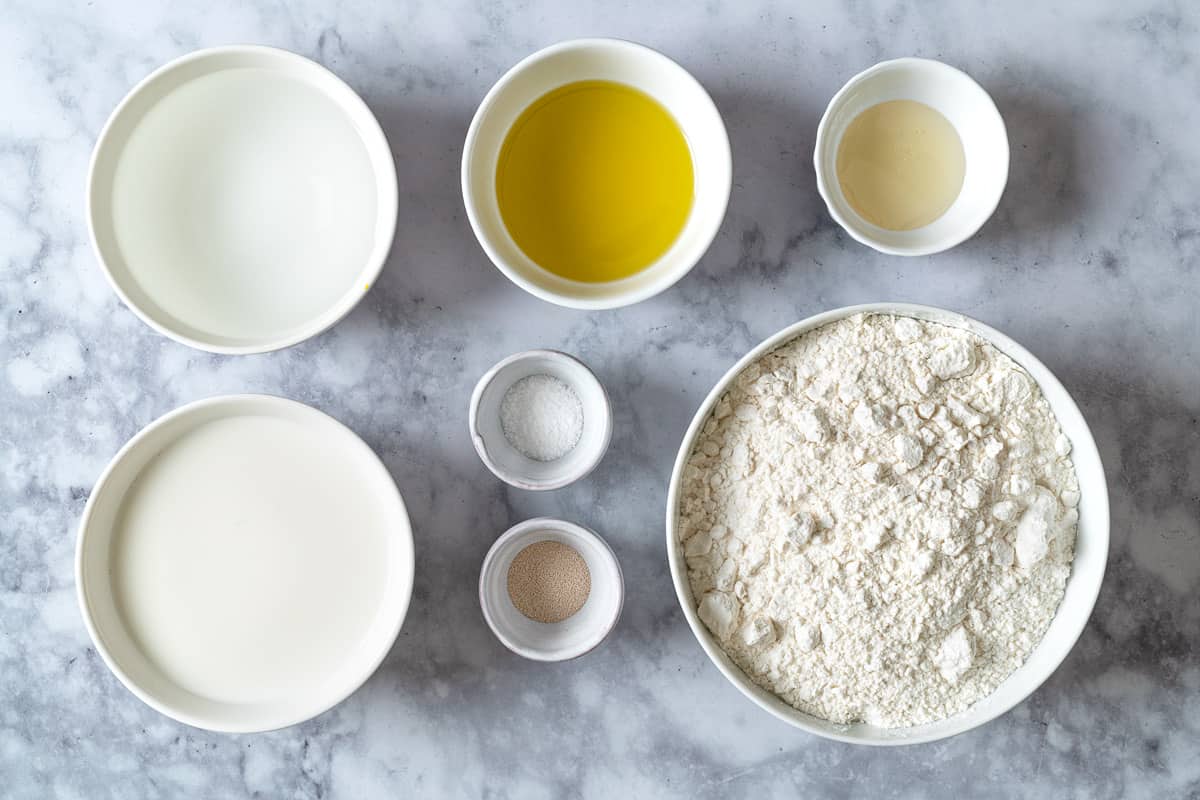
Lavash is a great back pocket recipe: it’s a quick flatbread made with ingredients you likely have stocked. Here’s what you’ll need:
- Bread flour: Has a higher protein content, making it ideal for denser, chewier flatbread like lavash.
- Instant yeast: Lightens the dough and adds flavor.
- Kosher salt: Flavors the dough and acts as a yeast inhibitor to prevent it from getting too puffy.
- Whole milk: Adds richness to the dough.
- Honey: Use a high quality honey that’s not too thick (I love our Greek Alpha honey from Crete).
- Extra-virgin olive oil: Prevents sticking. Any high quality extra virgin variety works well. Check out our shop for my favorite hand-selected olive oils.
How to Make Lavash
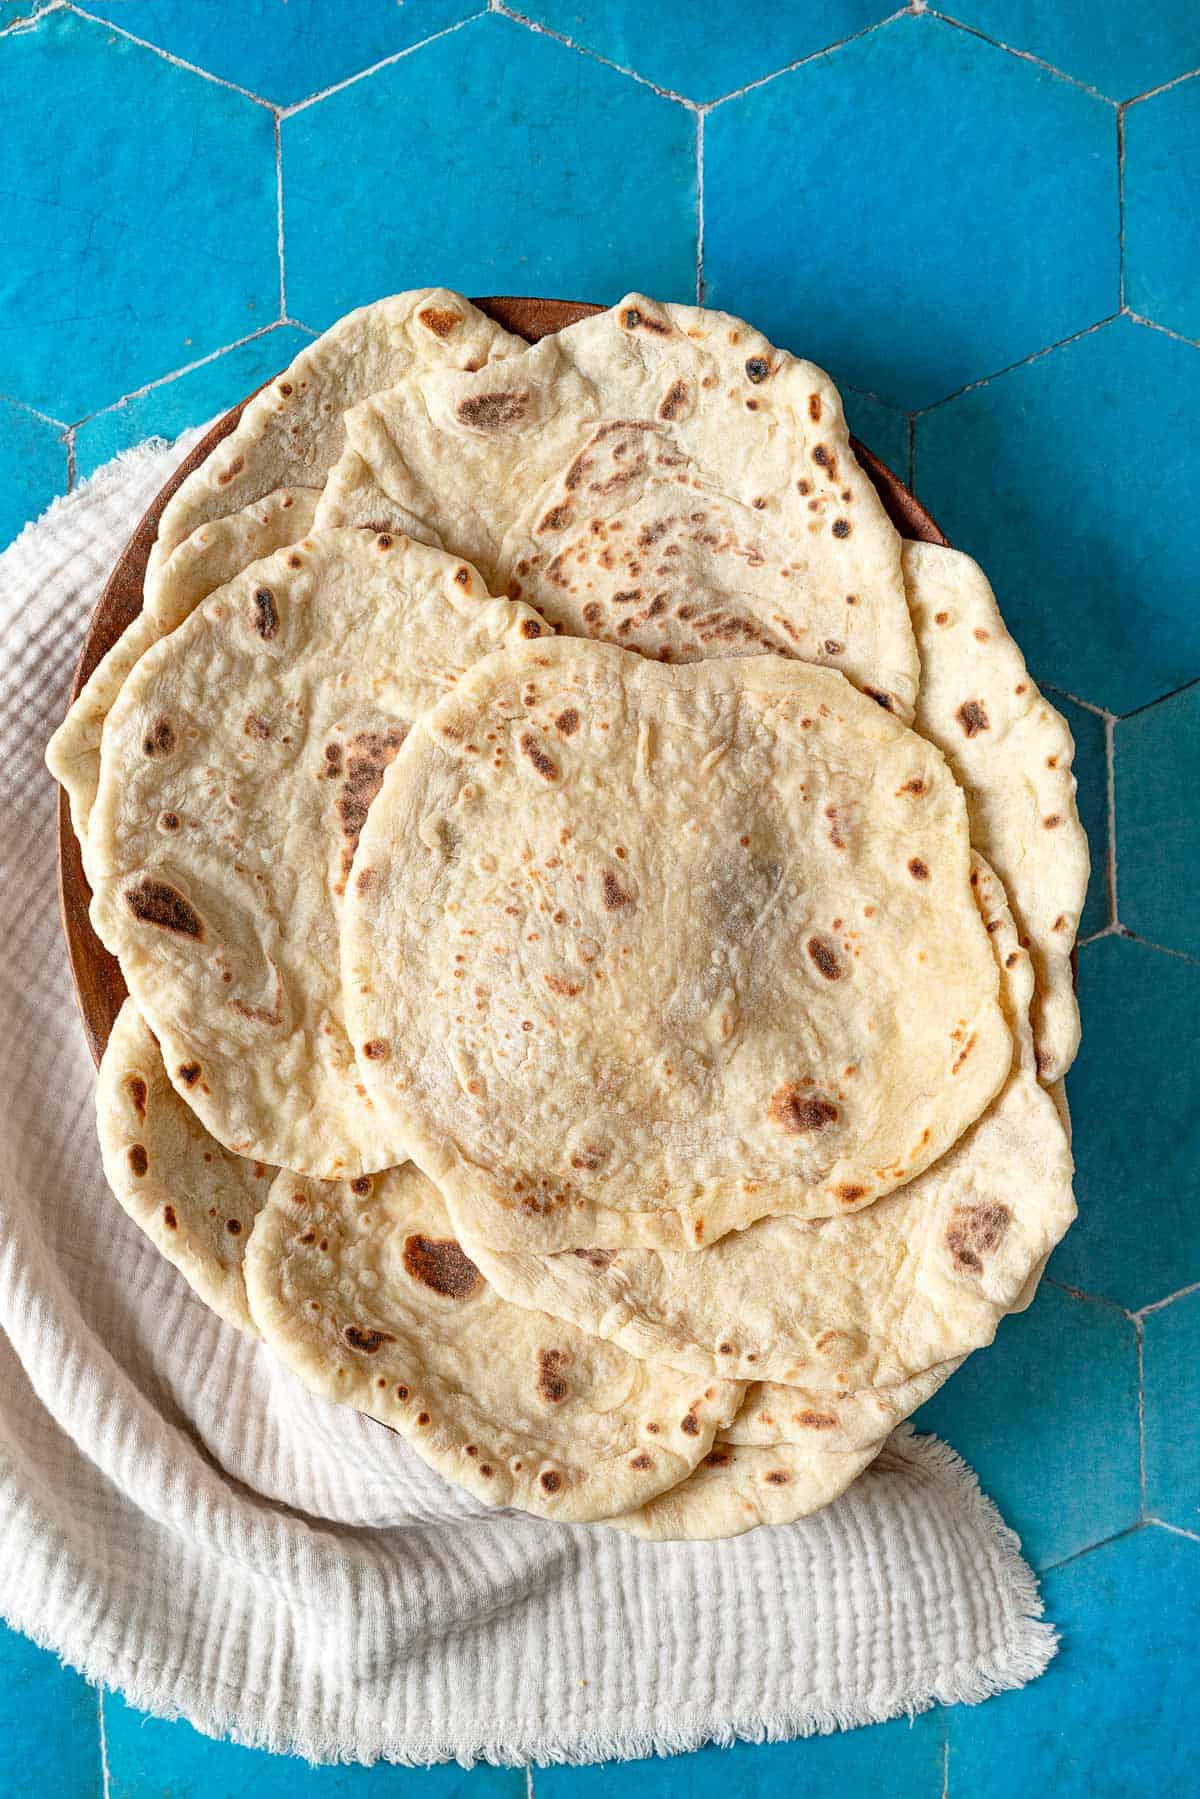
Lavash is a humble bread at the end of the day—you don’t need advanced techniques or fancy ingredients. Here’s how to make it:
Make and Rest the Dough
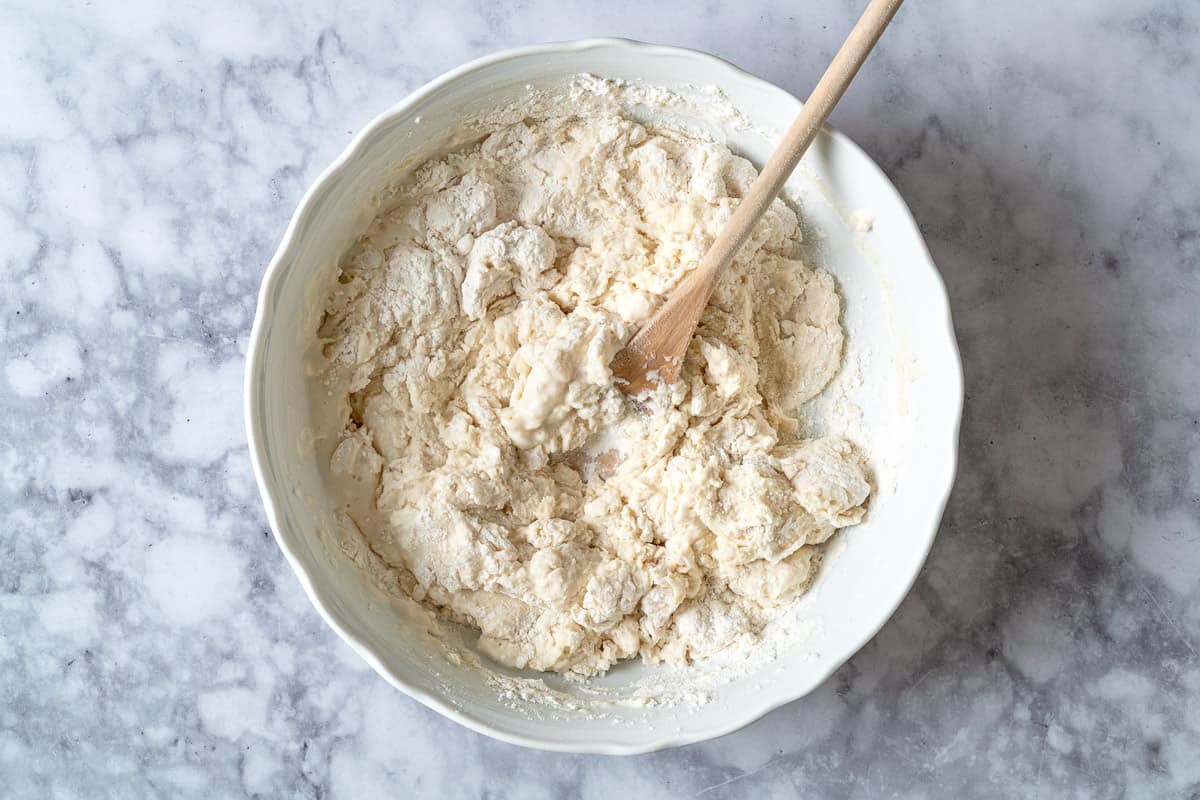
- Mix the dough. Into a large mixing bowl, add 2 1/2 cups bread flour, 1 teaspoon instant yeast, and 1 teaspoon kosher salt. Mix with a wooden spoon as you slowly add 2/3 cup water, 2/3 cup milk, and 1 teaspoon honey.
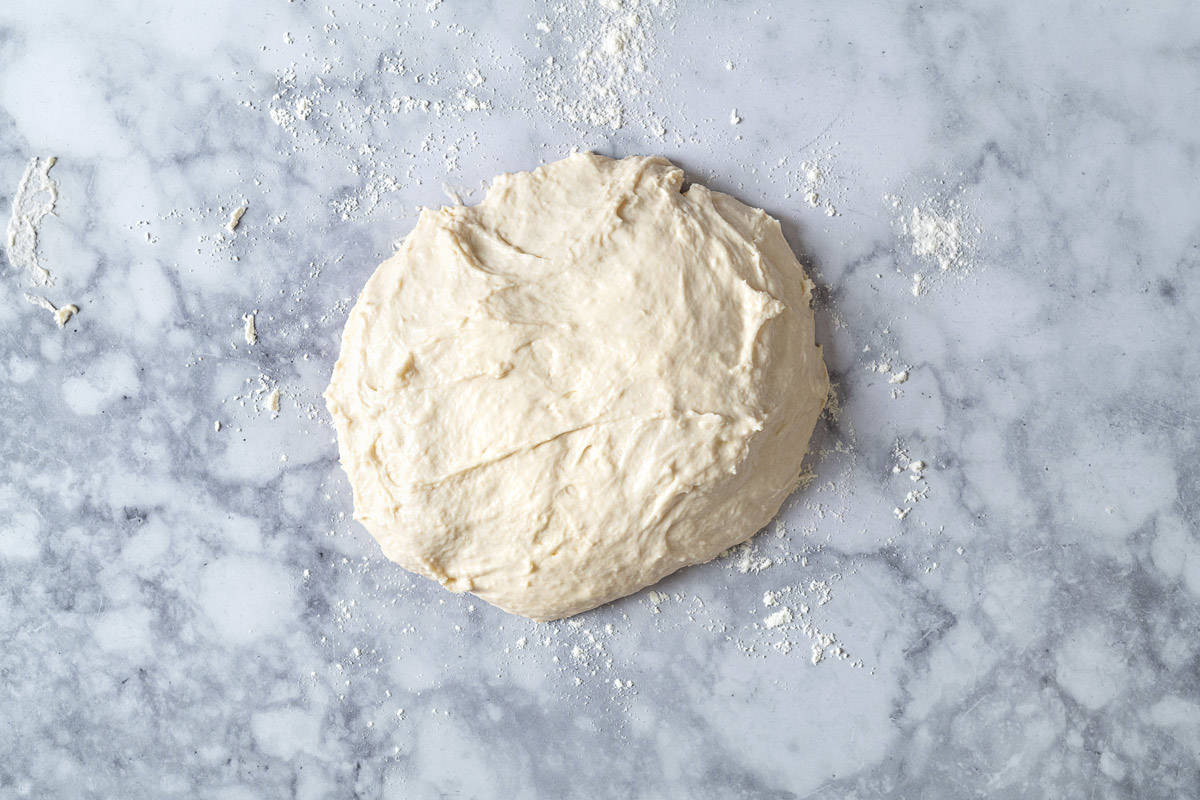
- Knead the dough. When the dough becomes too difficult to mix with the spoon, turn the dough over onto a clean, lightly floured surface. Lightly oil your hands with about 1/2 teaspoon of olive oil. Gently knead just until the dough comes together (it will be sticky), about 3 minutes or so.
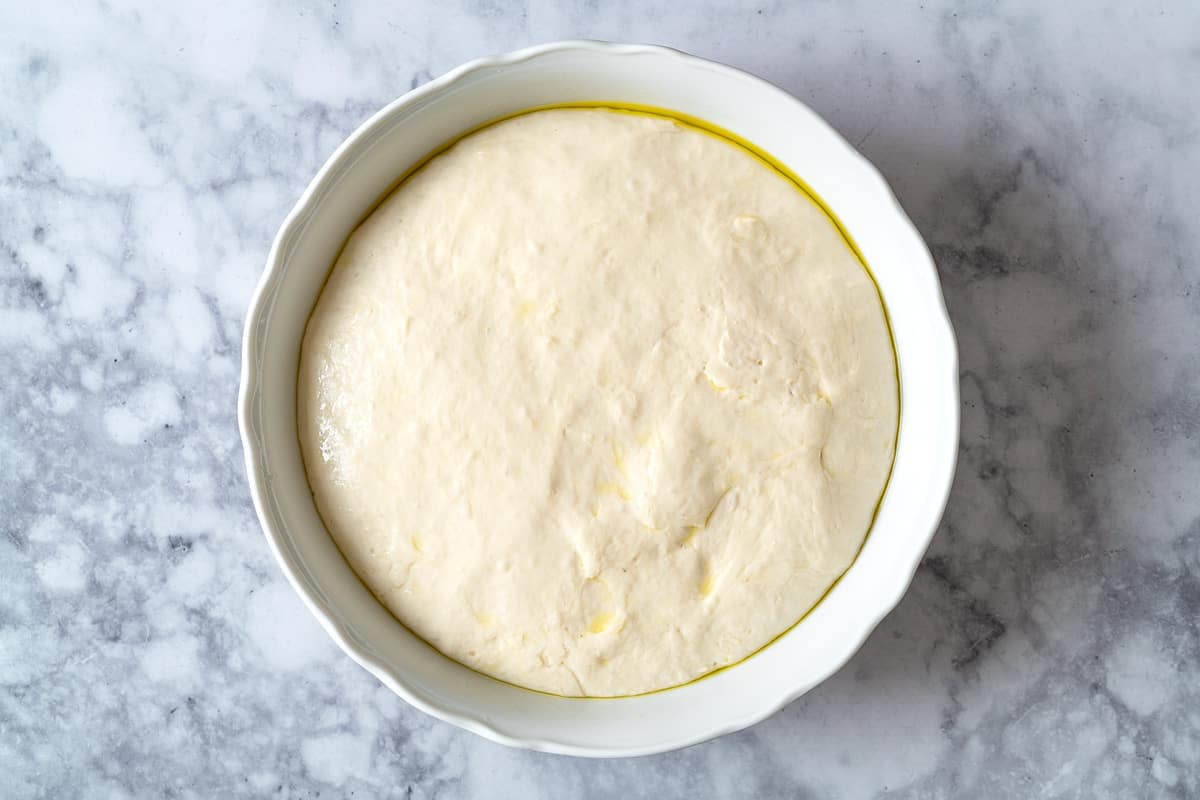
- Set aside to rise. Wipe the mixing bowl clean or rinse and dry it very well. Lightly oil the bottom and sides of the bowl with about 1 teaspoon olive oil. Place the dough in the bowl and oil the top with about 1/2 teaspoon olive oil. Cover the bowl with a clean kitchen towel and set it aside in a warm spot to rise for about 45 minutes.
Shape and Cook the Dough
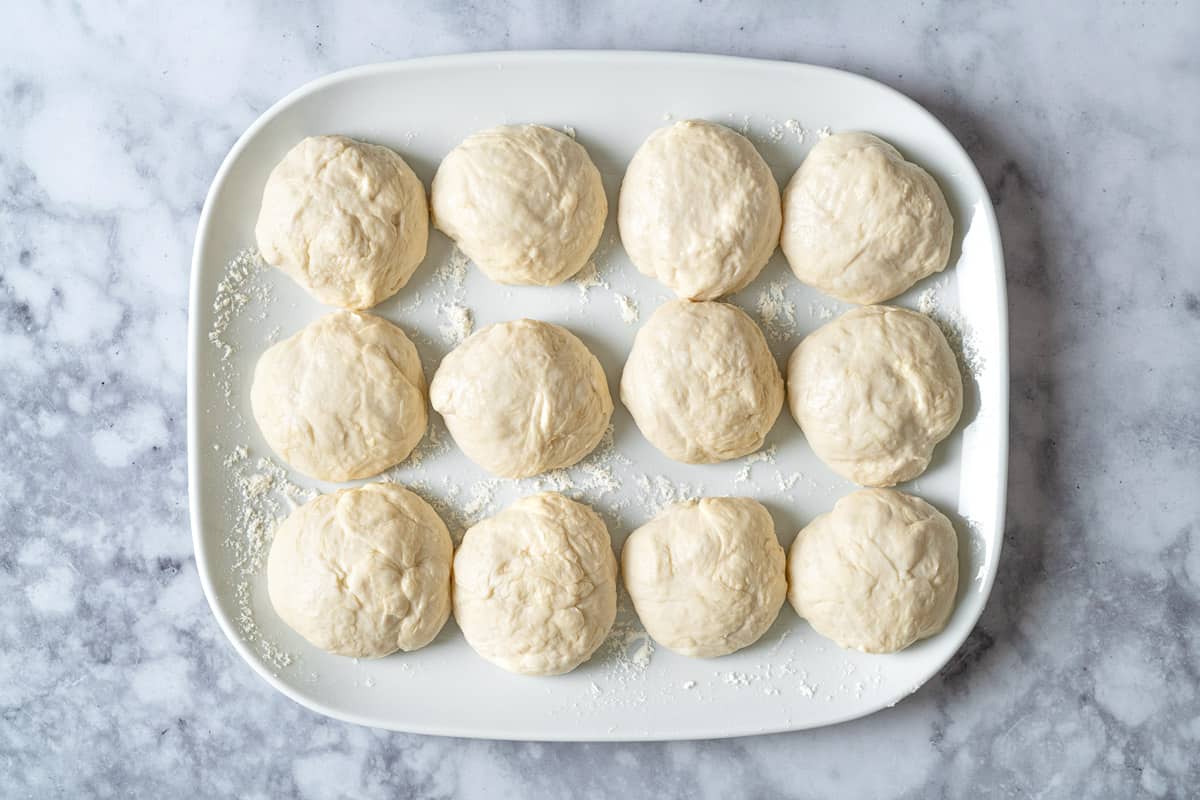
- Divide the dough. Use oiled fingers to gently punch the dough down, then divide it into 12 small balls of equal size. (It helps to weigh the dough balls. Mine weighed around 1 1/2 ounces each.) Set the portions onto a floured surface. Cover with a clean cloth as you work on rolling and cooking each lavash.
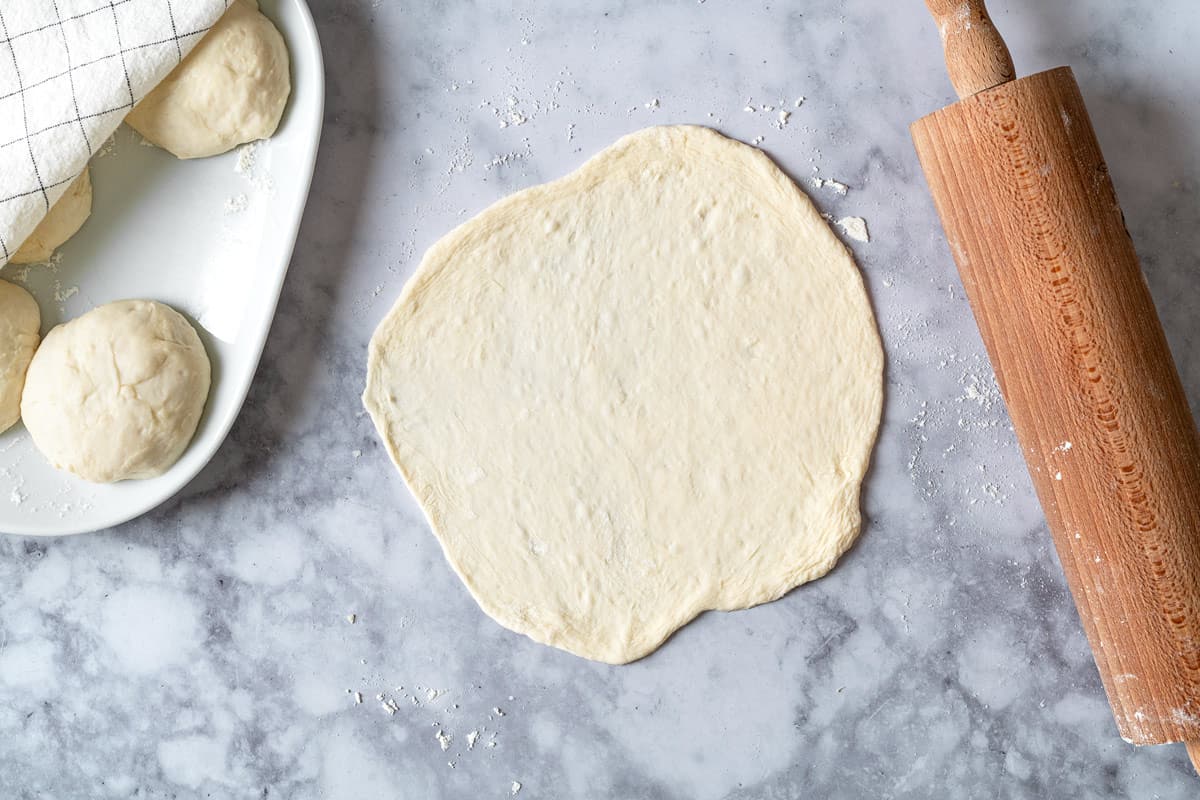
- Roll. Work with one ball of dough at a time, keeping the remaining portions covered as you go. Set the dough on a floured work surface and lightly dust the top with flour. Flatten it with your hands, then use a rolling pin to roll it out as thinly as possible. You should end up with a thin disc that’s about 8-inches in diameter.
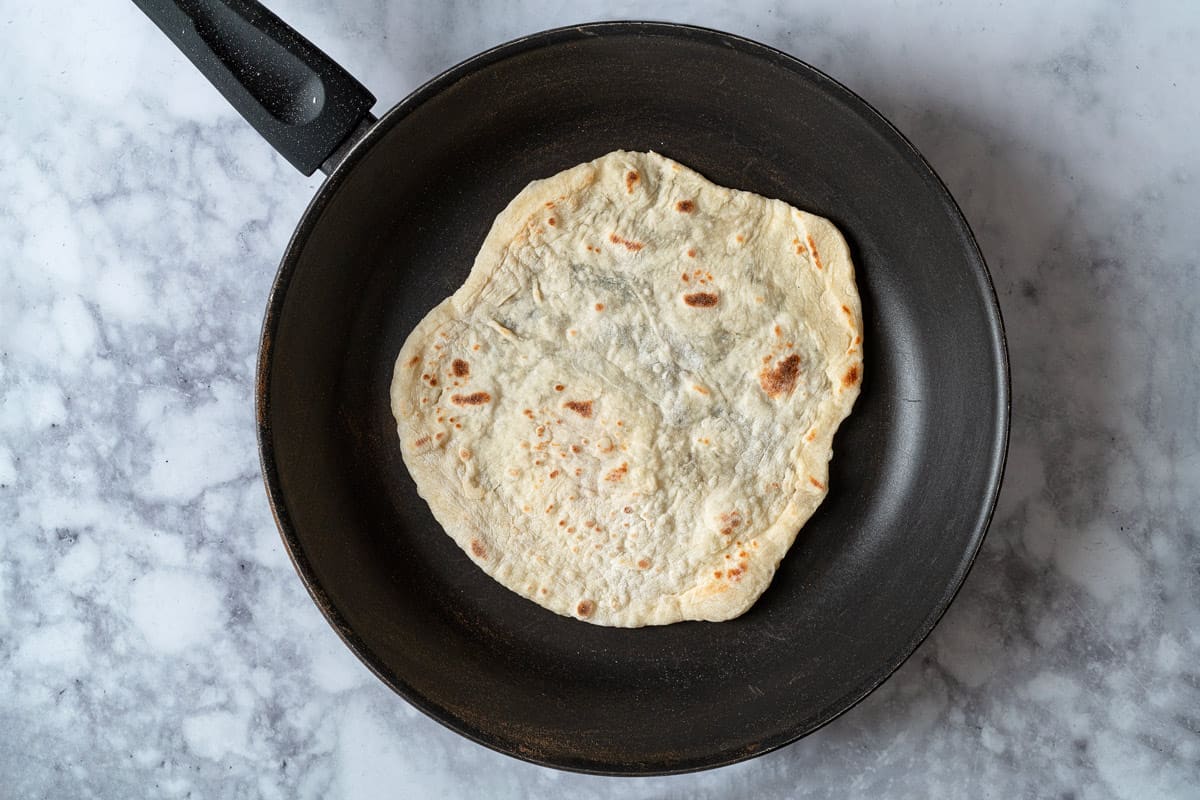
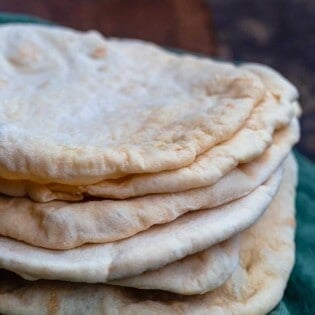
- Cook. Heat a large non-stick skillet over medium heat. Carefully place one lavash in the pan and cook for about 30 to 40 seconds (some bubbles should appear and the bottom should have some golden brown spots). Use a spatula to turn the lavash over and allow it to cook on the other side for another 30 to 40 seconds, or until bubbles form and you see golden brown spots.
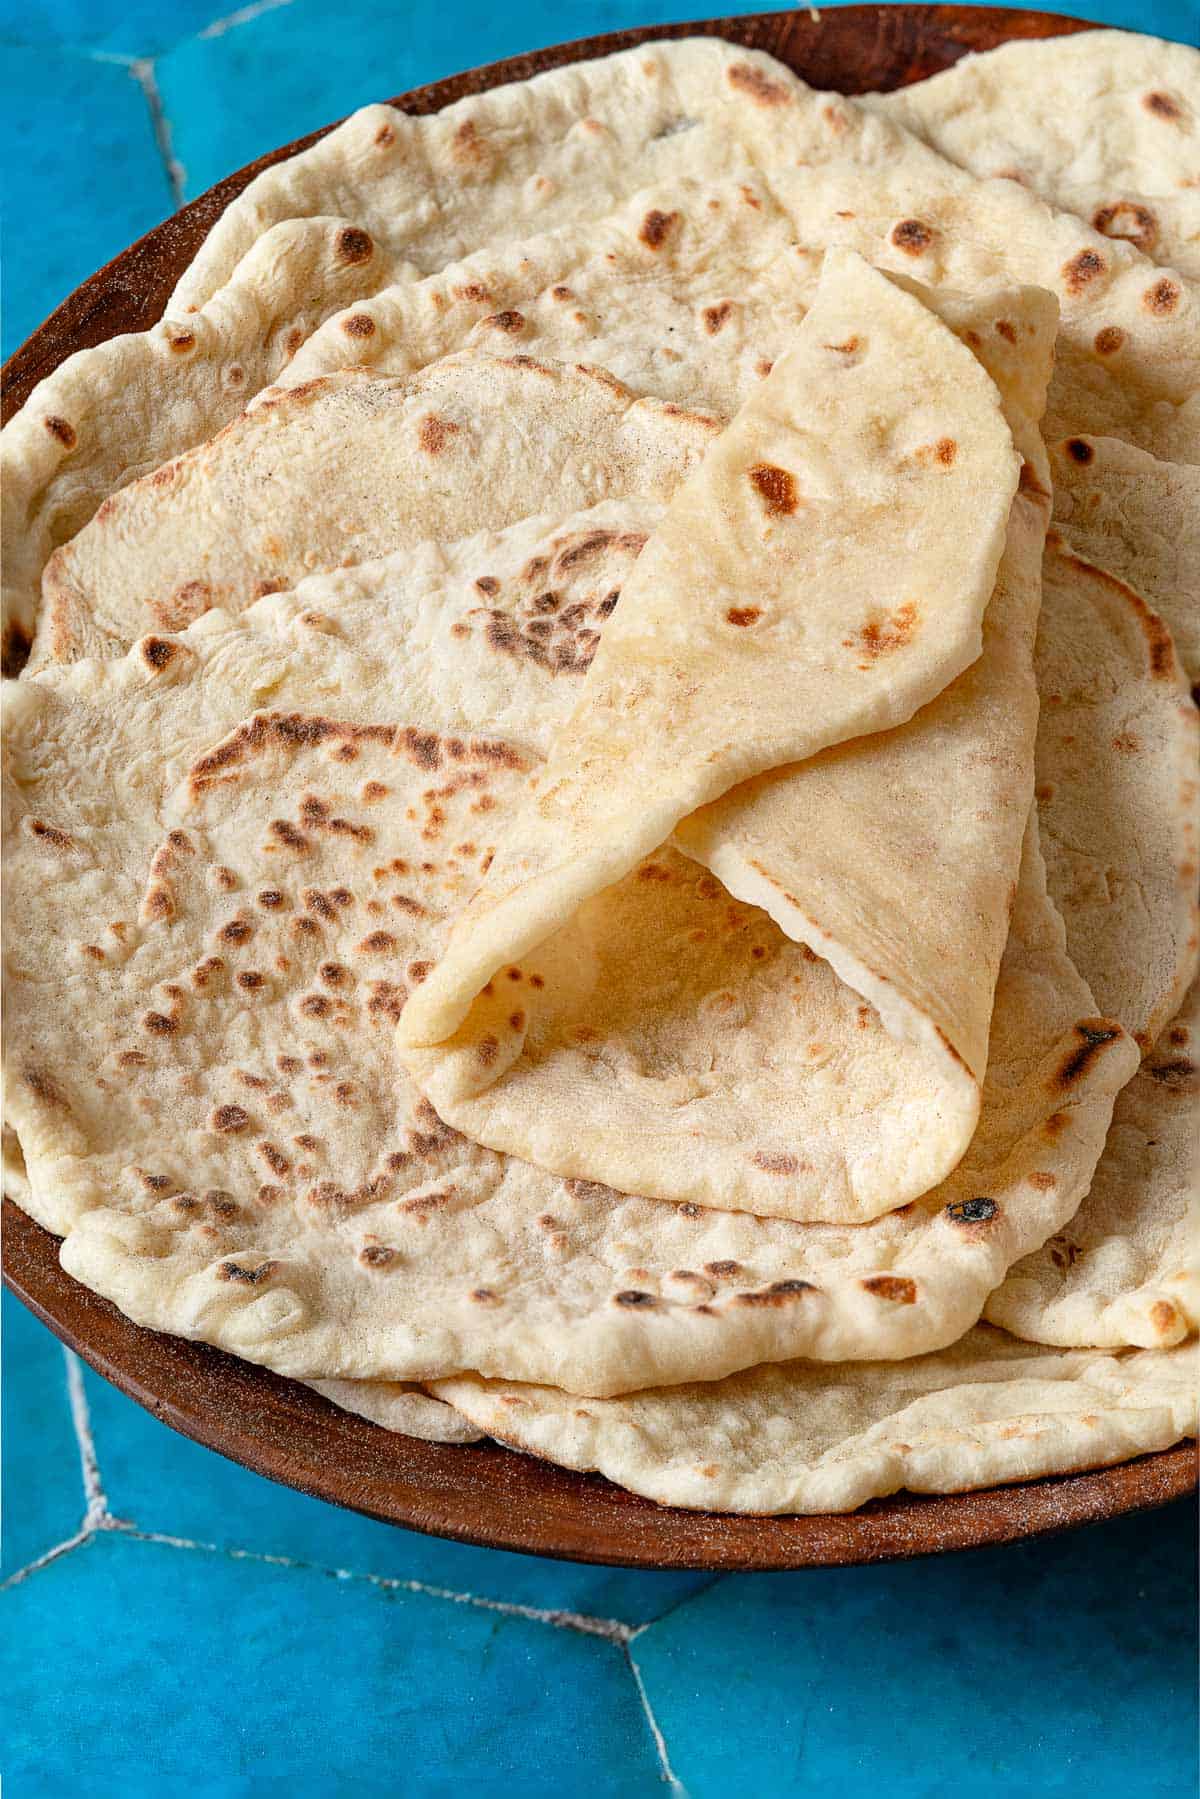
- Cover and repeat. Transfer the cooked lavash to a large tray and cover with a clean towel (this will keep the bread from getting crispy). Repeat with the remaining dough until you have cooked all the lavash. Serve warm or store for later (see storage tips).
How to Store Lavash Bread
I love fresh lavash and I believe it is best eaten within a few hours of baking, but if you have any left, simply layer each lavash between parchment paper, place them in a large ziplock bag and seal.
The bread will keep well at room temperature for up to 4 days or freeze for up to 1 month. Frozen lavash can be warmed in a low-heated oven.
What to Serve with Lavash Bread
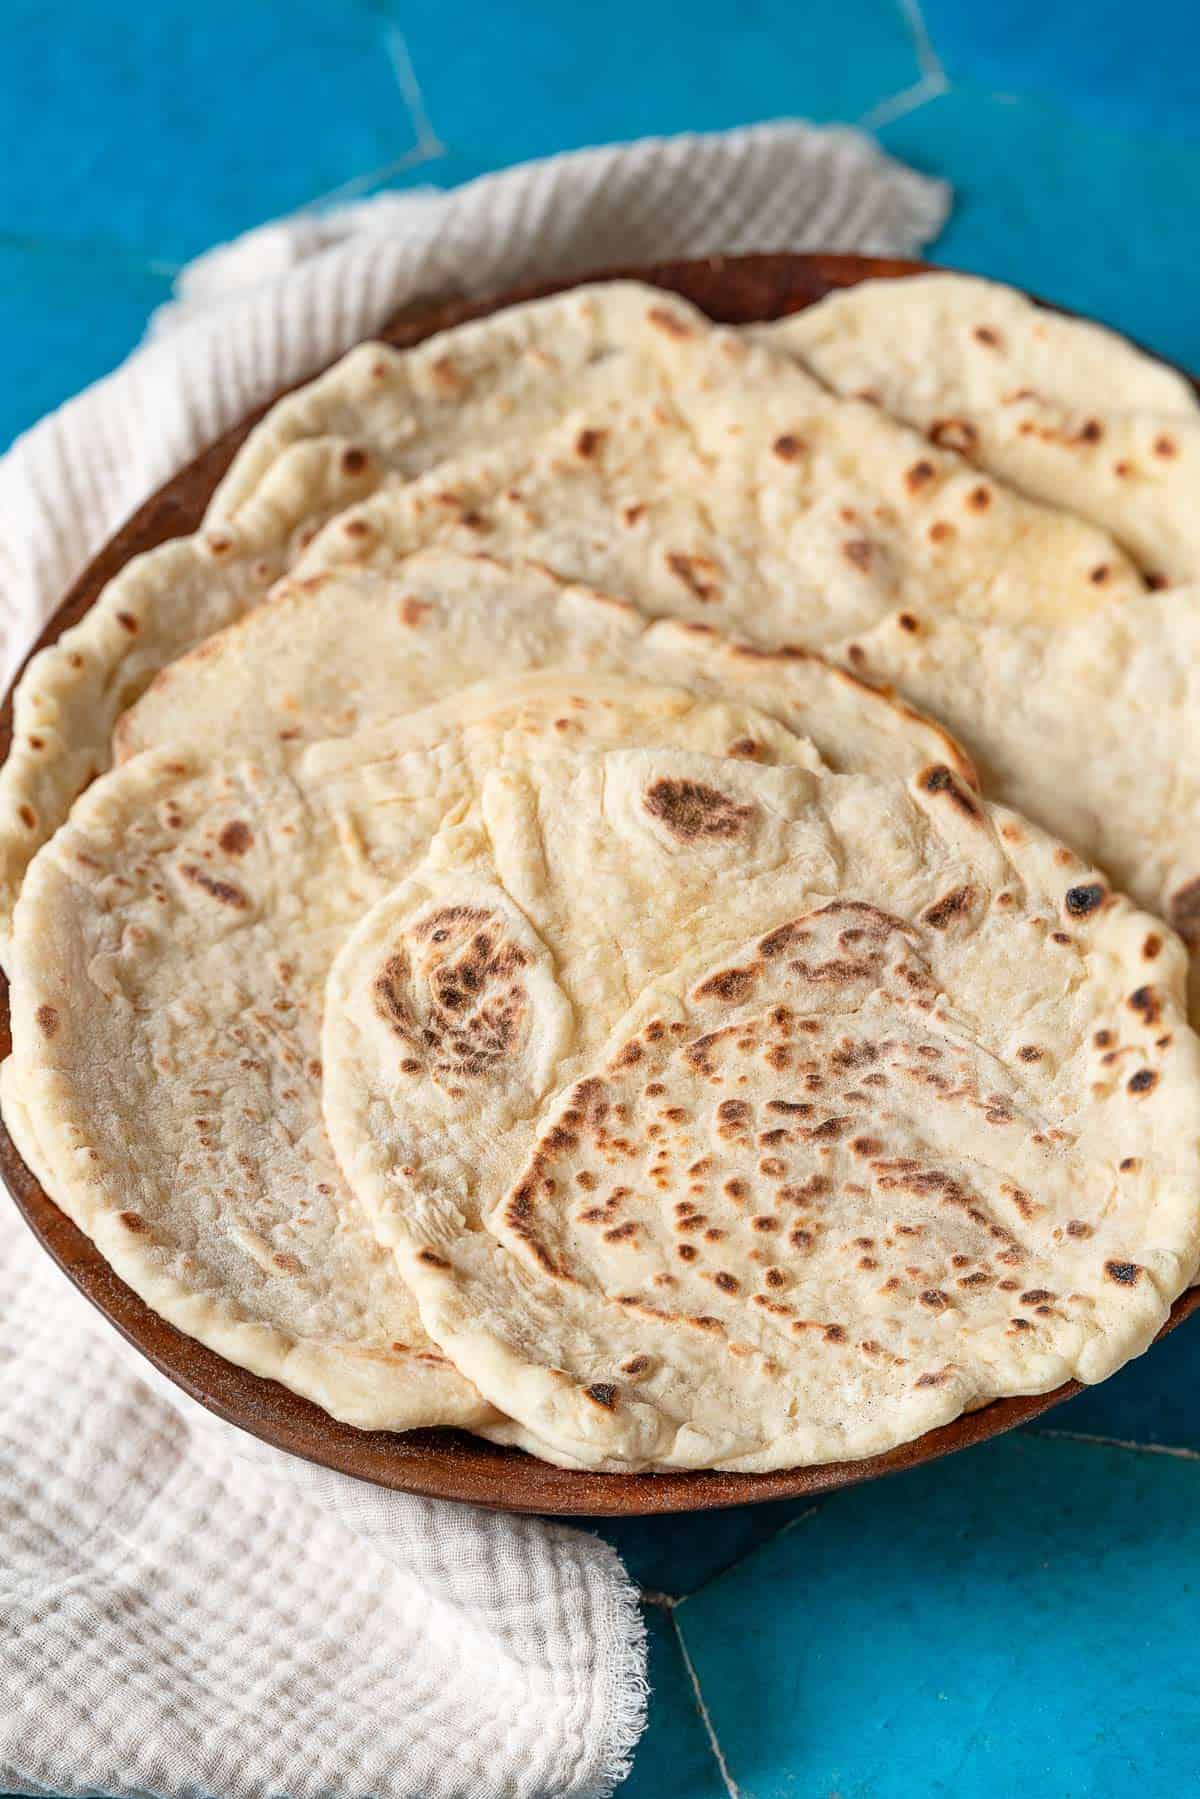
Lavash has a balanced, mild flavor that goes with just about anything. It’s very flexible, so it works particularly well with wraps like tantuni or shawarma.
But don’t stop at wraps! Serve with dips like creamy whipped feta, hummus, muhammara, tirokafteri—the list goes on. You really can’t go wrong with a good dip and homemade bread.
Lavash is also makes for a great side to–or better yet, bed for–meat, like kebabs or meatballs. It will soak up the juices and sauces like a sponge. I also love to serve lavash alongside soups and stews or really anything brothy and delicious, like shakshuka or eggs in purgatory.
You’ll Also Like: More Flatbread Recipes
Browse all Mediterranean recipes.
Visit Our Shop
Bundle and Save!
Four of our best-selling signature olive oils, perfect for everyday use.
Lavash Bread
Ingredients
- 2 1/2 cups bread flour, plus more for dusting
- 1 teaspoon instant yeast
- 1 teaspoon kosher salt
- 2/3 cup warm water
- 2/3 cup lukewarm whole milk
- 1 teaspoon honey
- Extra-virgin olive oil, for oiling your hands and the bowl
Instructions
- Mix the dough. Into a large mixing bowl, add the flour, yeast, and salt. Mix with a wooden spoon as you slowly add the water, milk, and honey.
- Knead the dough. When the dough becomes too difficult to mix with the spoon, turn the dough over onto a clean, lightly floured surface. Lightly oil your hands with about 1/2 teaspoon of olive oil and gently knead just until the dough comes together (it will be sticky), about 3 minutes or so.
- Set aside to rise. Wipe the mixing bowl clean or rinse and dry it very well. Lightly oil the bottom and sides of the bowl with about 1 teaspoon olive oil. Place the dough in the bowl and oil the dough with about 1/2 teaspoon olive oil. Cover the bowl with a clean kitchen towel and set it aside in a warm spot for about 45 minutes.
- Divide the dough. Use oiled fingers to gently punch the dough down, then divide it into 12 small balls of equal size. (It helps to weigh the dough balls. Mine weighed around 1 1/2 ounces each.)
- Get ready to cook the lavash. Set the portions onto a floured surface. Cover with a clean cloth as you work on rolling and cooking each lavash.
- Roll. Work with one ball of dough at a time, keeping the remaining portions covered as you go. Set the dough on a floured work surface and lightly dust the top with flour. Flatten it with your hands, then use a rolling pin to roll it out as thinly as possible. You should end up with a thin disc that’s about 8-inches in diameter.
- Cook. Heat a large non-stick skillet over medium heat. Carefully place one lavash in the pan and cook for about 30 to 40 seconds (some bubbles should appear and the bottom should have some golden brown spots). Use a spatula to turn the lavash over and allow it to cook on the other side for another 30 to 40 seconds, or until bubbles form and you see golden brown spots.
- Cover and repeat. Transfer the cooked lavash to a large tray and cover with a clean towel (this will keep the bread from getting crispy). Repeat with the remaining dough until you have cooked all the lavash. Serve warm or store for later (see storage tips).
Notes
- Leftovers: I love fresh lavash and I believe it is best eaten within a few hours of baking, but if you have any left, simply layer each lavash between parchment paper, place them in a ziptop bag and seal. It will keep well at room temperature for up to 4 days or freeze for up to 1 month. Frozen lavash can be warmed in a low-heated oven.
- Keep the lavash soft and pliable with a spray or a brush of water before using.
- Visit our shop to browse quality Mediterranean ingredients including olive oils, honey, jams, and spices.

I made this recipe tonight to go with the Italian Lentil Soup. It turned out delicious but the dough was extremely sticky and I couldn’t knead it properly until I added more flour. I’m thinking next time I will cut down on the liquid. I live in Portugal and d the flour here in Europe is “softer” ( the only way I know to describe the flour😊) than the flour in the US. I used a multi-grain bread flour (pao de sementes).
The recipe as written is way to hydrated to even begin to roll out. I ended up adding at least another cup of flour and letting that hydrate again. Then I used about another cup of flour to roll them all out. I’m wondering if the recipe should have indicated 2/3 cup water OR 2/3 cup milk. I ended up with 10 decent lavash, but will look for another recipe next time.
quick simple delicious
I found you after seeing a Turkish recipe that called for something, being an American, I’d never heard of – lavash! Upon some research, I found your recipe and can’t wait to make it! Thank you for teaching me about the history of lavash, too. I’m glad I’ll be adding this to my recipe collection and helping, in my small way, to carry on the tradition!
That’s wonderful, Deb! Hope you love the recipe!
Hello.
Is it possible to get the measurements in gram instead of cups? I want to try the bread, but here in Denmark we dont use cups. We use a scale.
Regards Katja
Hi, Katja. I am so sorry that we don’t have metic measurements available for this recipe at the moment. Thanks for the feedback, though. It is something we’re working on.
So far this is my favorite flat bread. It is nice and fluffy and goes great with everything.
Thanks, Victor!
This bread was perfectly chewy and flavorful! Paired wonderfully with shakshuka. We were a bit intimidated by the stickiness initially, but glad we persevered! Thank you so much for this fantastic recipe!
So glad you enjoyed the recipe, Jen!
So good! But what is the difference between lavash and naan?
My husband is gluten and sugar free. I liked you use honey. Is there a way to make this gluten free?
These are delicious.
Hi, Dawn. You may be able to substitute the bread flour in this recipe with a gluten-free version like this. We’ve never tested it this way, though, so it’s hard to say how it will turn out. If you give it a try, please stop back and share your thoughts!!
Perfect every time!
Aww! Thanks so much, Mia!
Love your recipes,& your happiness cooking healthy food !! 👏 🎶 ❤️
I try to use only whole wheat flour. Is there a whole wheat bread flour that you would recommend, or can I add a tablespoon of vital wheat gluten to white whole wheat flour to give it more chew?
Hi, Deb! We’ve never tested this recipe with only whole wheat flour, but you can certainly give it a try if you’d like. Our favorite brands of whole wheat bread flours are King Arthur or Bobs Red Mill. Just a heads up, though… the issue with swapping to whole wheat is that it usually requires a little more moisture, so I would either use half white flour and half whole wheat flour until you get comfortable with the dough/recipe, and then increase the amount of wheat flour over time. You may need to add an additional 2 to 3 tablespoons of liquid and do a bit more experimenting. We don’t have any experience working with vital wheat gluten so we can’t really help with that.
Love it