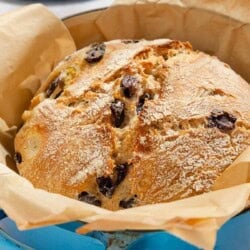
Make this crusty, crunchy, delicious freshly baked olive bread recipe with no special skills or equipment necessary! The no-knead method couldn’t be easier: just mix 5-ingredients in a big bowl and wait while the yeast does the work for you.
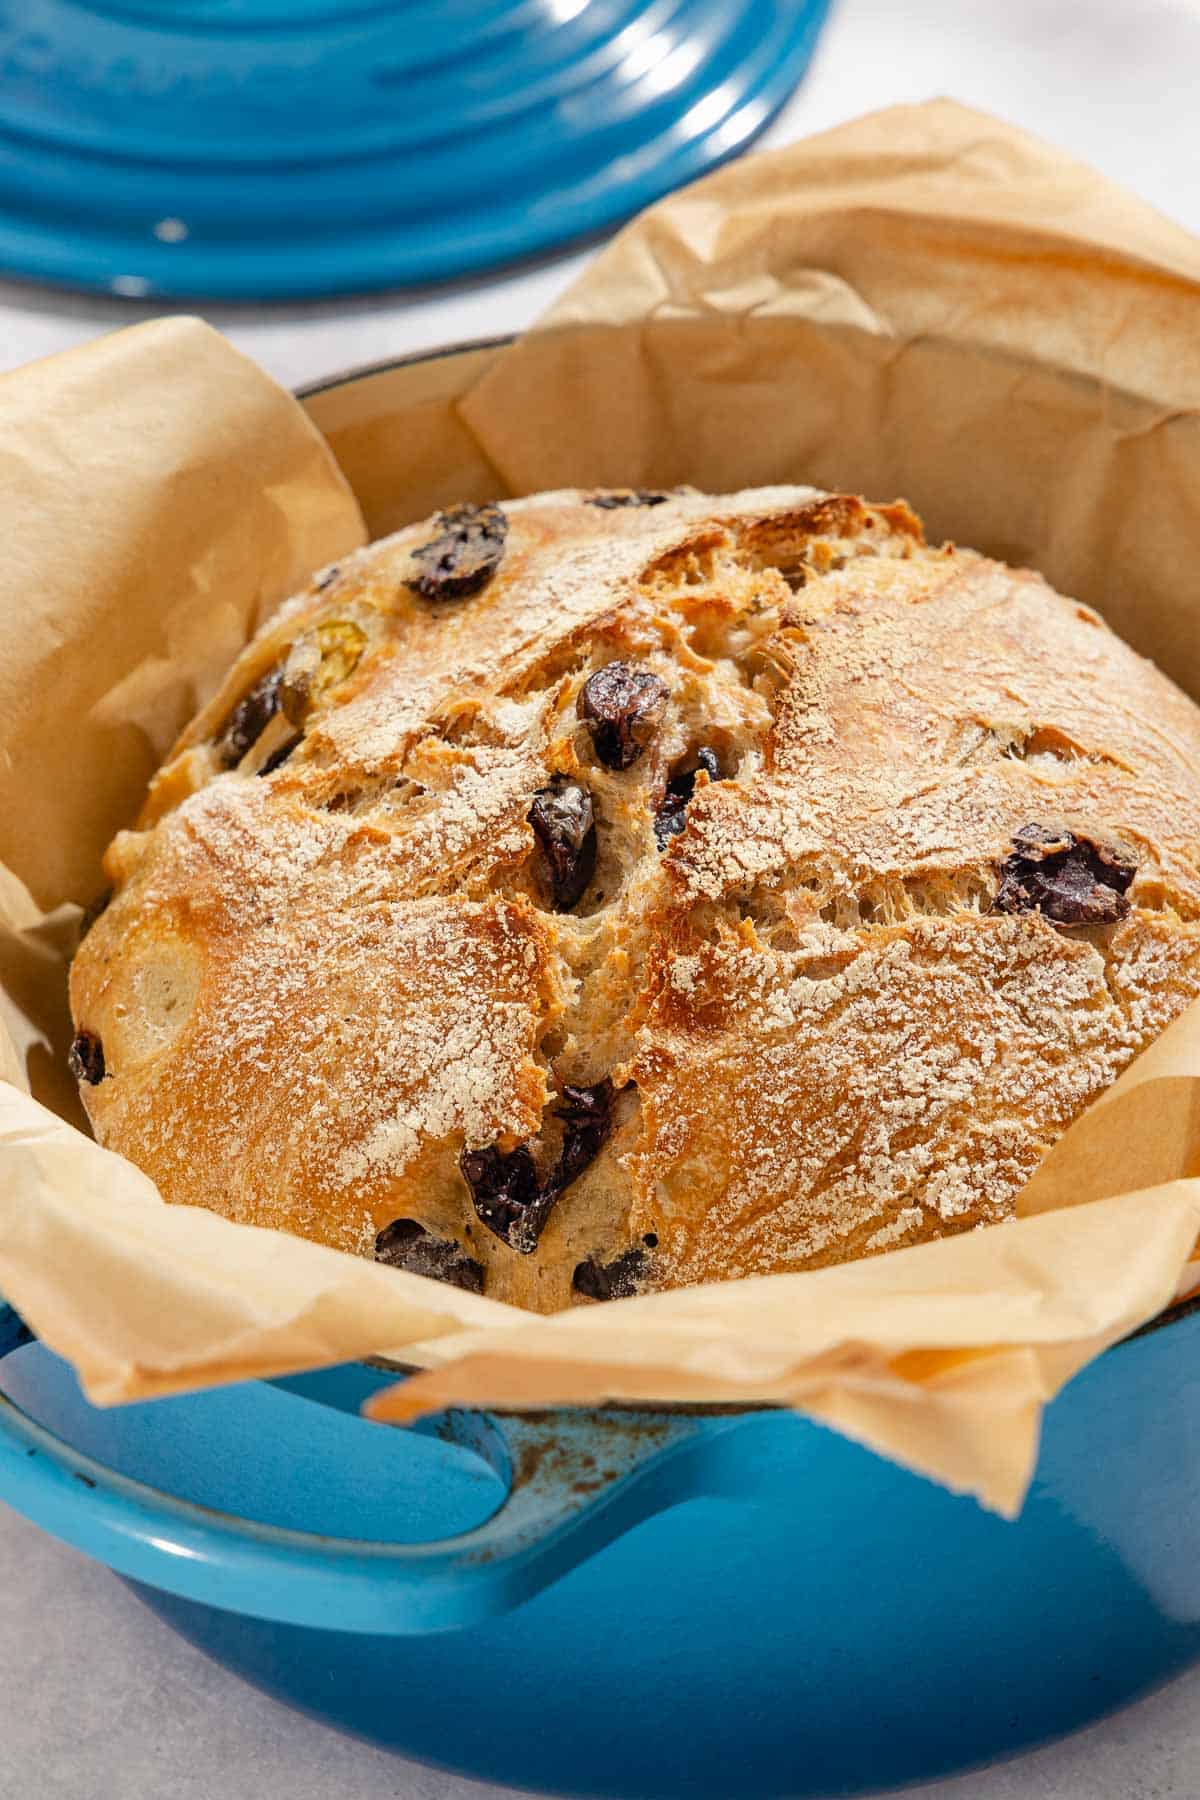
The first time I baked bread in a Dutch oven at home was a revelation. I was amazed that I could get a bakery-style crisp crust in a home oven. It wasn’t just the crust that surprised me, but that the whole process had worked painlessly!
While I had worked in several professional baking jobs by the time I baked that first loaf, I only worked with sweets, no yeast. Baking bread was certainly out of my comfort zone. Now, hundreds (maybe thousands?) of loaves later the transformation still amazes me. Whether I’m baking olive bread, sourdough, seeded sandwich bread, or homemade pizza dough (just to name a few), I’m continually awed by the reminder that you need just a few economical ingredients to make a delicious and meaningful freshly baked loaf.
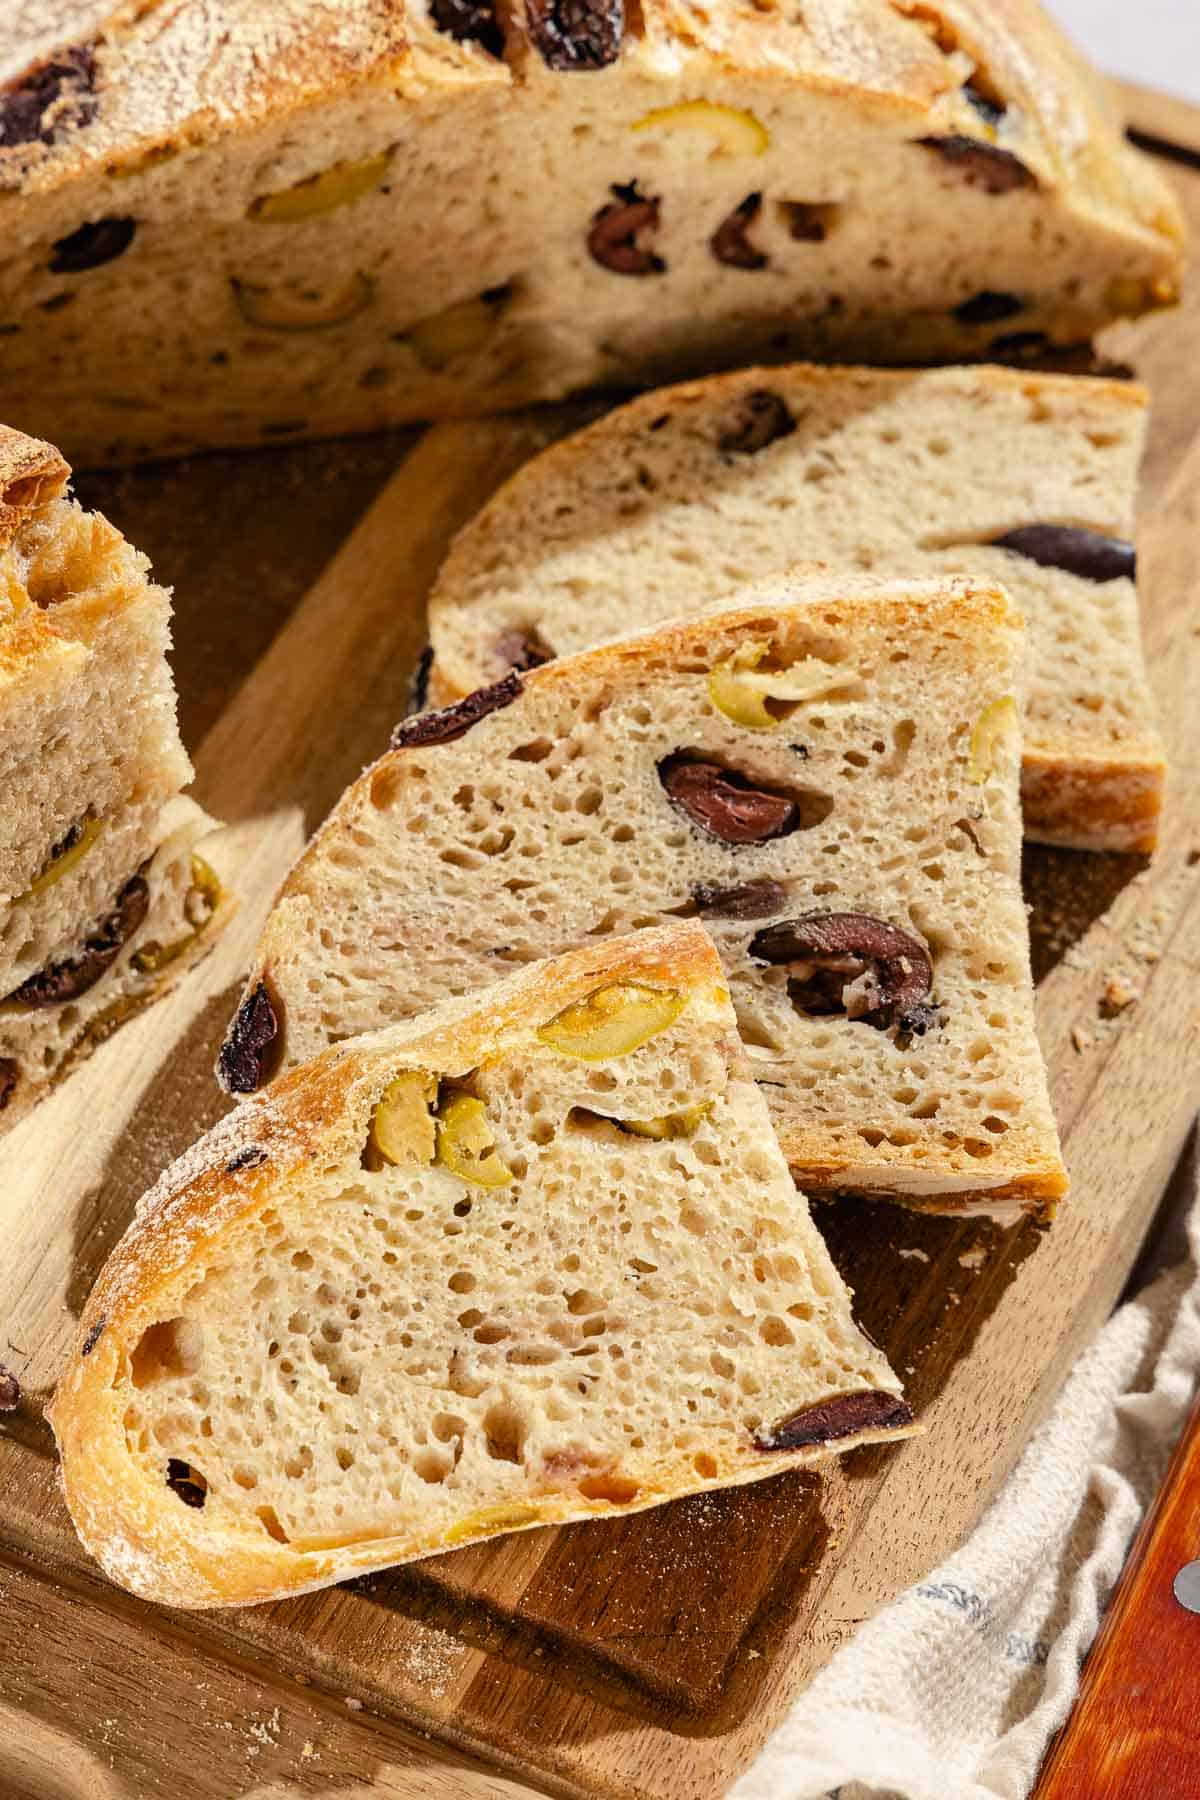
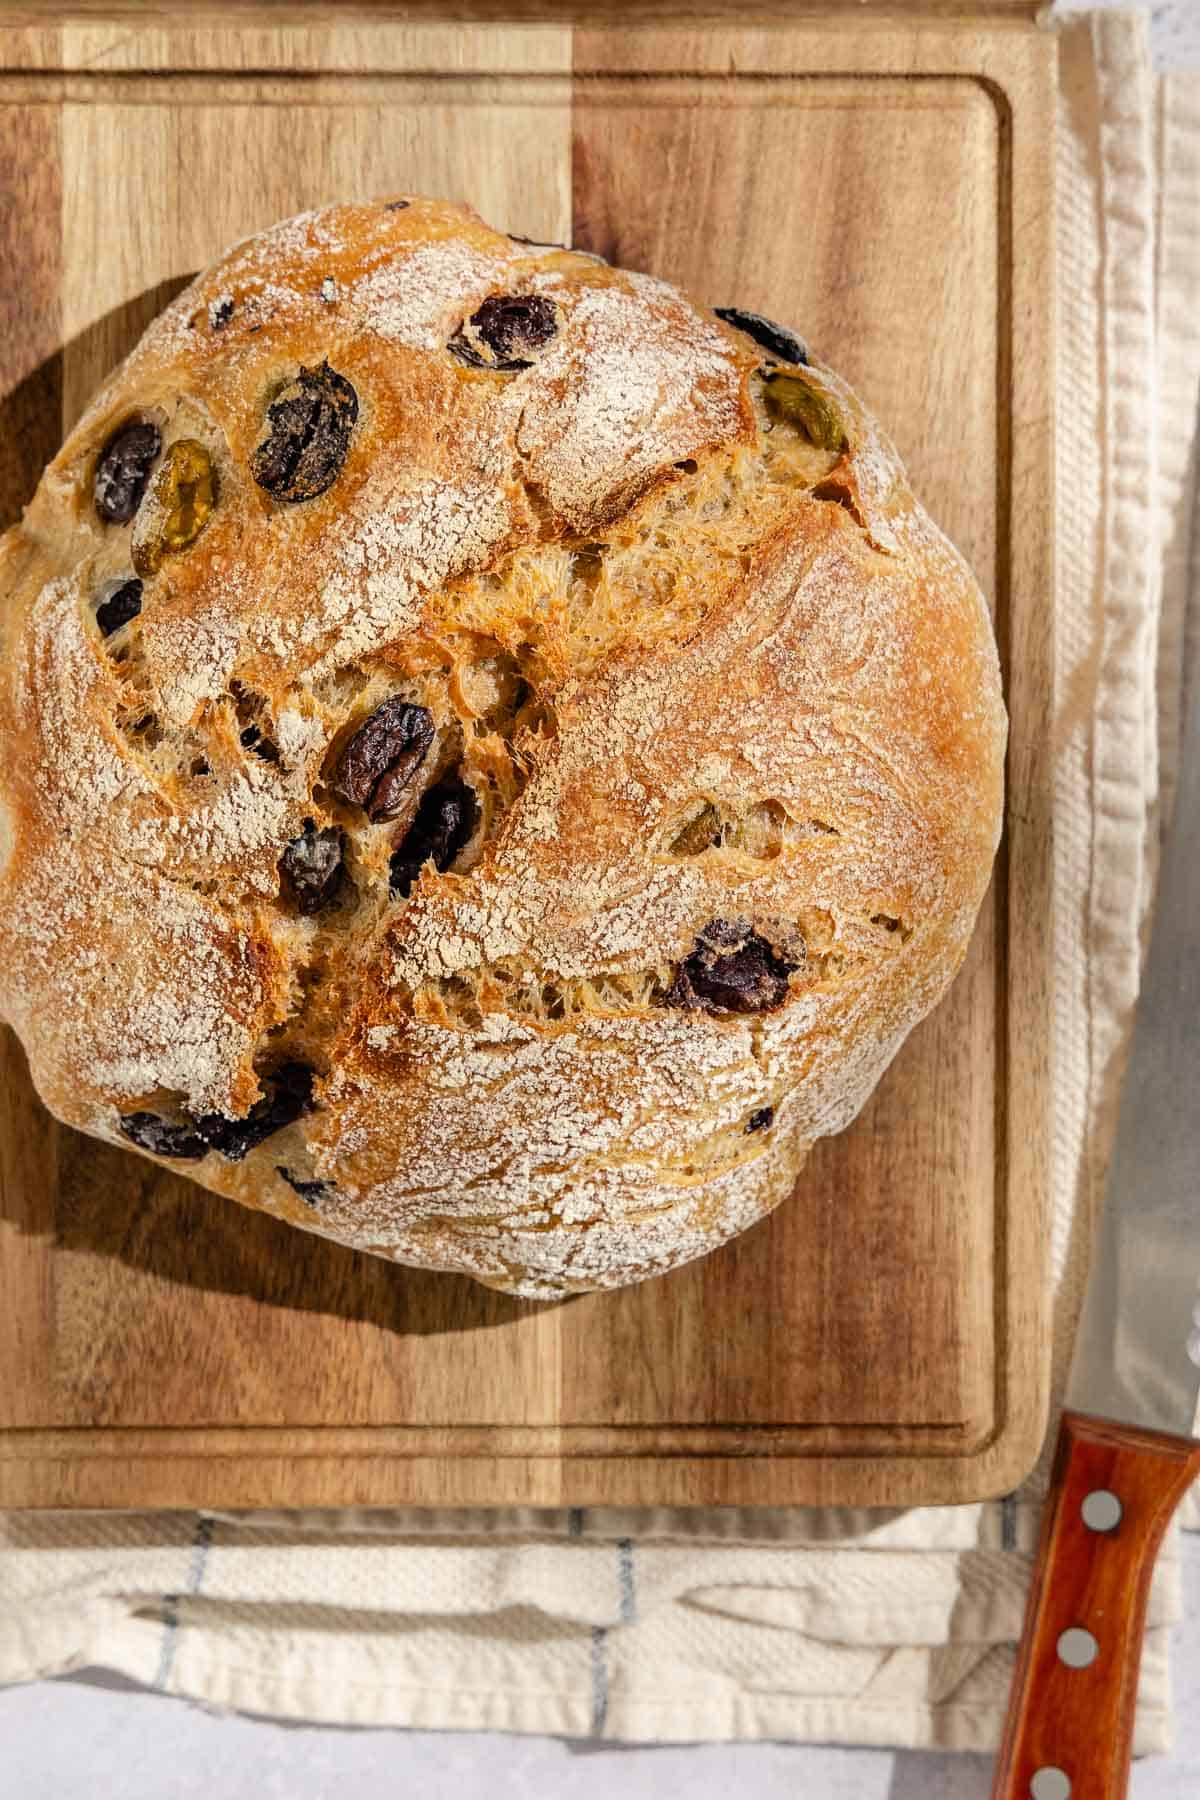
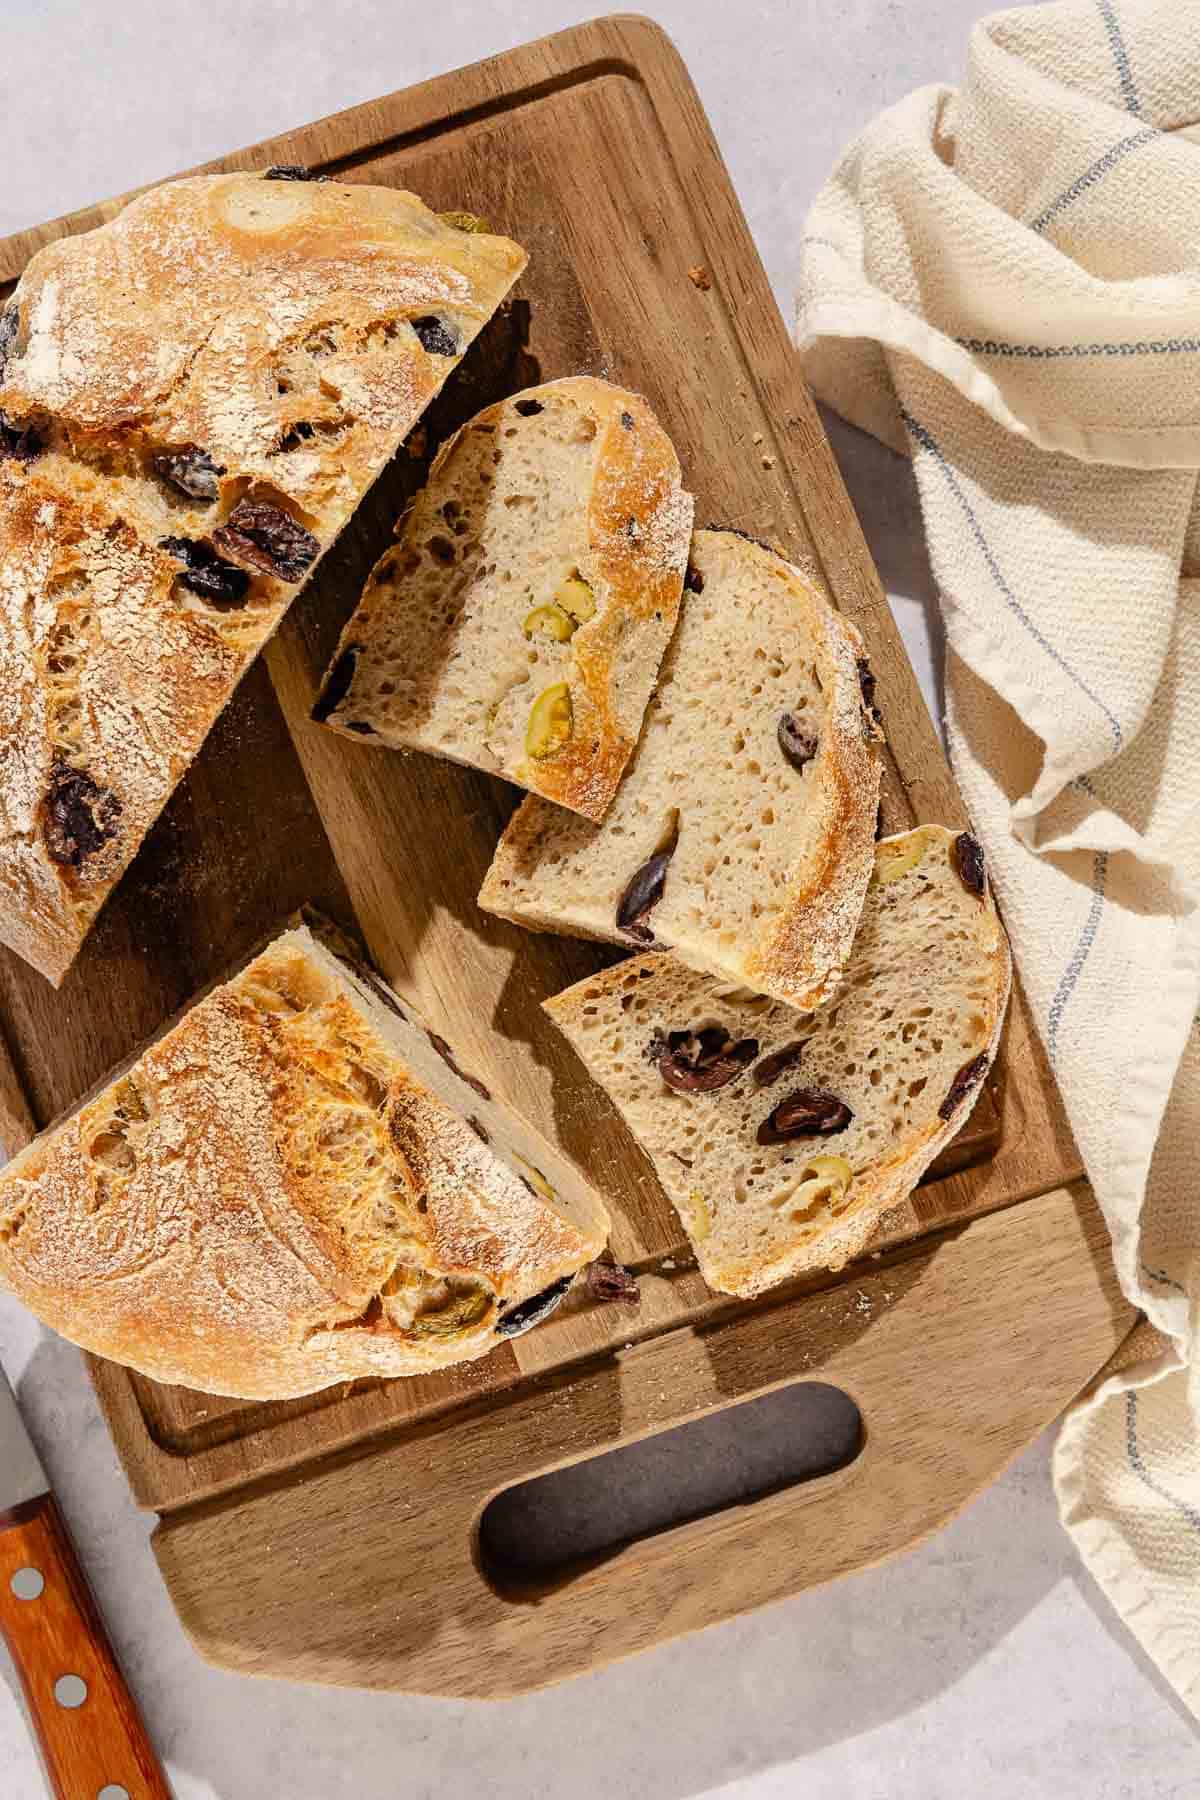
I often still turn back to the same method that worked for my first ever loaf of bread: the trusted no-knead, Dutch oven method. I upgrade this no-knead bread recipe with salty, earthy olives that stud the loaf, like gems of fruity flavor. You can use your favorite pitted olives, but I like to use a mix of Kalamata and green olives for a variety of texture and flavor. A drizzle of olive oil in the dough adds to the olive flavor and gives the bread a tender, soft crumb.
While it’s easy to make, you just need to give yourself time to allow the dough to rise and develop in flavor. Make the night before, and allow the yeast to work its magic while you sleep!
Table of Contents
- What is in Olive Bread?
- How to Swap Flours
- What Kind of Yeast to Use
- How to Make Olive Bread
- How Does The No-Knead Bread Method Work?
- Troubleshooting Common Bread-Baking Problems
- How to Know When the Bread is Done Baking
- Ways to Mix it Up
- Getting Ahead and Storage
- What to Serve with Crusty Olive Bread
- More Homemade Bread Recipes
- Olive Bread Recipe
What is in Olive Bread?
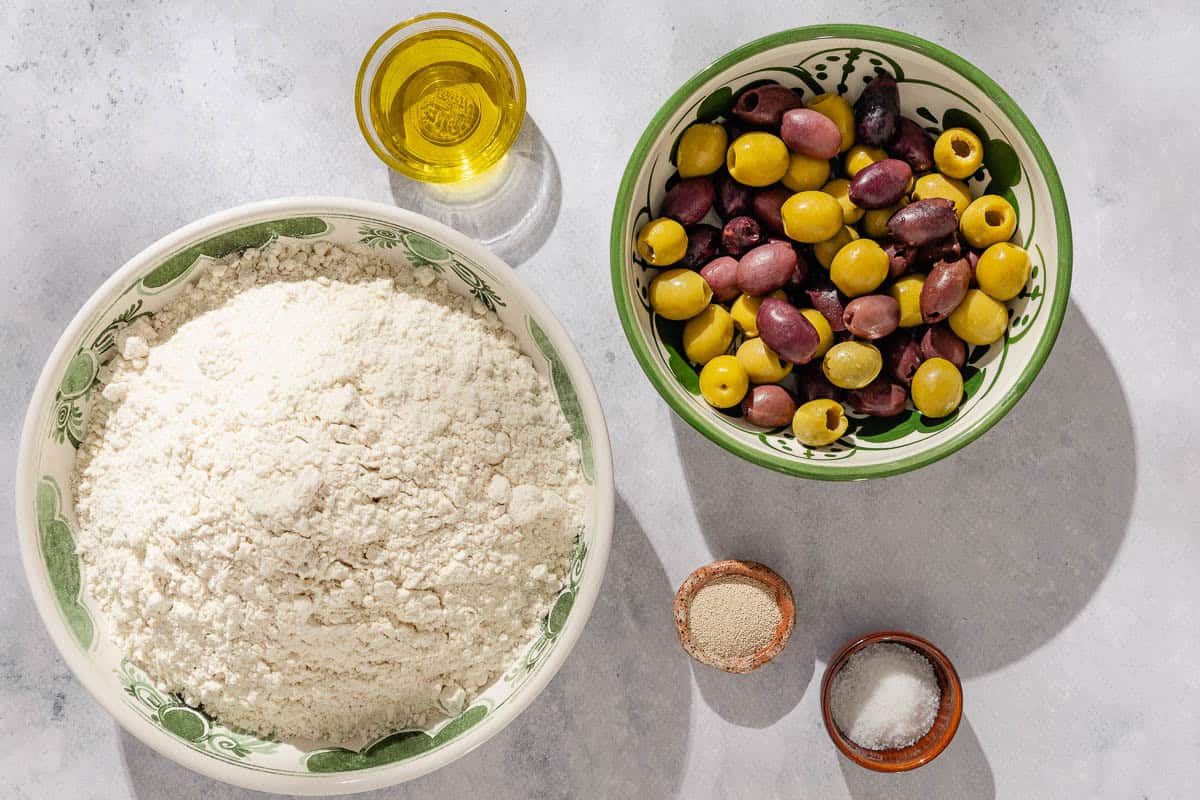
You don’t need much to make good bread at home, just 5 ingredients. For the best flavor, use high-quality olives and olive oil. Here’s what you’ll need:
- Bread flour: Bread flour has a higher gluten content than all-purpose flour. It helps achieve a crisp and golden crust with a soft and chewy interior.
- Salt: I use kosher salt for most of my baking for consistency. If using sea salt, reduce to 3/4 teaspoon.
- Instant yeast: I almost always use instant yeast. I love the convenience of just adding it with the dry ingredients and not needing to bloom it first.
- Pitted Olives: For a mix of texture and flavor, I like to use half Greek Kalamata olives and half green olives. You can use any pitted green olive you’d snack on. Castelvetrano olives are particularly good and buttery.
- Extra virgin olive oil: A little bit of olive oil in the dough adds richness and olive oil flavor. It also gives the bread a moist, soft crumb.
- READ MORE: My essential guide to baking with olive oil.
- TRY IT: Find top-quality Mediterranean extra virgin olive oils at our shop.
How to Swap Flours
You can have success swapping the flours in this olive bread recipe, you just need to be aware of which flours will work and which flours to avoid:
- All purpose: While this olive bread recipe calls for bread flour, you can use all-purpose flour and bread flour interchangeably. Bread flour can be easier to work with and the final loaf will have a softer, chewier interior, but the difference in this specific bread will be subtle.
- Whole wheat: You can also substitute up to half of the flour with whole wheat flour. Keep in mind that the bread will be slightly denser, as the bran in whole wheat flour will slightly hinder gluten formation.
- Gluten free? Unfortunately, I wouldn’t recommend substituting gluten-free flour in this recipe. While it’s relatively straightforward to swap gluten-free flour in a lot of sweet baking, traditional bread baking relies on gluten development. I’d suggest using a bread recipe specifically developed to be gluten-free.
What Kind of Yeast to Use
I prefer instant yeast because it’s more convenient than active dry yeast. You can add instant yeast directly to the dry ingredients and you never need to bloom it. My favorite yeast is SAF Red Instant Yeast. I buy a big bag and store it in an airtight container in the freezer, where it can last for up to a year (or even longer). You don’t even need to thaw it before using it.
You can make this bread using the same amount of active dry yeast. There’s enough water in the dough that you can skip blooming the yeast, but you can still bloom it if you prefer to check the yeast is alive. Bloom the yeast in about 1/3 cup of the called-for water, heated between 100 and 115°F, until the yeast is dissolved and bubbly, about 5 minutes.
How to Make Olive Bread
The no-knead method makes this olive bread recipe incredibly simple to make. Because of the long rising time, mix the dough the night before you want to bake it. Here’s how to make no-knead olive bread:
First Rise (12 to 18 Hours)
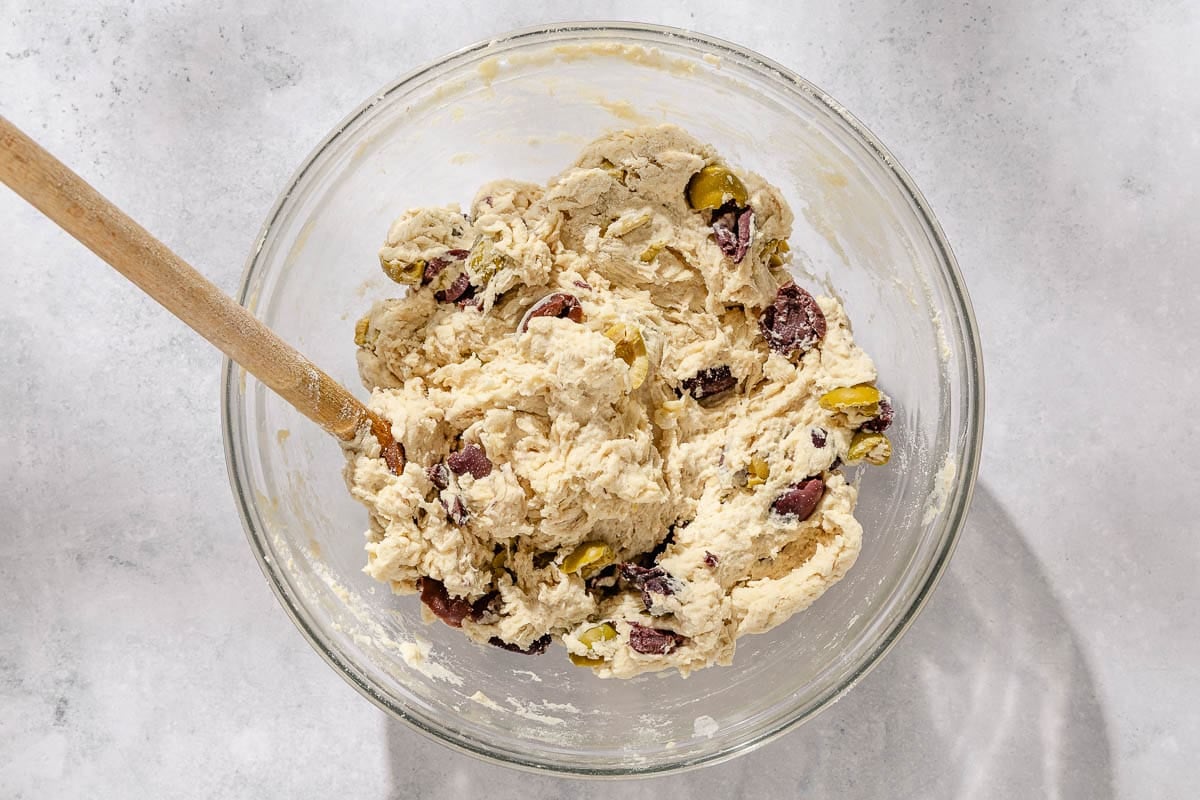
- Mix the dough: In a large mixing bowl, whisk together 3 1/2 cups (420g) bread flour, 1 teaspoon kosher salt, and 3/4 teaspoon instant yeast. Roughly chop or halve 1 packed cup (150g) of pitted olives and add, along with 1 1/3 cups (320ml) water, and 1 tablespoon extra virgin olive oil. Mix with a wooden spoon until the dough comes together and all the flour is moistened.
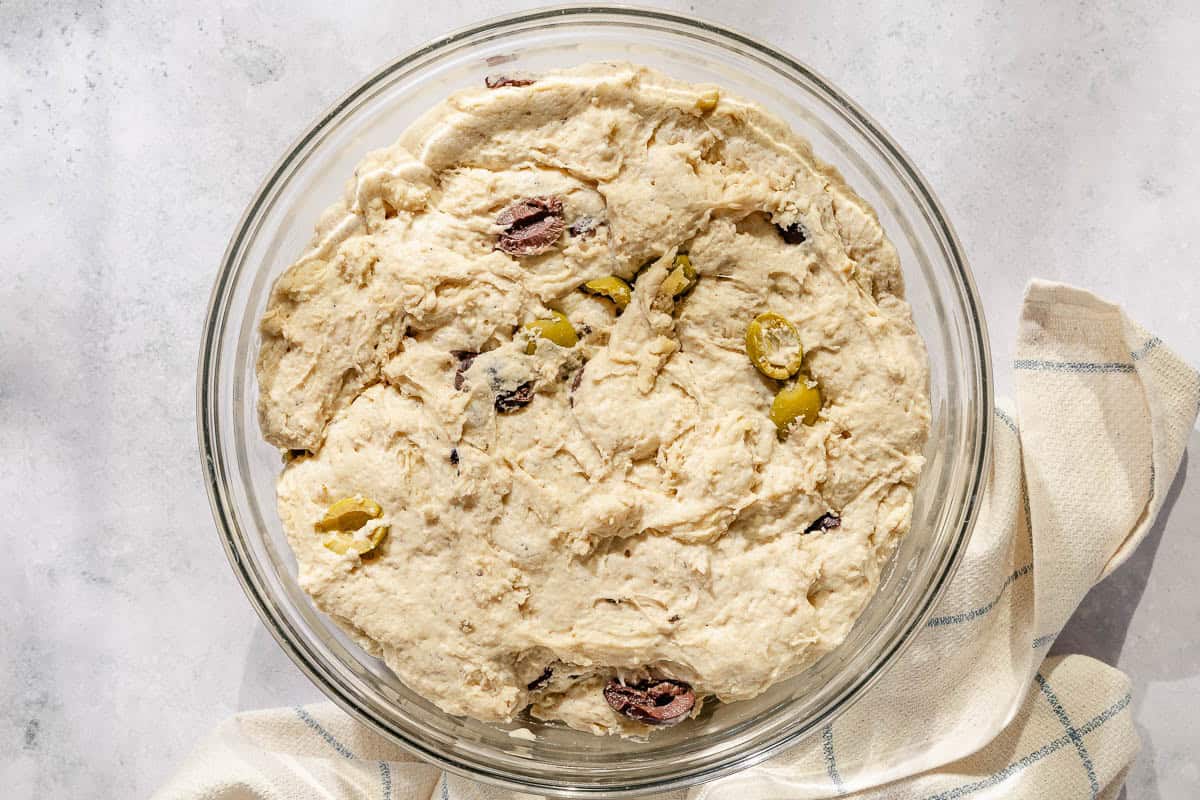
- First rise: Cover the bowl and leave it to rise overnight until more than doubled in size, 12 to 18 hours.
Second Rise (2 Hours)
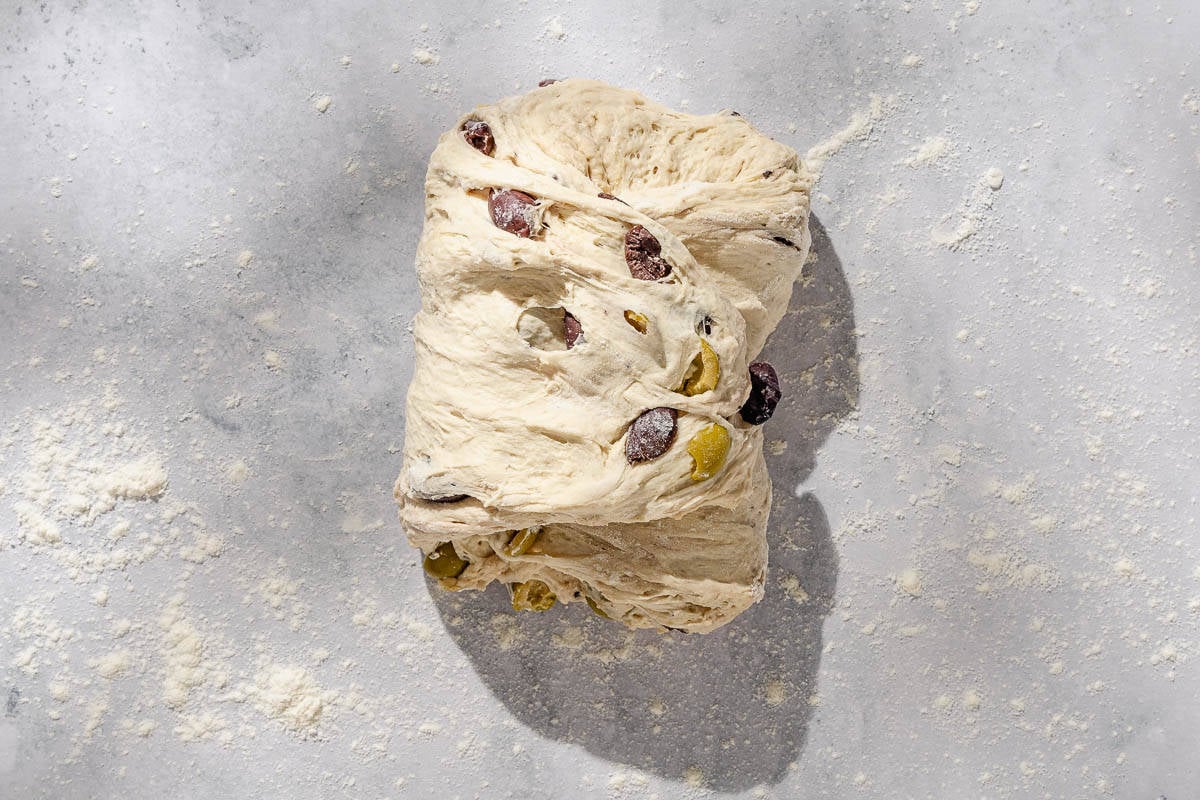
- Shape the dough into a ball: Lightly dust a work surface with flour. Tip the bowl slightly and use a dough scraper or rubber spatula to gently remove the dough from the bowl onto the work surface. Gently fold the dough into itself, shaping it into a ball.
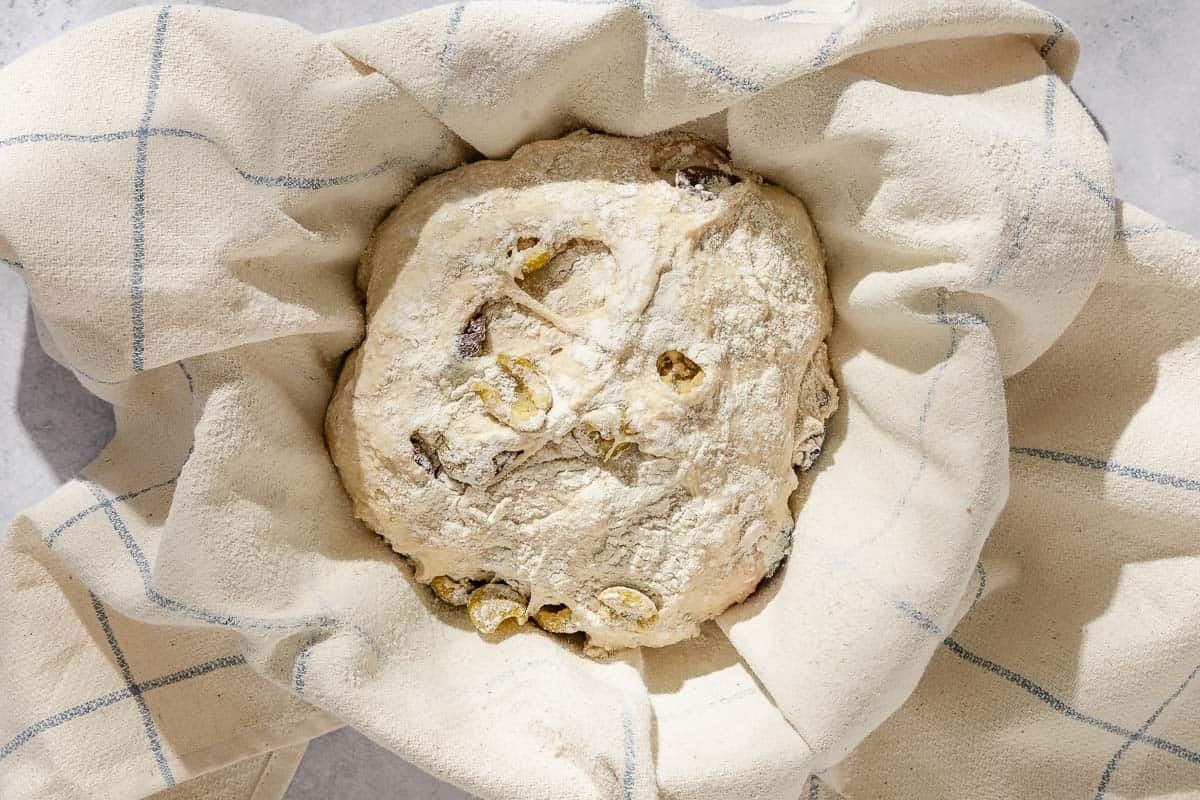
- Second rise: Generously dust a tea towel with flour and place the dough onto the towel, seam side down. Loosely fold the towel over the dough and place it into a mixing bowl. Leave it to rise in a warm spot until almost doubled, about 2 hours.
- Preheat the oven: 30 minutes before the dough has finished rising, arrange a rack in the lower third of the oven, set a 6 to 8-quart Dutch oven on the rack, and preheat to 475°F. (If you have a larger Dutch oven it will still work, the bread might just spread out a little bit.)
Bake the Olive Bread
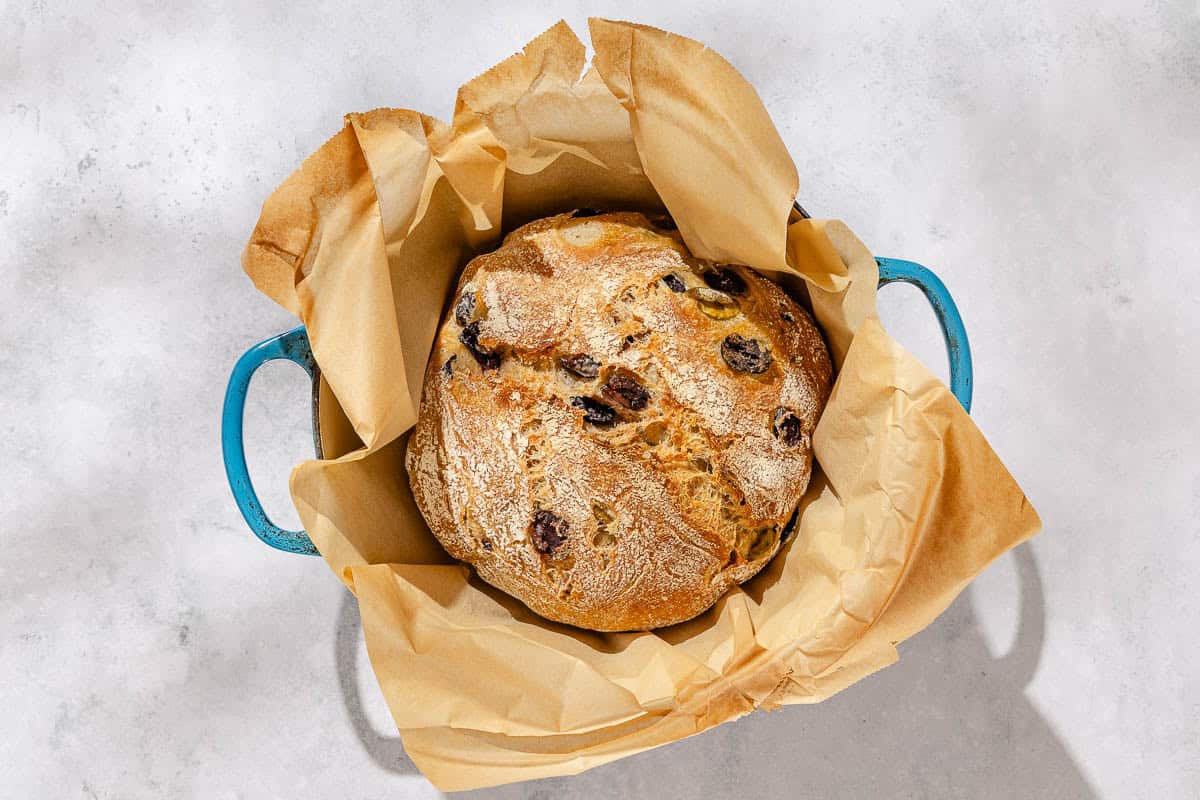
- Add the bread to the preheated pot: Use oven mitts to carefully remove the preheated pot from the oven and remove the lid. Use the tea towel to invert the dough onto a piece of parchment paper. Using the edges of the parchment paper, lower the dough into the Dutch oven.
- Bake the bread: Cover the pot and bake for 30 minutes. Remove the lid from the Dutch oven, then continue baking until the bread is golden brown, about 20 minutes longer.
- Cool: Carefully lift the bread out of the Dutch oven and let it cool completely on a wire rack before slicing.
How Does The No-Knead Bread Method Work?
The principle is to allow time to do the kneading for you. As the yeast slowly works on the dough, the rising dough stretches and develops the gluten in the dough. The added time also develops more flavor, better texture, and the baked bread doesn’t go stale as quickly.
I based this olive bread recipe on Jim Lahey’s no-knead method. While skipping the kneading and relying on long fermentation times is by no means a new technique, Jim Lahey created and popularized a repeatable method easy enough for all levels of bakers.
Troubleshooting Common Bread-Baking Problems
The most common issues when baking bread are problems with the dough not rising, or the dough feeling too sticky. Here are my tips for identifying and solving some common bread-baking dilemmas:
- The dough didn’t rise during the first rise: If you wake up in the morning and the dough hasn’t risen, the yeast is the most likely culprit and likely dead. Unfortunately, you’ll have to start again with new yeast.
- The dough didn’t rise during the second rise: If the dough rose well during bulk fermentation but the second rise is sluggish, it may be too cold. Set the dough in a warmer spot. Set the dough in the oven using the proof function, or with the light on, and check on it every 15 minutes.
- Do the poke test to check if it’s fully proofed: Poke the dough gently with your finger. If it springs back quickly, it needs more time. If the indent springs back very slowly, it’s ready to bake. If it doesn’t spring back at all, it’s over-proofed (but try baking it anyway!).
- If you choose to make the dough ahead of time: The dough might not rise much in your fridge, but the yeast is working. You will get some rise from oven-spring during baking.
- The dough feels too sticky when shaping: This is a higher hydration dough and is therefore sticky. It can be nerve-racking if you’re not used to working with sticky doughs, but try not to add too much flour to the dough. Instead, coat your hands with flour while you shape it into a ball. Or use a dough scraper, which sticks less than your hands. Make sure to coat the tea towel well with flour before adding the dough for the second rise.
How to Know When the Bread is Done Baking
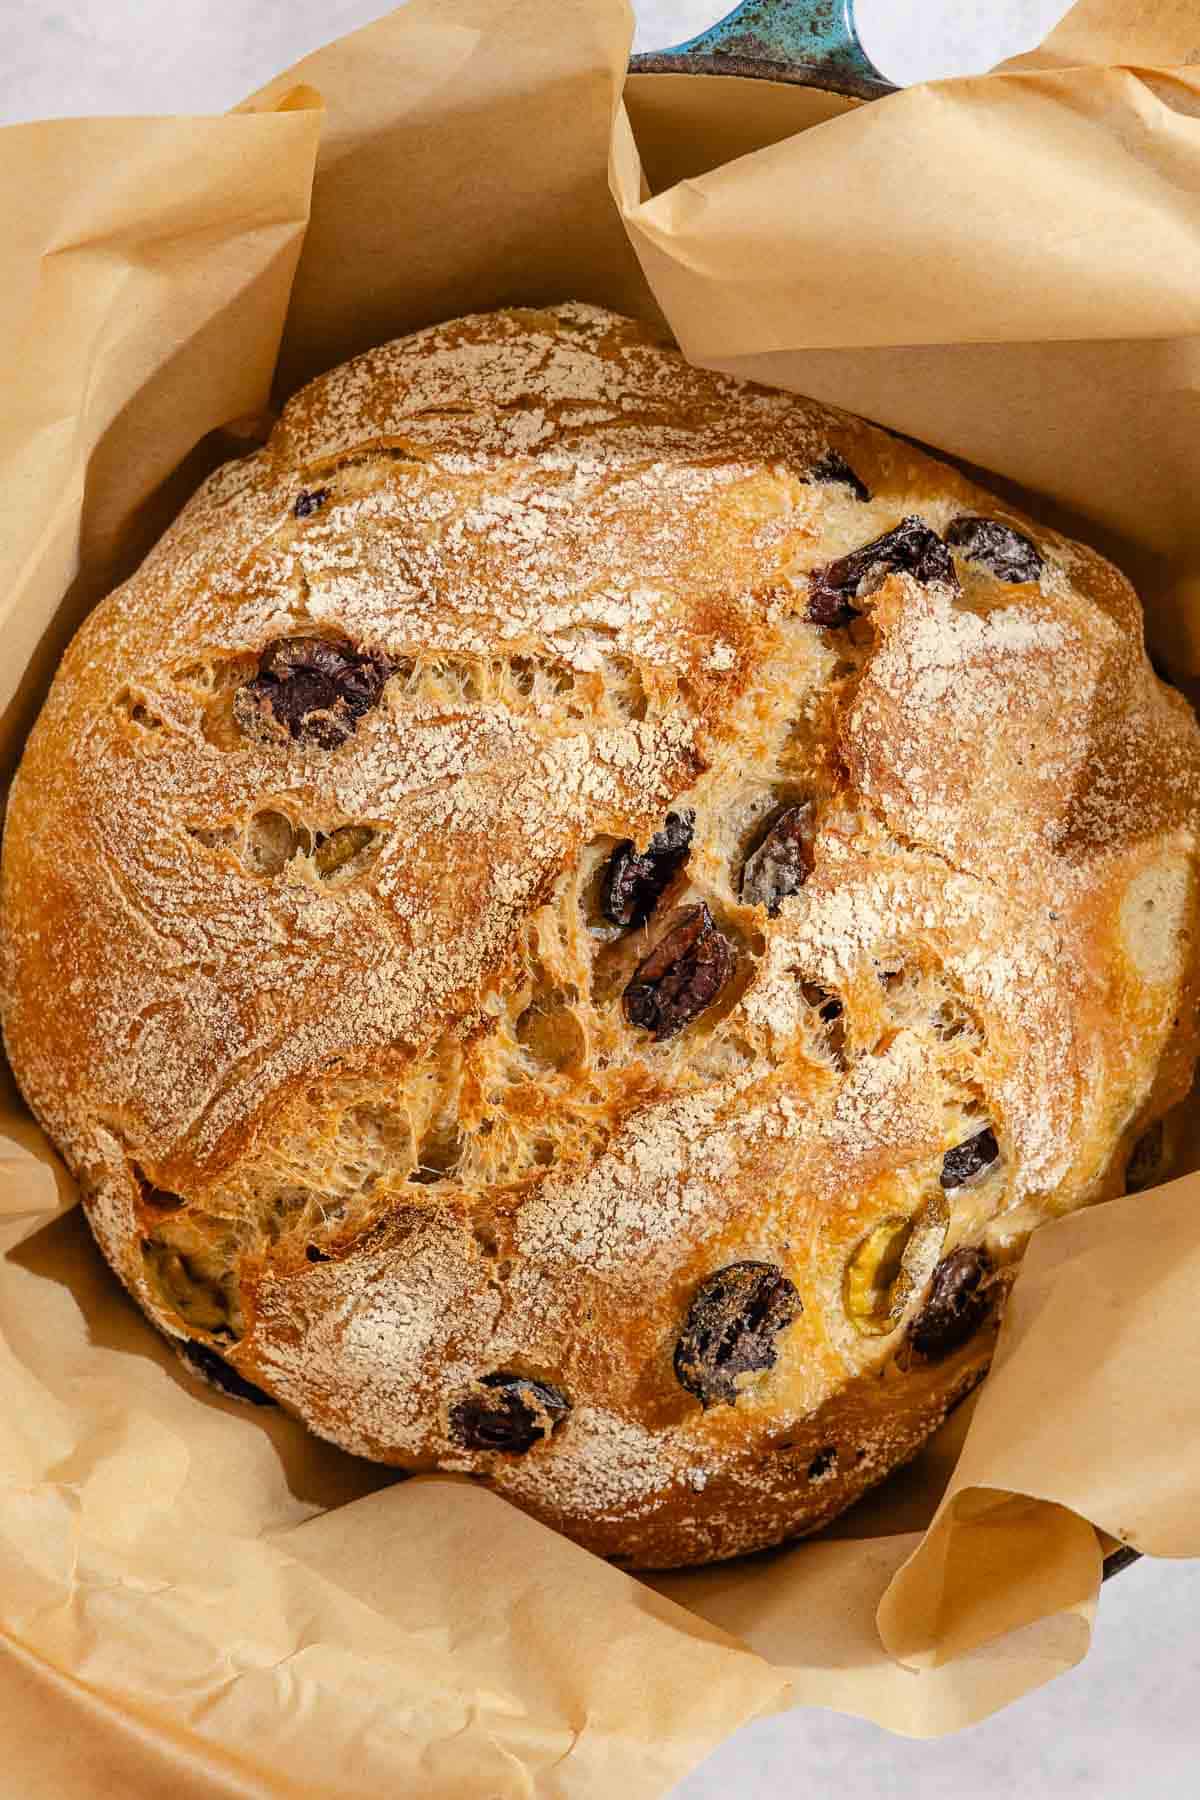
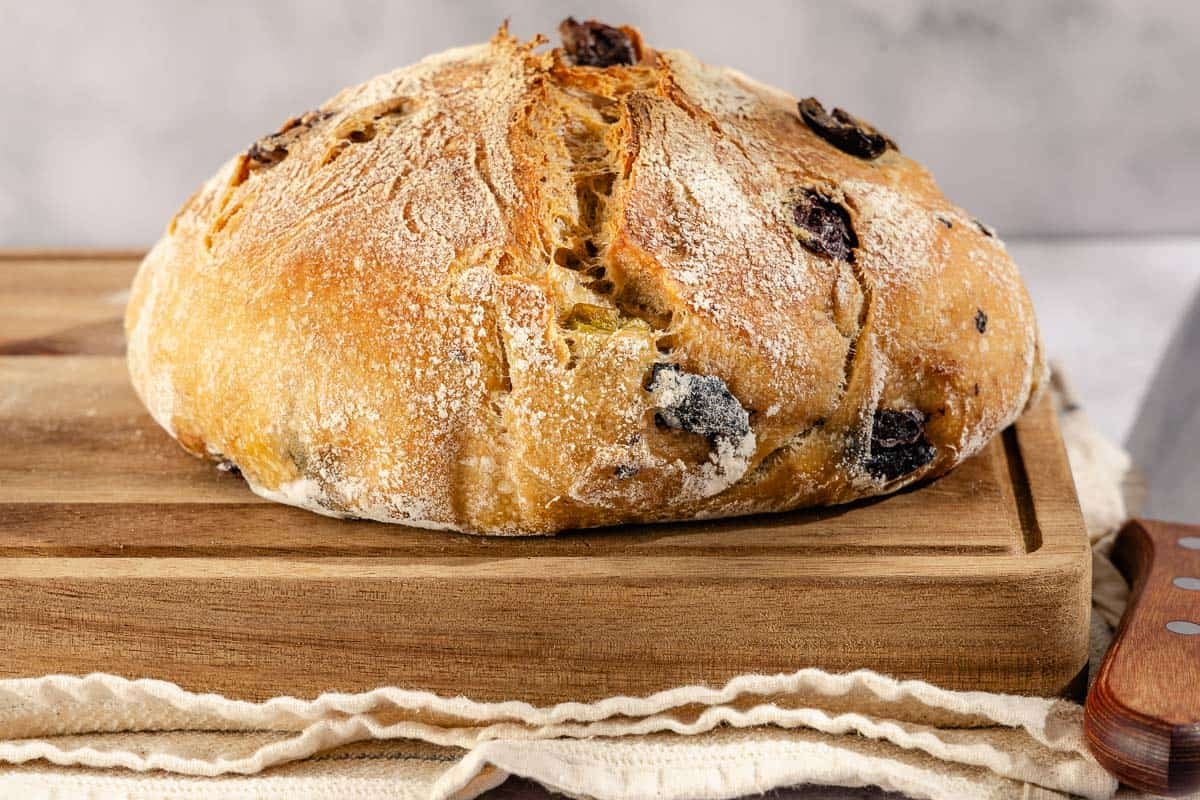
The bread is done when the crust is a deep golden brown. Conventional wisdom says that the finished bread should sound hollow when you knock on the bottom. While it can give you an inkling as to whether the bread is fully baked, I don’t find it that reliable, and I don’t like fumbling around with the hot pan and loaf.
The best way to be sure is to use an instant-read thermometer. The bread is fully baked when the interior reaches between 190° to 200°F.
Ways to Mix it Up
If you’re looking to boost the flavor of this no-knead olive bread recipe, try adding mix-ins, like herbs or garlic, along with the olives. Try one of these additions, or all three at the same time!
- Make it herby: Add 1 to 2 tablespoons of fresh, chopped herbs, such as rosemary, oregano, or thyme. If you don’t have any fresh herbs, you can use 2 teaspoons of dried herbs or a blend such as Italian Seasoning or za’atar.
- Make it zesty: Olives pair well with citrus, so you could try a tablespoon of finely grated orange or lemon zest.
- Make garlic olive bread: If you love garlic as much as I do, you have to try adding a head of roasted garlic. Peel the roasted cloves, then mix in along with the olives.
Getting Ahead and Storage
After shaping, the dough can sit in the fridge for up to three days if it’s tightly covered. Then bake straight from the fridge in the preheated pot and oven.
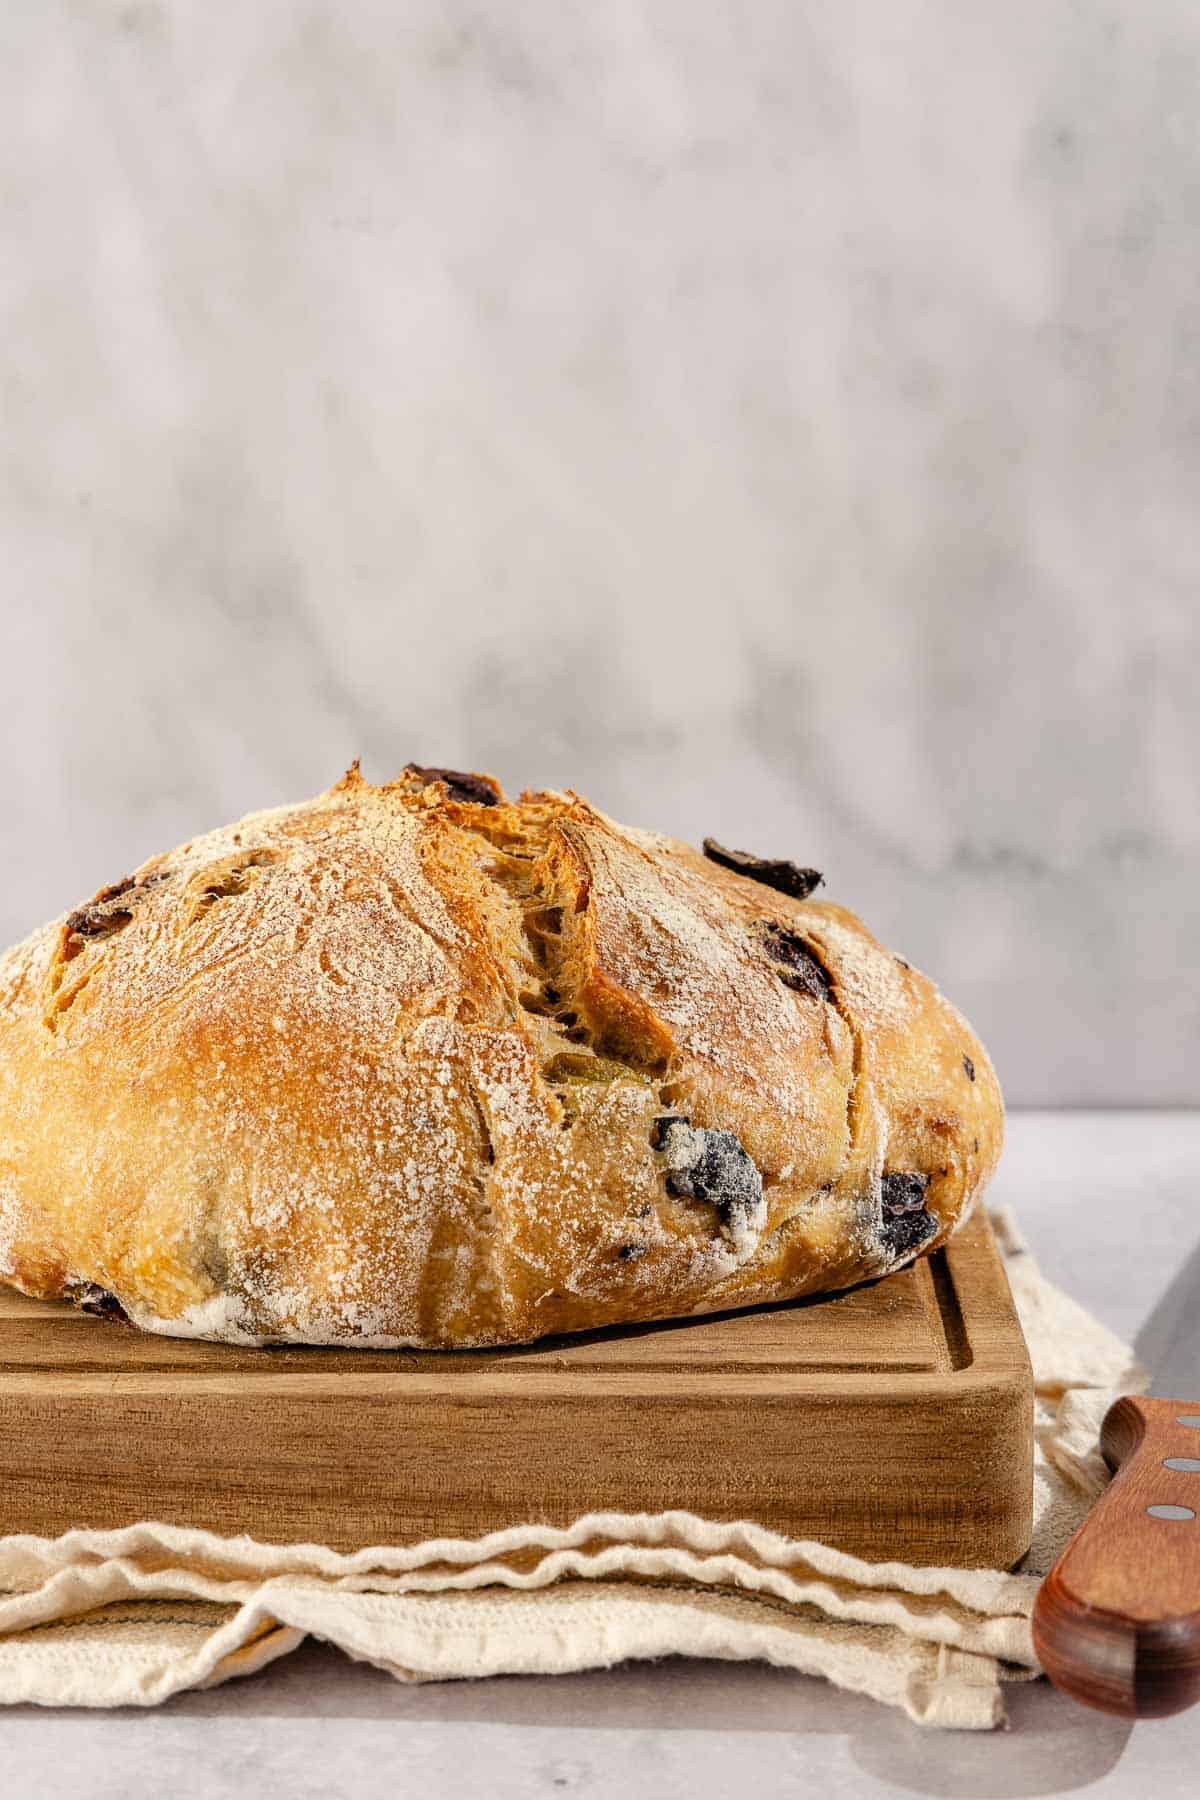
Store the fully-cooled bread, loosely covered, for up to three days. I like to store it in a paper bag, or even just cut side down on my cutting board. The crust will protect the bread from drying out more than you may think.
The bread can also be frozen for up to three months. After cooling completely, wrap the loaf in a layer of plastic wrap, and then in a layer of foil. Let it thaw in the refrigerator overnight or on the counter for a few hours.
What to Serve with Crusty Olive Bread
I have bread alongside almost every meal, whether it’s Mediterranean-style toast for breakfast or paired with Greek Scrambled Eggs, a Tomato Sandwich for lunch, or for soaking up the tomato and paprika juices from these tender Baked Chicken Thighs for dinner.
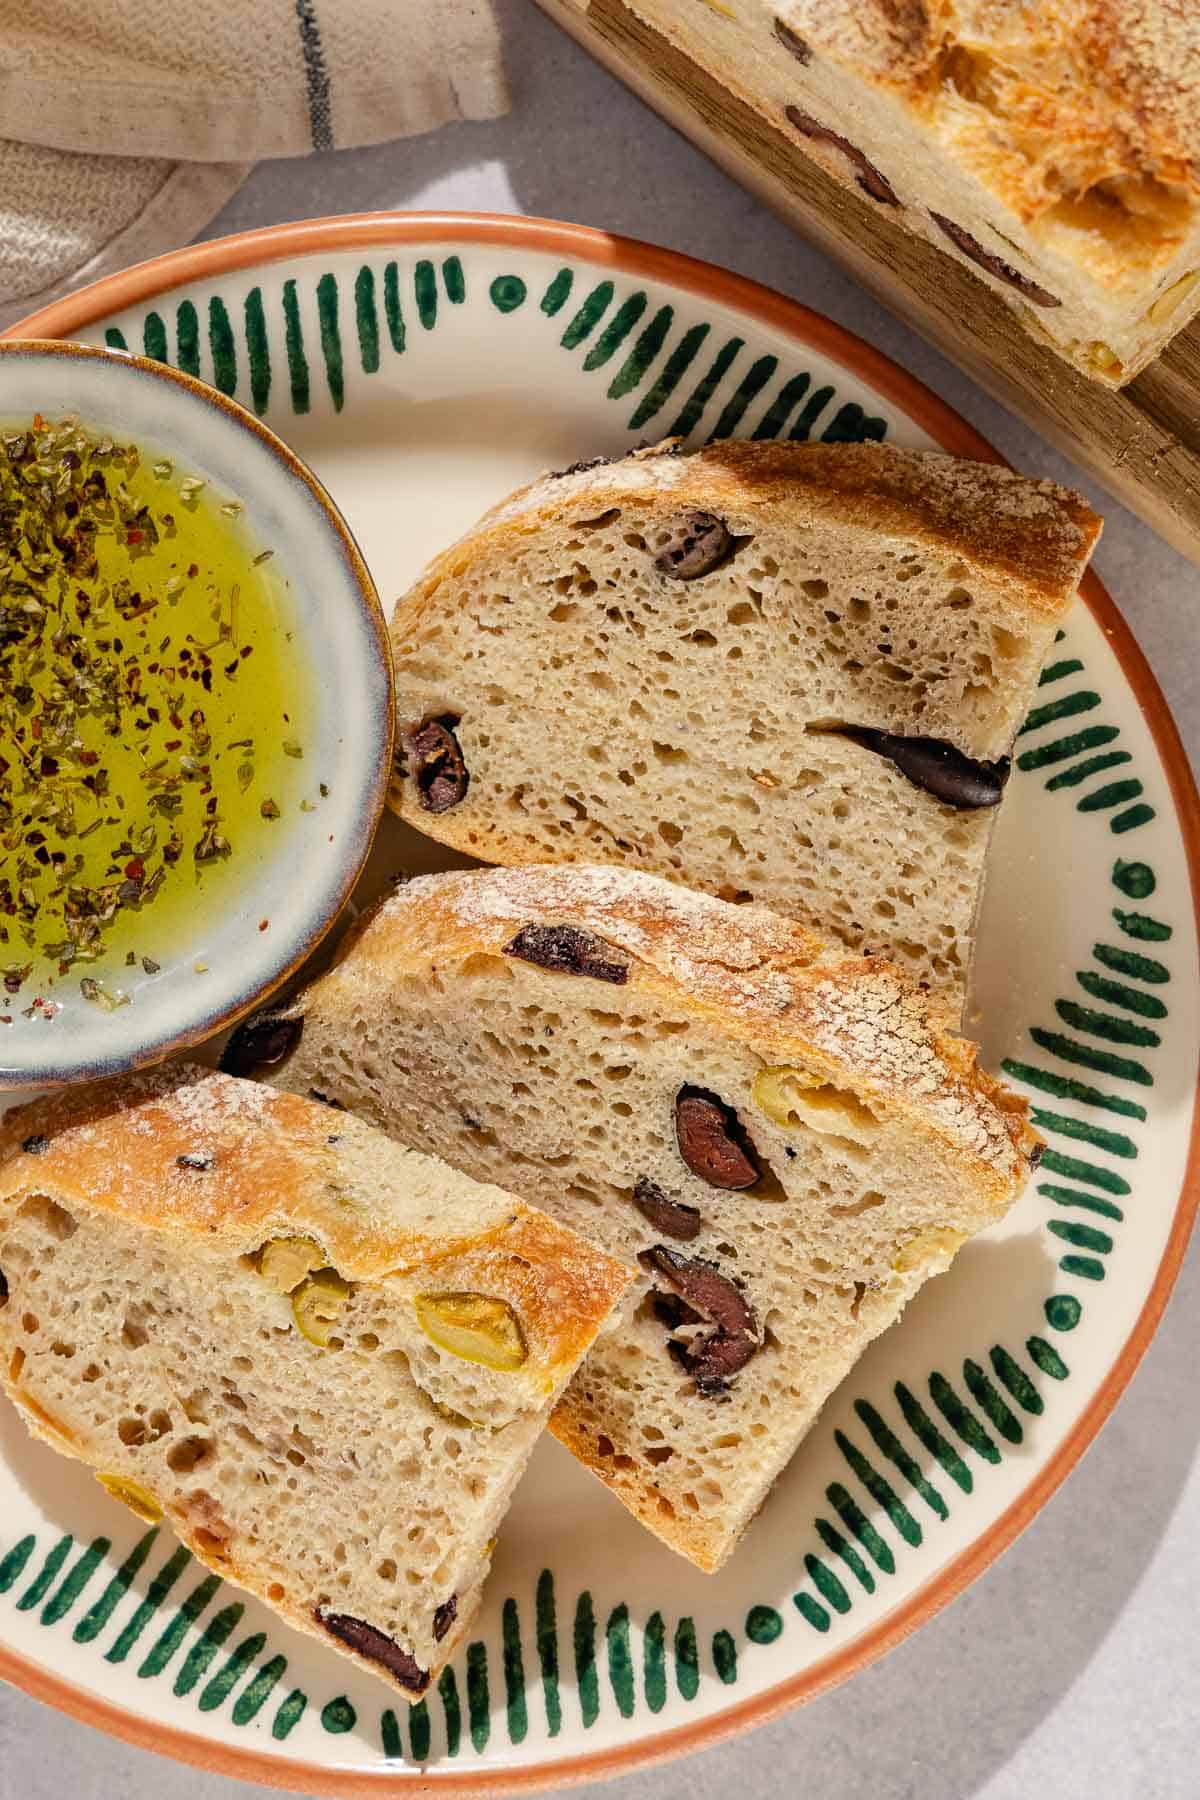
On a cold day, serve it with a hearty White Bean Stew or Chicken Stew. For a quick lunch or an appetizer for visitors, slather slices with homemade Hummus, Baba Ganoush, or the Ultimate Mezze Platter. Or, for those who just can’t get enough olives, try serving it with Olive Tapenade or this simple Olive Oil Bread Dip.
More Homemade Bread Recipes
Browse all Mediterranean recipes.
Visit Our Shop.
Olive Bread
Ingredients
- 3 1/2 cups (420g) bread flour, plus more flour for dusting
- 1 teaspoon kosher salt
- 3/4 teaspoon instant yeast
- 1 1/3 cups (320ml) water
- 1 packed cup (150g) pitted olives, roughly chopped or torn in half
- 1 tablespoon extra virgin olive oil
Instructions
- Mix the dough: In a large mixing bowl, whisk together the flour, salt, and yeast. Add the olives, water, and olive oil and mix with a wooden spoon until the dough comes together and the flour is moistened.
- First rise: Cover the bowl and leave it to rise overnight until more than doubled in size, 12 to 18 hours.
- Shape the dough into a ball: Lightly dust a work surface with flour. Tip the bowl slightly and use a dough scraper or rubber spatula to gently remove the dough from the bowl onto the work surface. Gently fold the dough into itself, shaping it into a ball.
- Second rise: Generously dust a tea towel with flour and place the dough onto the towel, seam side down. Loosely fold the towel over the dough and place it into a mixing bowl. Leave it to rise in a warm spot until almost doubled, about 2 hours.
- Preheat the oven: 30 minutes before the dough has finished rising, arrange a rack in the lower third of the oven, set a 6 to 8-quart Dutch oven on the rack, and preheat to 475°F.
- Bake the bread: Use oven mitts to carefully remove the preheated pot from the oven and remove the lid. Use the tea towel to invert the dough onto a piece of parchment paper. Using the edges of the parchment paper, lower the dough into the Dutch oven. Cover the pot and bake for 30 minutes.
- Crisp the crust: Remove the lid from the Dutch oven. Bake uncovered until the bread is golden brown, about 20 minutes longer.
- Cool: Carefully lift the bread out of the Dutch oven and let it cool completely on a wire rack before slicing.
Notes
- Shop this recipe: Visit our shop to browse quality Mediterranean ingredients including the olive oil, cumin, and Aleppo pepper used in this recipe.
- Storage: Store leftovers loosely covered at room temperature for up to 3 days.
- To freeze: Allow the bread to cool fully and wrap tightly in a layer of plastic wrap, and then in a layer of foil. Freeze for up to 3 months. Let it thaw in the refrigerator overnight or on the counter for a few hours.
- How to swap flour:
- All-purpose flour and bread flour can be used interchangeably. Bread flour can be easier to work with and the final loaf will have a softer, chewier interior, but the difference in this specific bread will be subtle.
- Whole wheat: Substitute up to half of the flour with whole wheat flour. Keep in mind that the bread will become slightly denser, as the bran in whole wheat flour will slightly hinder gluten formation.
- How to use active dry yeast: There’s enough water in the dough that you can skip blooming the yeast, but you can still bloom it if you prefer to check the yeast is alive.
- Bloom 3/4 teaspoon active dry yeast in about 1/3 cup of the called-for water, heated to between 100 and 115°F, until the yeast is dissolved and bubbly, about 5 minutes. Only add 1 cup of water to the dough for 1 1/3 cups in total.
Nutrition
Bundle and Save!
Four of our best-selling signature olive oils, perfect for everyday use.



But Wow!
Great tasting bread. I’ve been making bread for a while and wanted to try olive bread. Your recipe is really easy to follow. The loaf is as good as any I’ve made. Can’t wait to try one or two of your enhancements- probably going seeded first but – citrus. Bring it on.
Especial thank you for the instant thermometer tip. No more under baked bread for me.
Yay! Thanks, John!
My bread is at the 2 hr resting point on a tea towel. To confirm, once the dough inverts onto the parchment and is put into hot pot, the final loaf will have the bottom of dough (from the 2 hr rest) end up as the top of the final loaf, is that correct?
Yes! That is correct.
This was a GREAT pairing with a modified version I made of the Shakshuka recipe. Excited to make this again!
Yay! Thanks, Laura!
Is it possible for the refrigerator to be too cold? It’s been 12 hours and no rise.
Hi, Kathy. You actually want to let this rise on the countertop in a warmer part of your house.
The outcome of this recipe was an artisan loaf I could sell for big bucks!
But instead, I’m eating it. The texture, the flavor, A+. I used a mix of chopped Kalamatas and jalapeño-stuffed green olives. The jalapeño gives the slightest little kick to the bread. It’s wonderful.
Despite a good coating of flour on towel for the second rise, the dough still stuck in places. Next time I’ll spread out the floured area to cover more of the bread. It did not seem to affect the outcome in any way.
I can’t wait to make this again. Thanks for another 5 star recipe.
We just got back from a trip to Cyprus and my daughter was obsessed with Olive bread and pastries. I’m so glad I found this recipe. It was incredibly easy and the entire family loves it! I did pat my olives dry before folding them into the dough to reduce any excess moisture.
Can you use buckwheat flour ?
Hi, Debbie. We’ve never tested this one with buckwheat flour, so I’m not sure how it might turn out with that substitution. If you decide give it a try, though we’d love to hear how it worked out!
It was wonderful! I had a variety of olives on hand and used some stuffed with feta and another stuffed with garlic. I even messed this up by not baking with the lid on. Couldn’t tell. Maybe a bit browner than the photos. About to make this without olives for the Breakfast Strata.
Do you let it rise overnight in the fridge?
Hello! You’ll want to let it rise on the countertop in a warmer part of your house.
What size of dutch oven do you use ?
Hi, Lily. You’ll want to aim for one between 6-8 quarts.
I am so chuffed I tried your recipe! Thank you – it’s a winner! My husband and I devoured half the loaf at lunchtime.
(South Africa)
So great to hear this was a hit for you, Rosemary!
Can I leave the olives out?
Hi, Nancy. Technically you can, but you’ll lose a lot of the flavor here.
I made this over the weekend and now have requests to make three more loaves this week for my family and friends. Super easy and so good!
Wonderful for hear! Thanks so much, Christina!
I am an experienced cook at 73 years of age but I’ve never been a confident bread baker. I would greatly benefit from a video of this technique. Absent that I’ll give it a try because all your recipes have been sure winners for us! And we’ve enjoyed and gifted your oils and spices too.
Thanks for the feedback, Mary! Hope you do still give it a try, even without a video :).